If you think your board may have a loose TRRS port, you've come to the right place. Occasionally, TRRS ports can get looser over time and start to cause unreliable connections between the two halves of your board.
Please note that if you're still within the warranty period for your board, you should reach out to ZSA support about this issue and we can help you. This DIY fix is only to keep boards that are out of warranty working. If you attempt this fix while still under warranty, you will void your warranty.
To test if your board has a loose TRRS port, here's a simple procedure. Please only do this test if you are already having connection issues between the two halves of your board, such as one half not lighting up even after unplugging it and plugging it back in, or seeing one of your halves turn off when you move the keyboard. If your board is working fine, there is always a small chance of this test creating new problems, so don’t attempt it unless you have reason to suspect a loose port. If you’re ever not sure, just reach out to us and we’ll guide you through the correct steps.
- Plug in the TRRS cable to each half and push and wiggle on the connector with some force. The idea is, if the port is loose, wiggling the connector will also wiggle the port, and you'll see the connection come in and out. This is usually most noticeable by looking at the LEDs. Do this on each side and note which side seems to cause the issue.
- Unplug the TRRS cable and reverse it, then repeat step one again. If the same side seems to still cause issues, then you likely have a loose port. If it's not consistent, the problem could be the TRRS cable itself. It's worth trying a different cable next to eliminate that variable.
If it seems like you might have a loose port, it can be fixed with some easy soldering.
Resolder a loose TRRS port
If your board is no longer in warranty and you’re confident that the TRRS connector is having issues after doing the wiggle test, it’s time to open up your board and take a look at the TRRS port contacts.
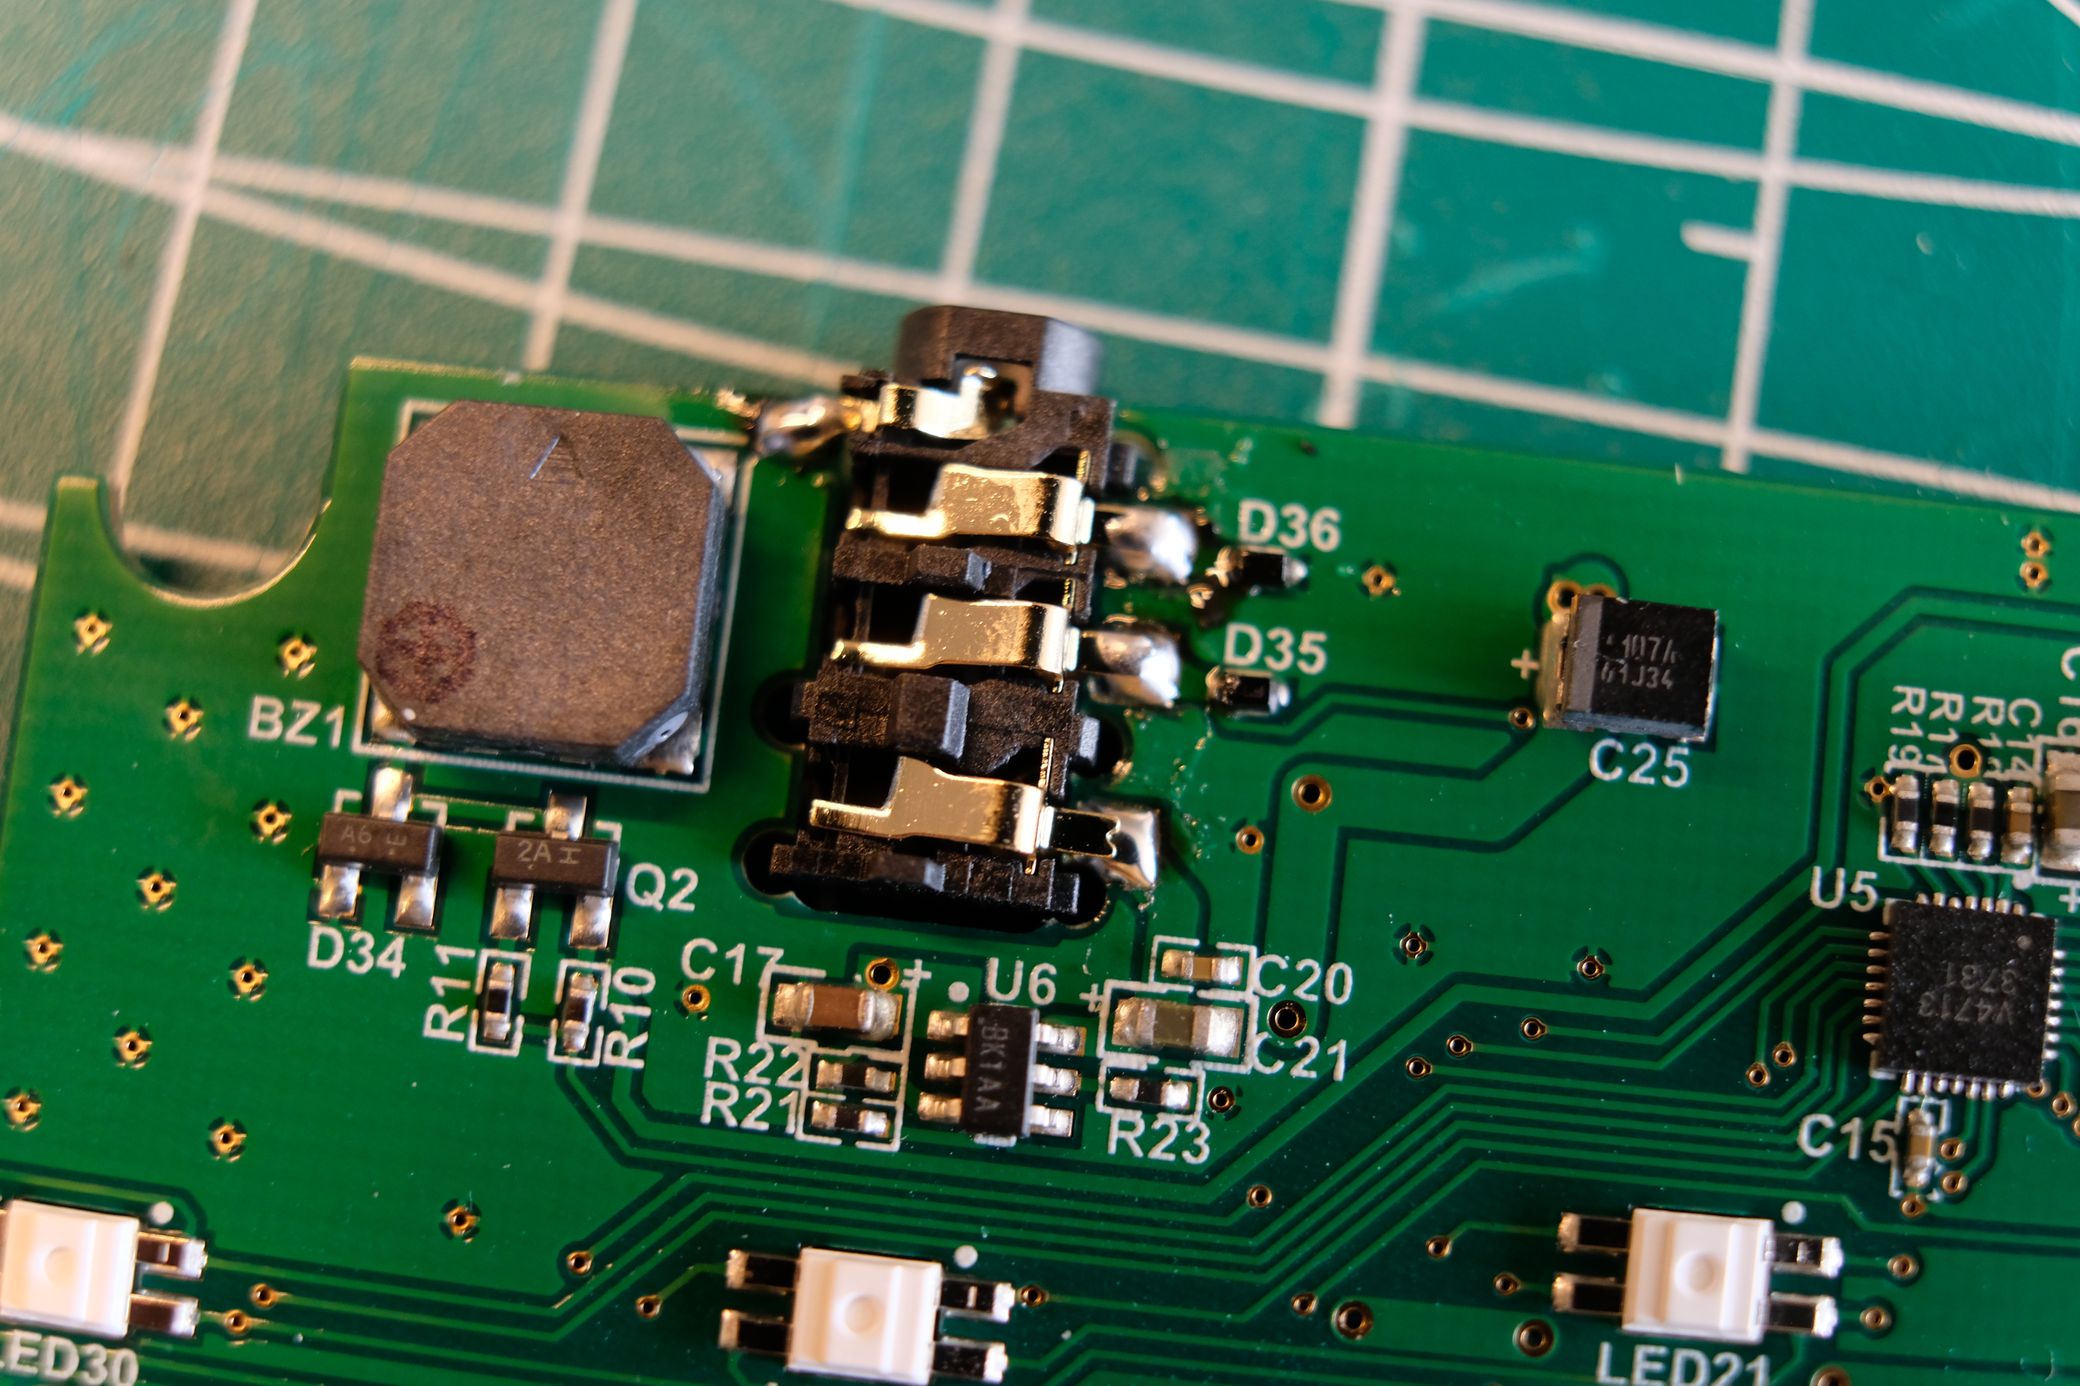
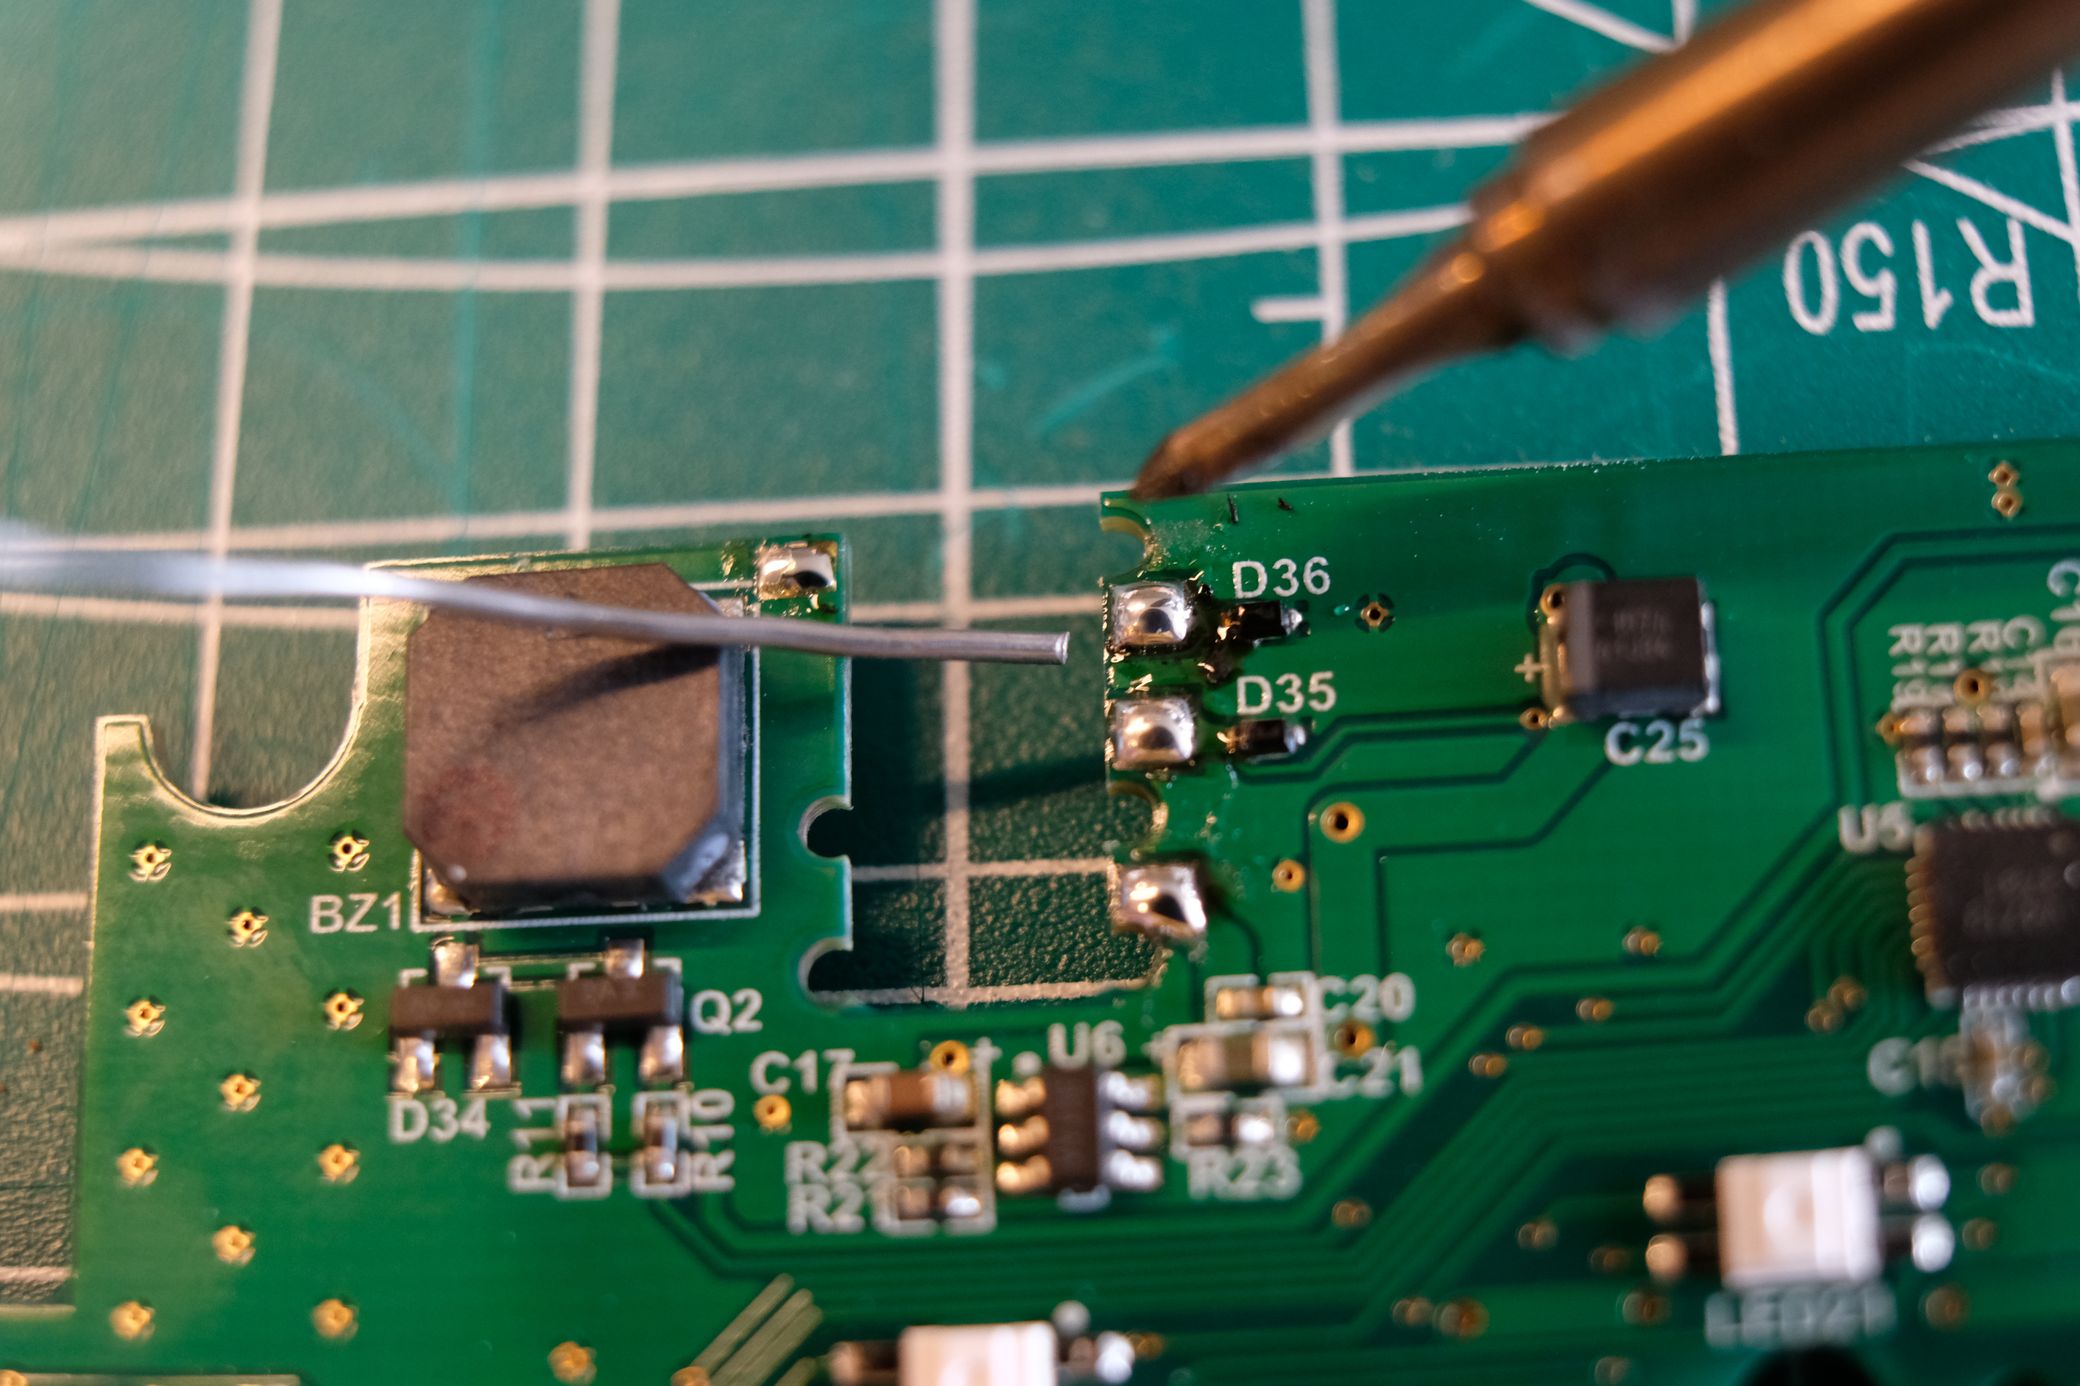
If your port is loose, it's very likely you'll see one of the TRRS prongs look like the lowest right one in this image. The prong is basically sitting on top of the solder. It's enough to make contact some of the time, but not consistently.
The middle right port in this image is also a little suspect. It's not currently loose enough to cause an issue, but given enough time, it the prong could break out of the solder, so this is also worth fixing if you're breaking out the soldering iron anyway.
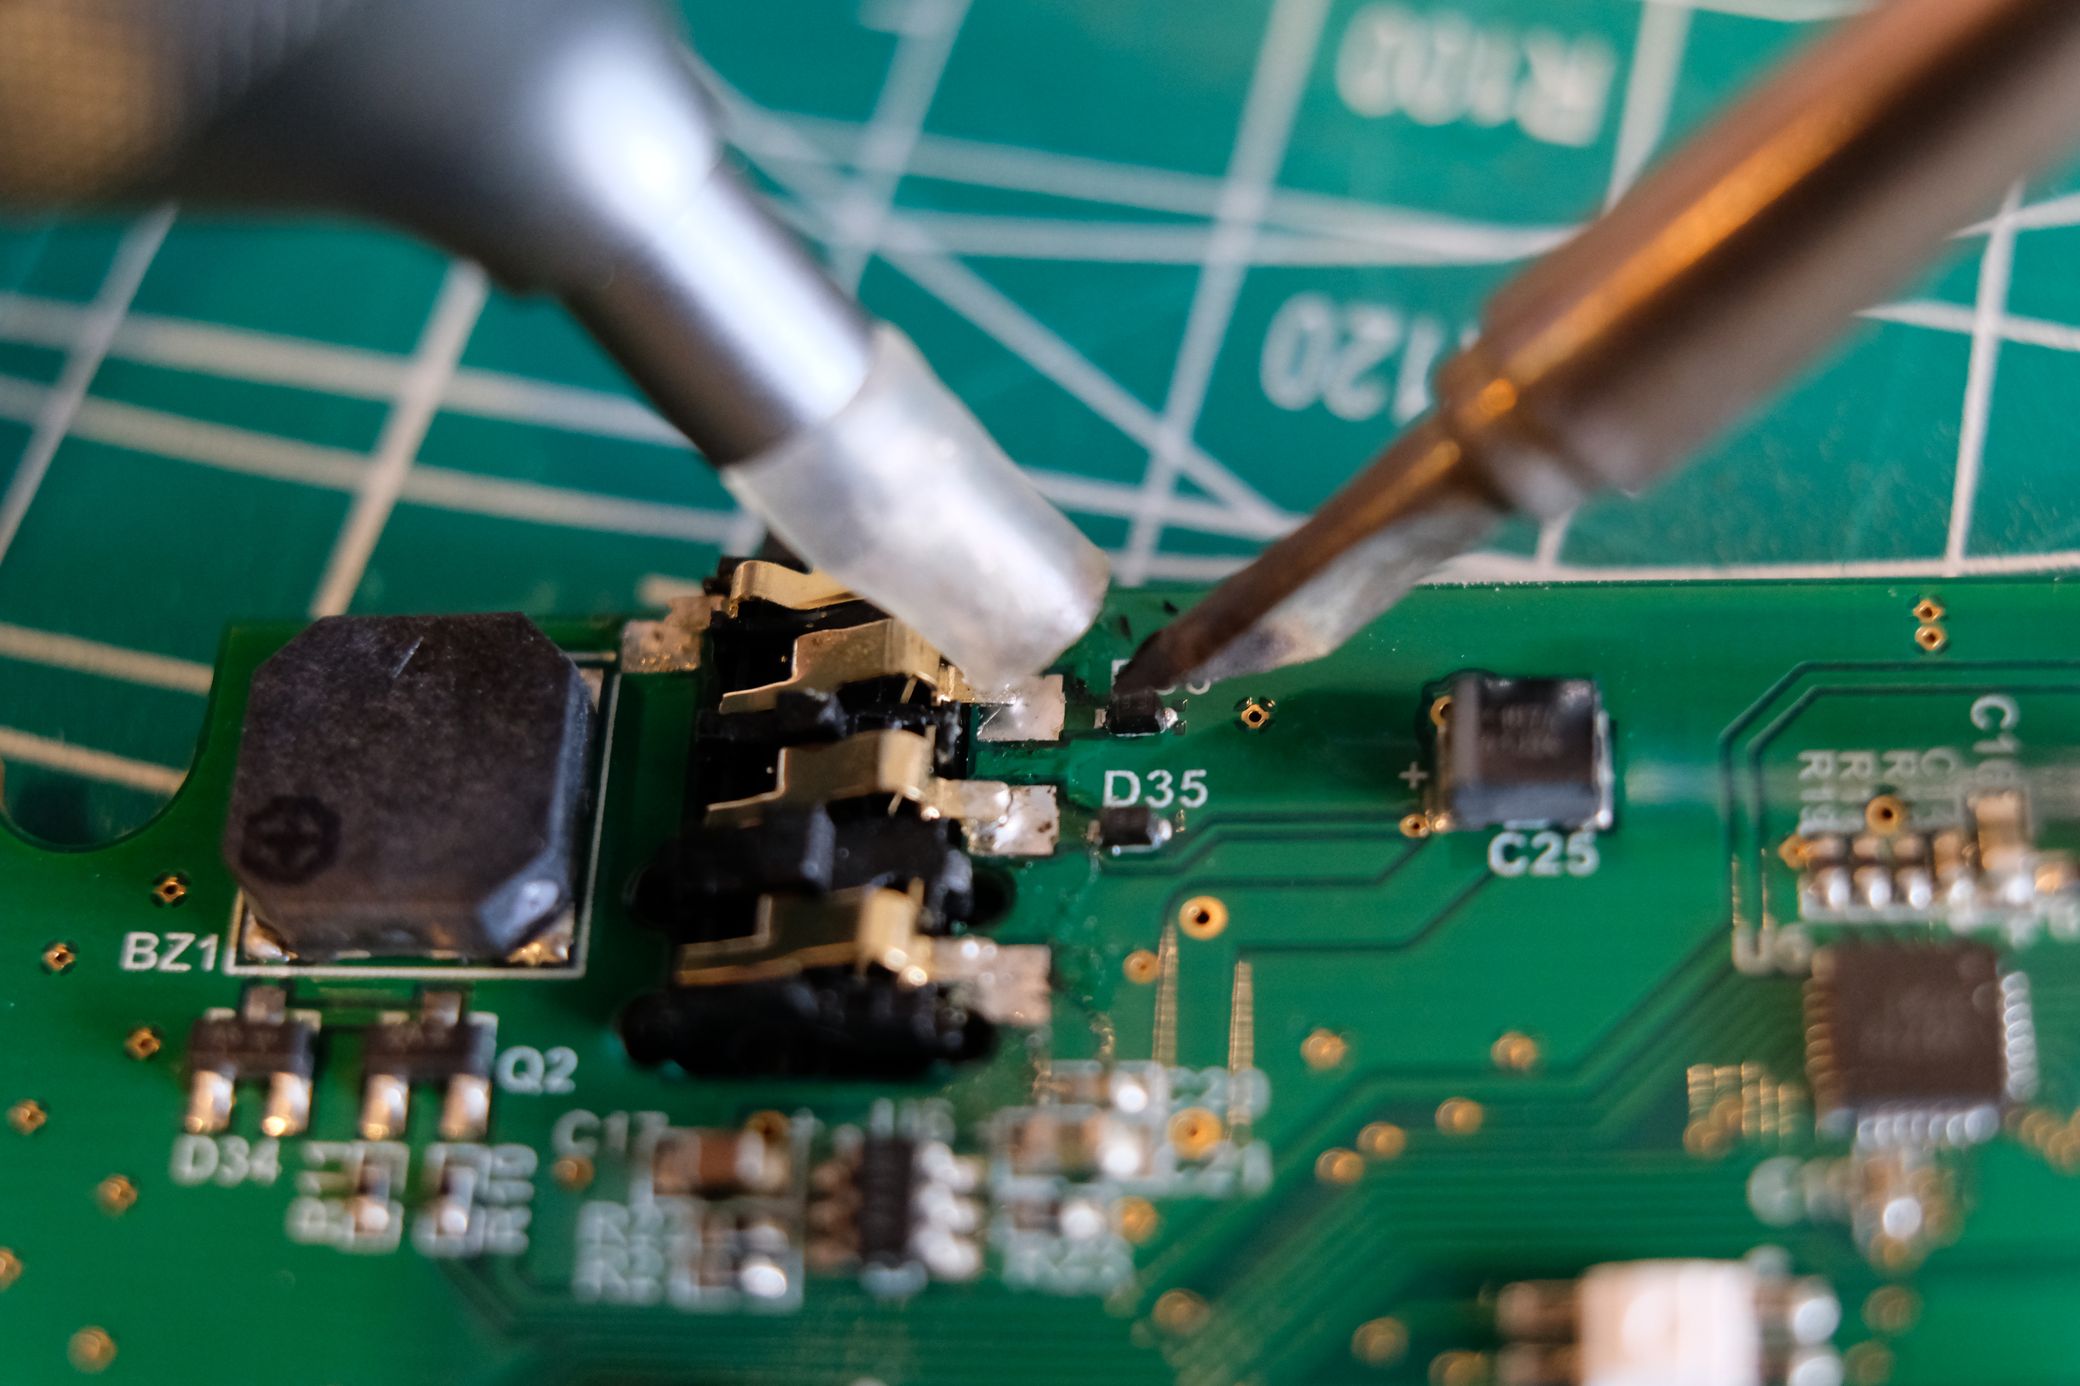
Much like resoldering switches and diodes, there's nothing fancy about this repair. All you'll need to do is reheat the existing solder to make sure it forms around the TRRS prong better. You may want to add a little extra solder just for good measure.
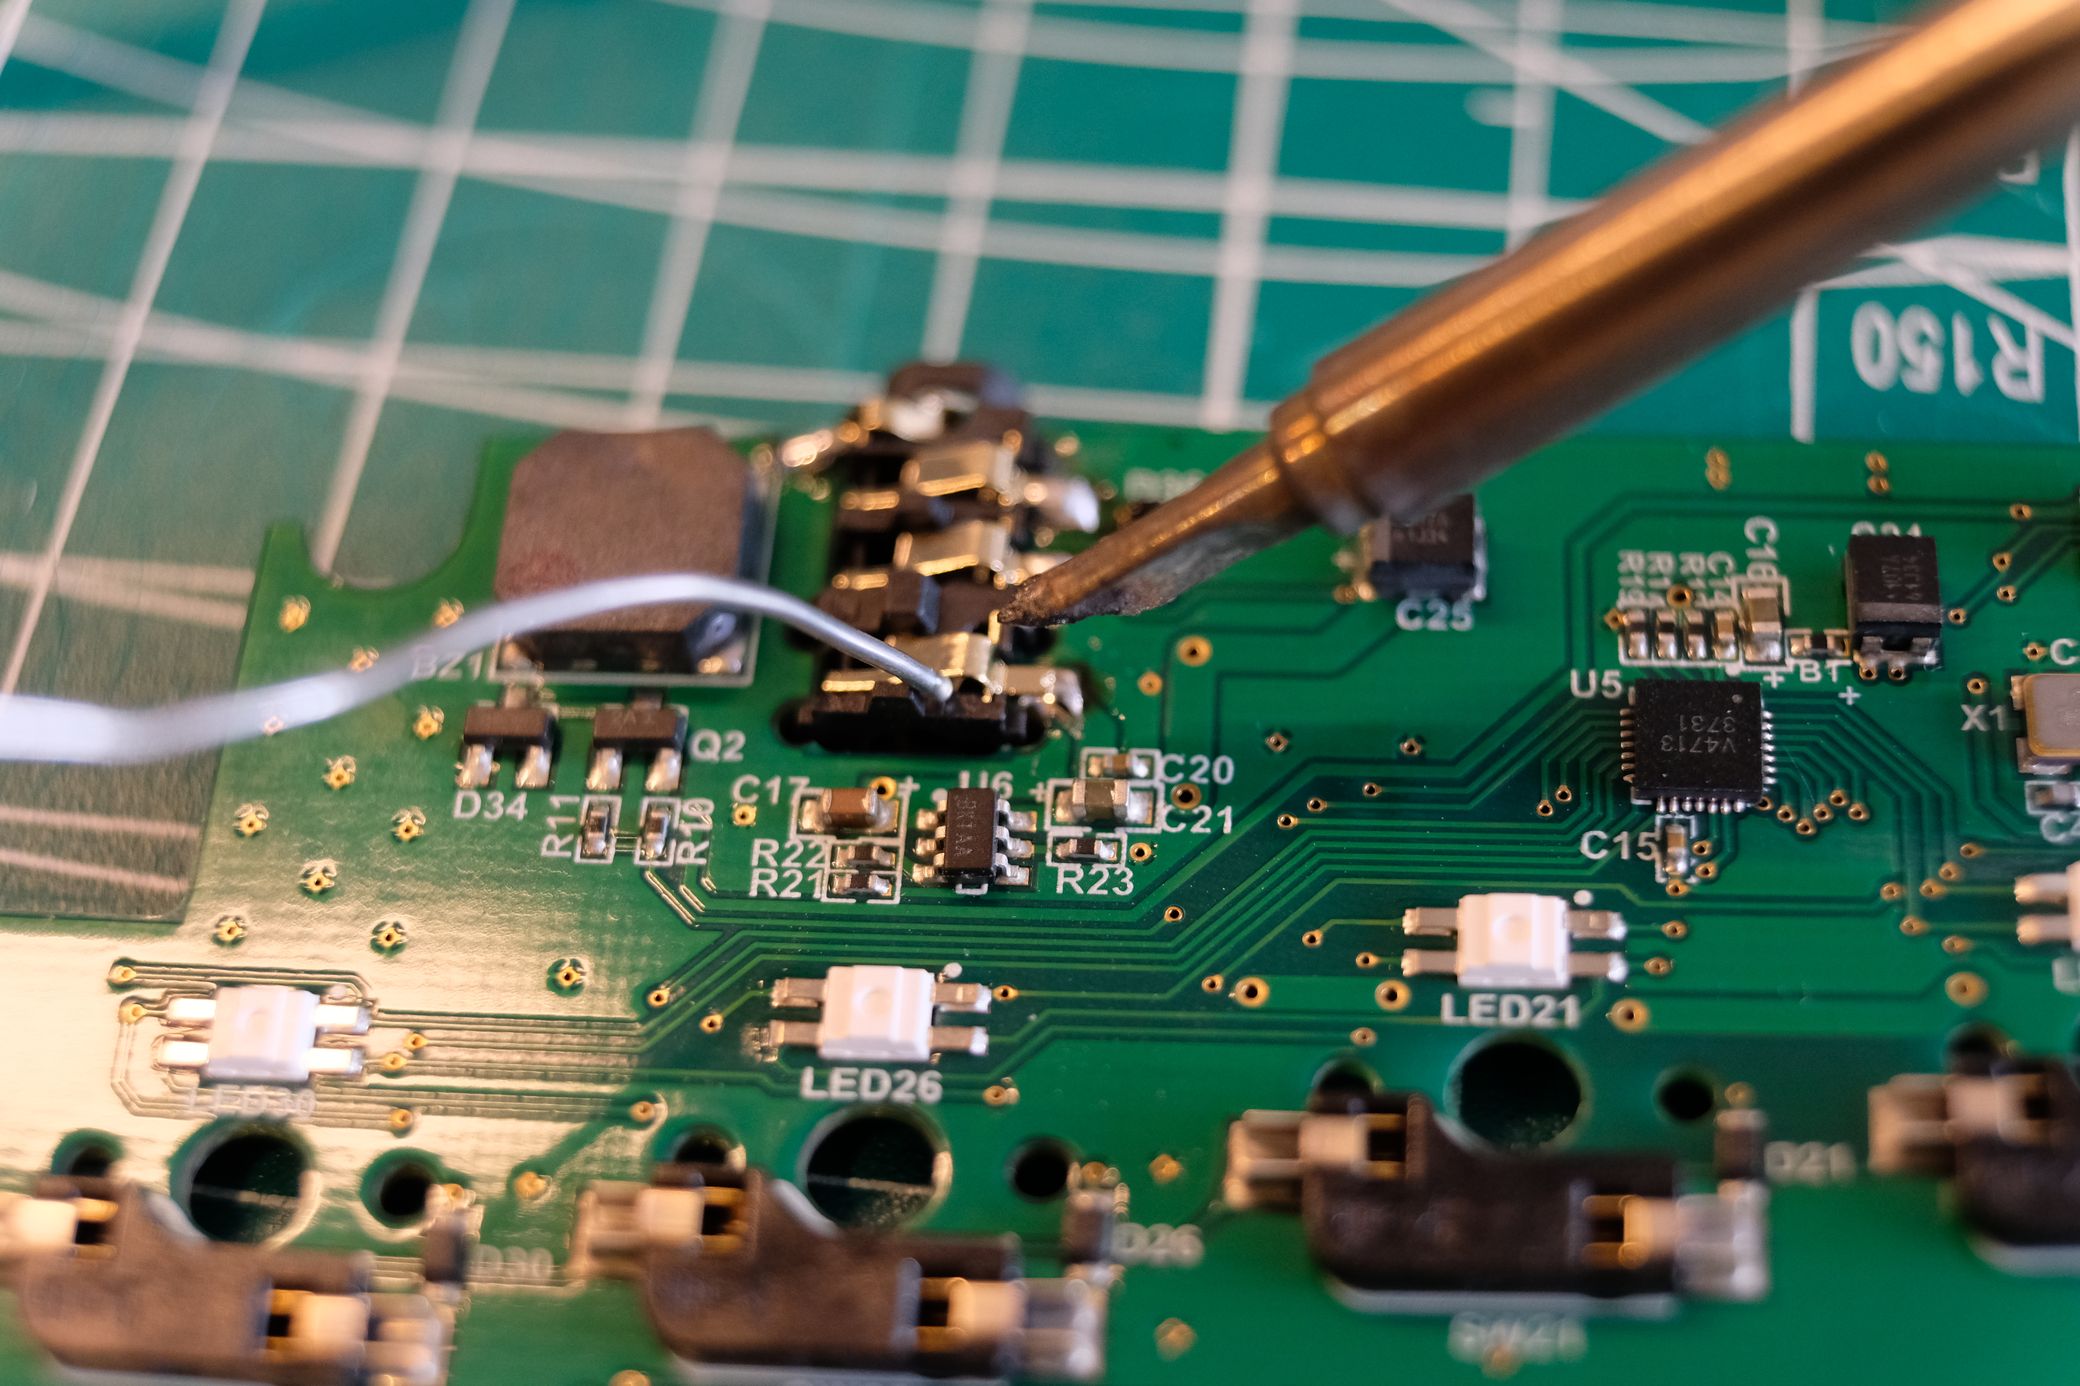
Once the prongs are all nice and covered, you're good to go!
Replace a TRRS port
The odds of needing a full TRRS replacement are low, but it could happen. If the board is dropped in just the right (or wrong) way right onto the TRRS connector, the port could break off, for example.

If your TRRS port has broken somehow, but it hasn't fully come off the board, a solder sucker works great to detach it.
If your current TRRS port is toast, you can find a new identical port by looking up SJ-43614-SMT-TR (available from places like Mouser and DigiKey). It is important to get this part specifically — other TRRS ports won't fit correctly.
Note that if you have an older ErgoDox EZ (around 2020 or before), your board may have a different TRRS port, SJ-43514.
Likewise, if your board is from mid-2025 or later, you may also have different TRRS port, PJS-035-29A. This port is not as widely available, but if you need to replace it, let us know and we'll see what we can do.
It's always worth opening up your board before buying a replacement to double-check what kind you have.

Once you've got the port, soldering it back on is nice and straightforward. First, tin (make a little pile of solder) on each of the four contacts.
Then, heat up one of the solder piles and push the corresponding TRRS prong into it, and repeat for each of the other contacts. You could also tin one pad, solder the socket to that, and finish covering the other prongs — either approach works.
Here's to many more years with your ZSA board!