If your key works sometimes, but other times it doesn't or will only work when pressed very hard, then you might have a bad socket. In some cases a bad socket may mean a switch won't work at all. If you haven't already tried cleaning your socket, do so first.
Reminder: This process will void your warranty. Do not attempt this if you are still within the warranty period for your board. If you are still within your warranty period, email us instead.
Each mechanical switch has two small metal prongs or pins on the bottom of it. Pushing the switch down closes the circuit between these two pins, allowing it to work. On many mechanical keyboards, these pins get soldered directly to the PCB (Printed Circuit Board). This generally works well except it makes removing a switch to diagnose or fix any problems much more difficult, so we opt to use hotswap sockets made by Kailh.
Hotswap sockets are still soldered to the PCB, but instead of soldering the switch itself, only the socket is attached. The switch pins make contact with the socket instead of the PCB directly. This is very convenient because switches can be freely removed and replaced.
The only true disadvantage of hotswap sockets is they are not quite as durable as directly soldering a switch. A hotswap socket has to resist the downward force of a switch being pushed into it, and this means that they can come loose or break off. We design our boards with additional support for the sockets built into the case, so this issue isn't as common, but it can still happen, especially over a long period of time and multiple switch swaps.
The good news is that fixing a loose hotswap socket is very easy with some basic soldering knowledge. If you're interested in learning soldering, fixing a socket can be a good early project (you may want to get a little practice on some scrap first). If you don't care about soldering but know someone who does, they should be able to knock out a repair like this in just a few minutes.
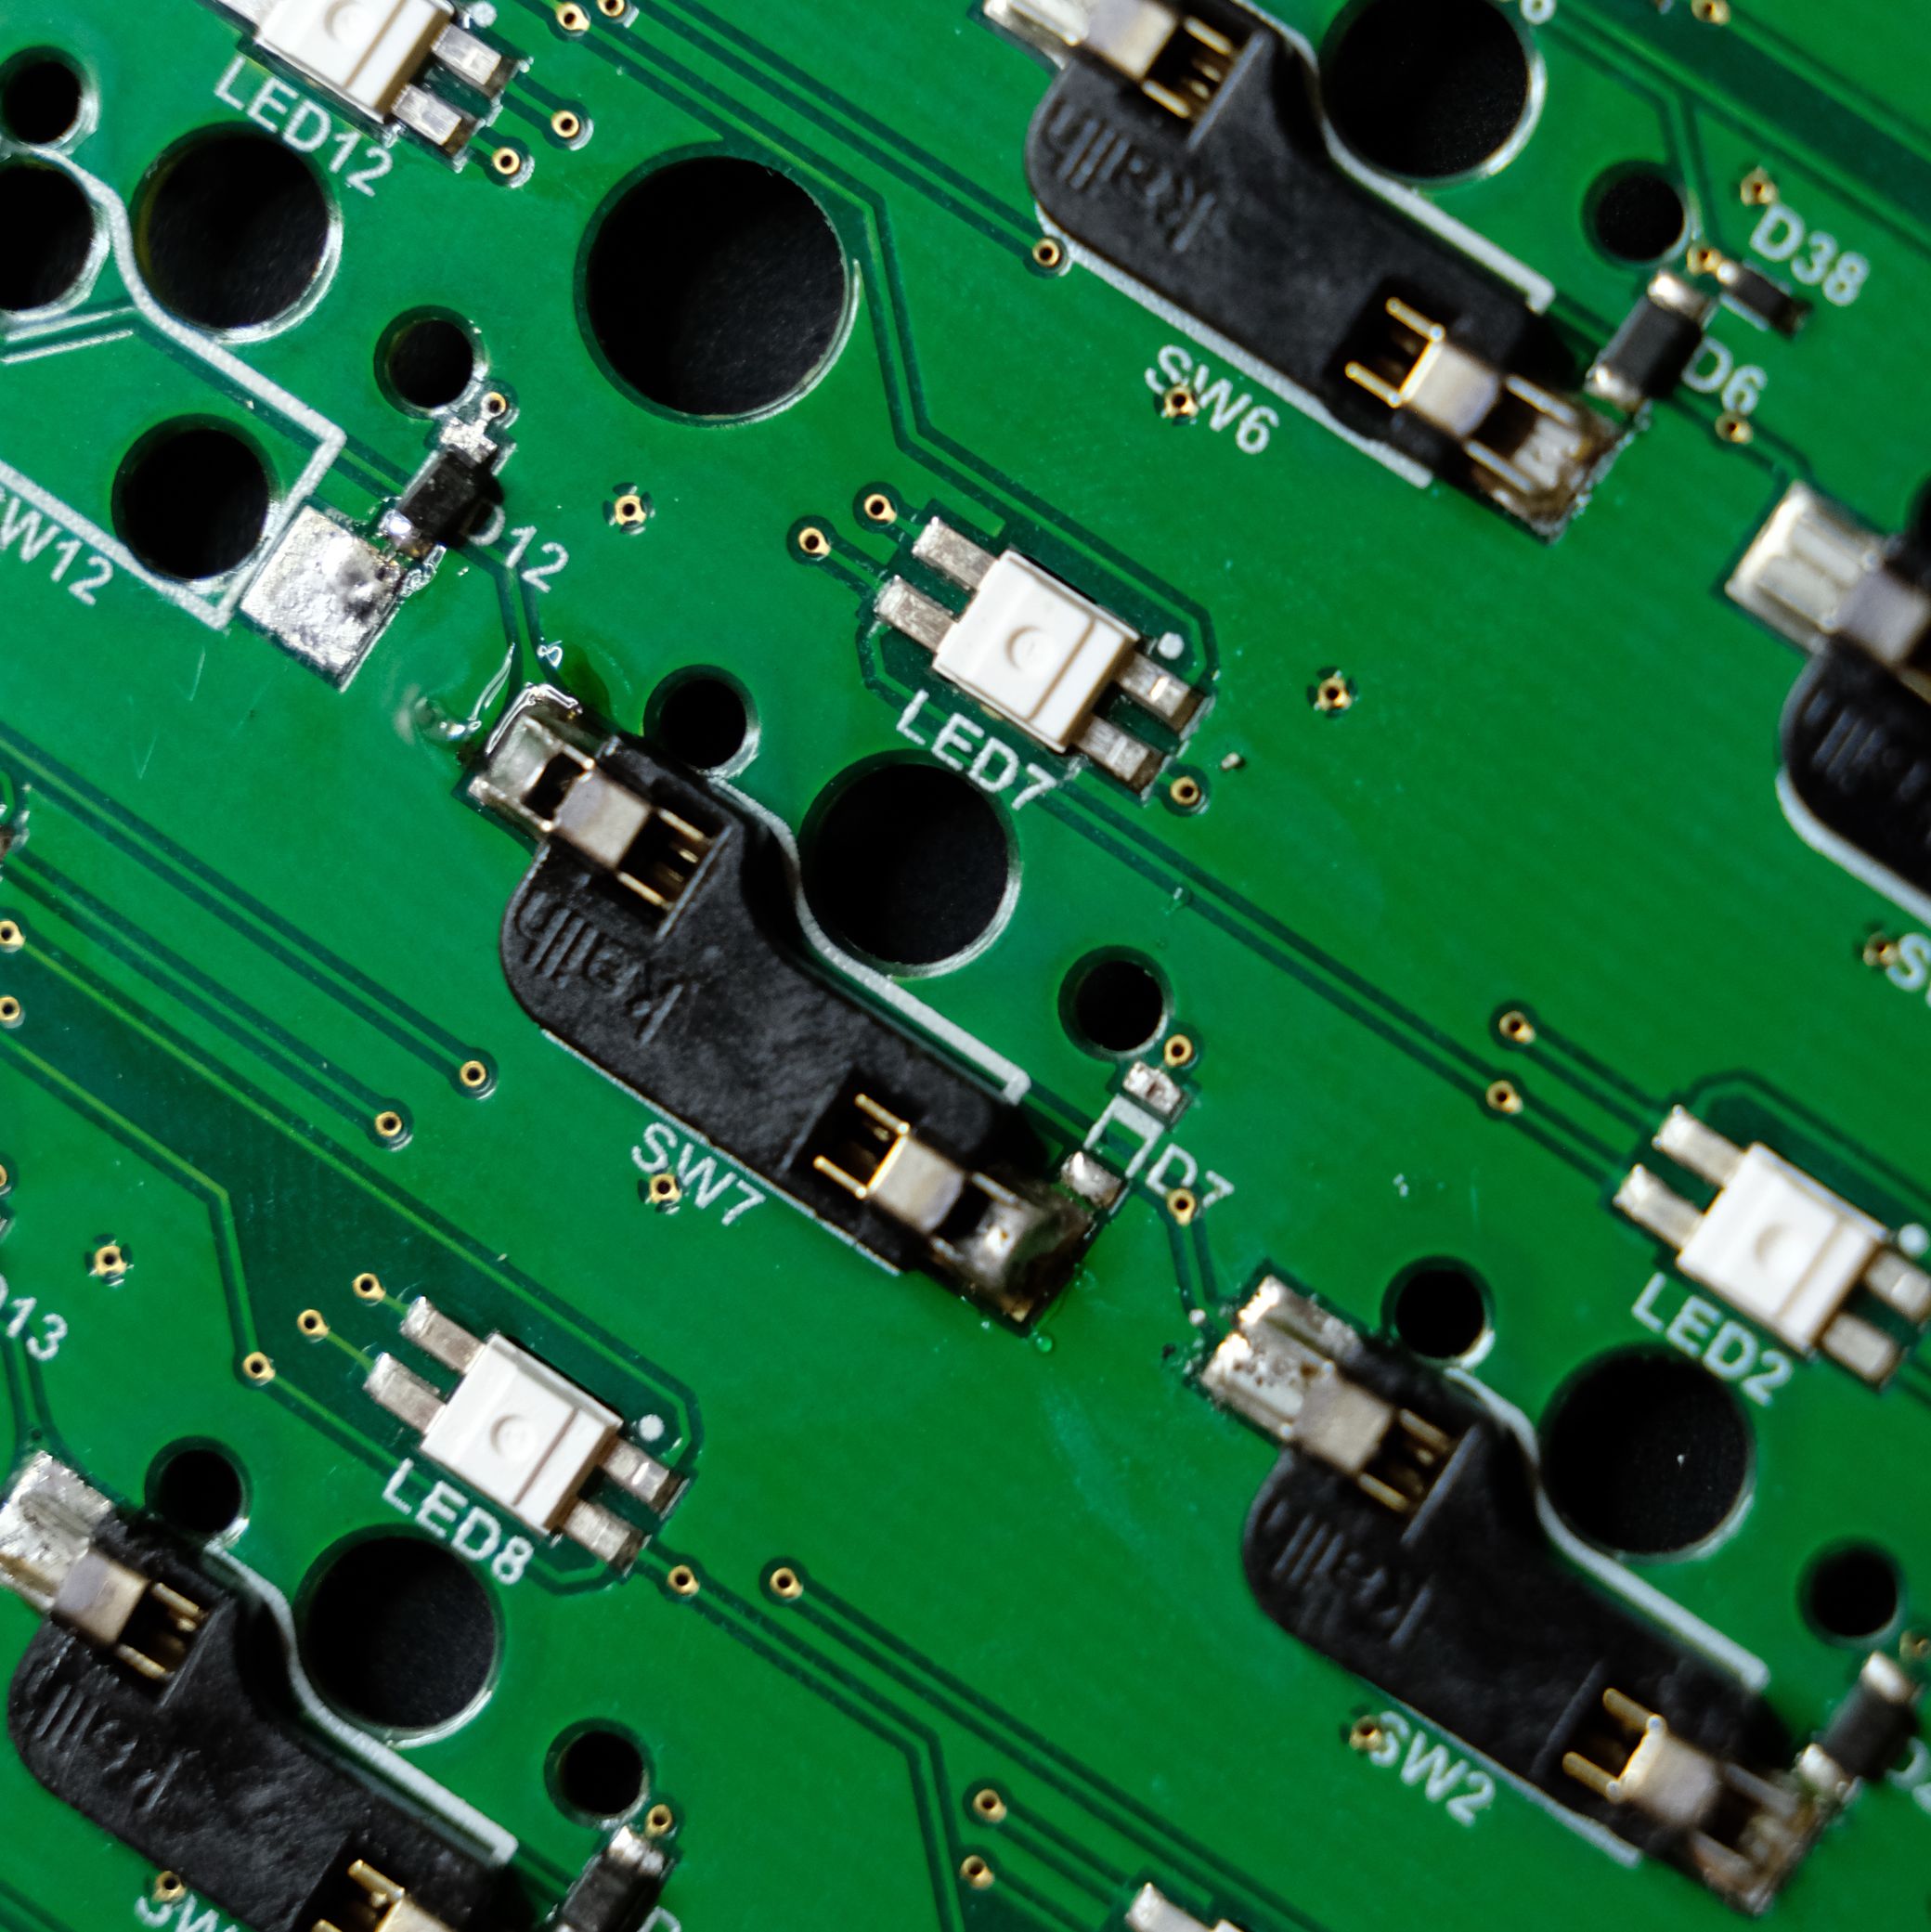
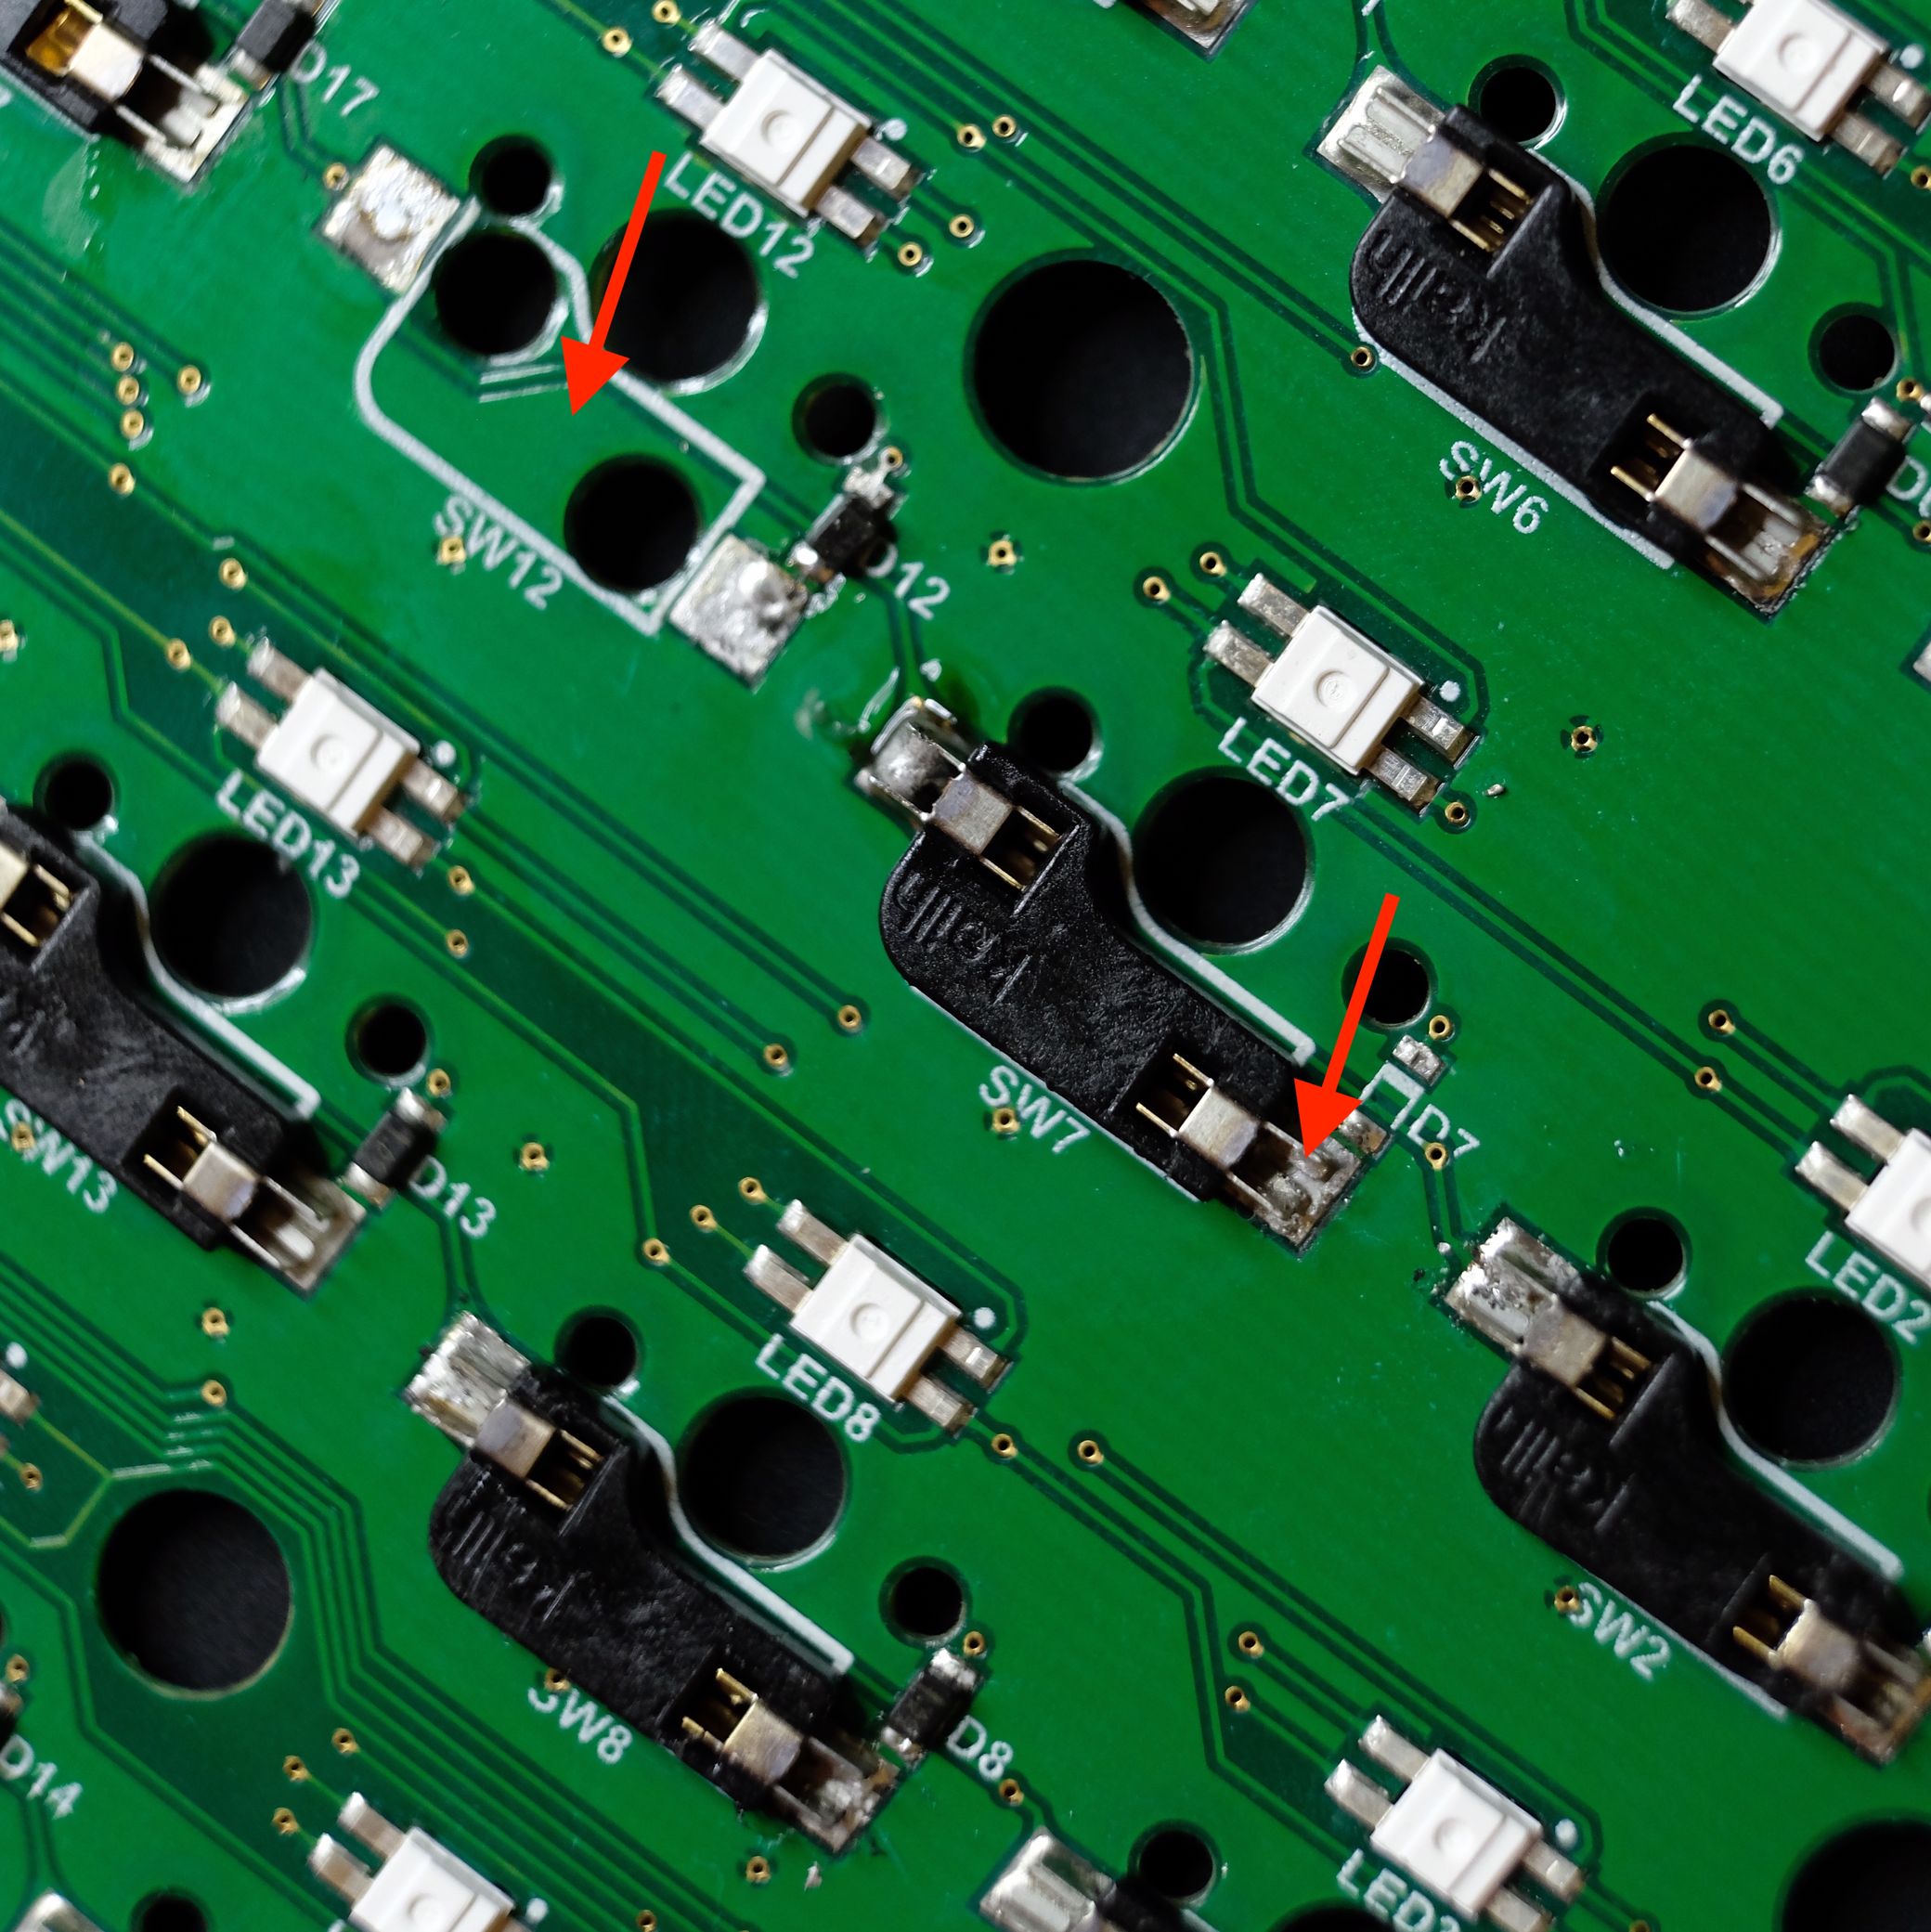 Here are the two things you may run into: a loose socket (SW7) or a completely broken off socket (SW12). A loose socket is much more common and slightly easier to fix, but neither is particularly difficult.
Fixing a loose socket
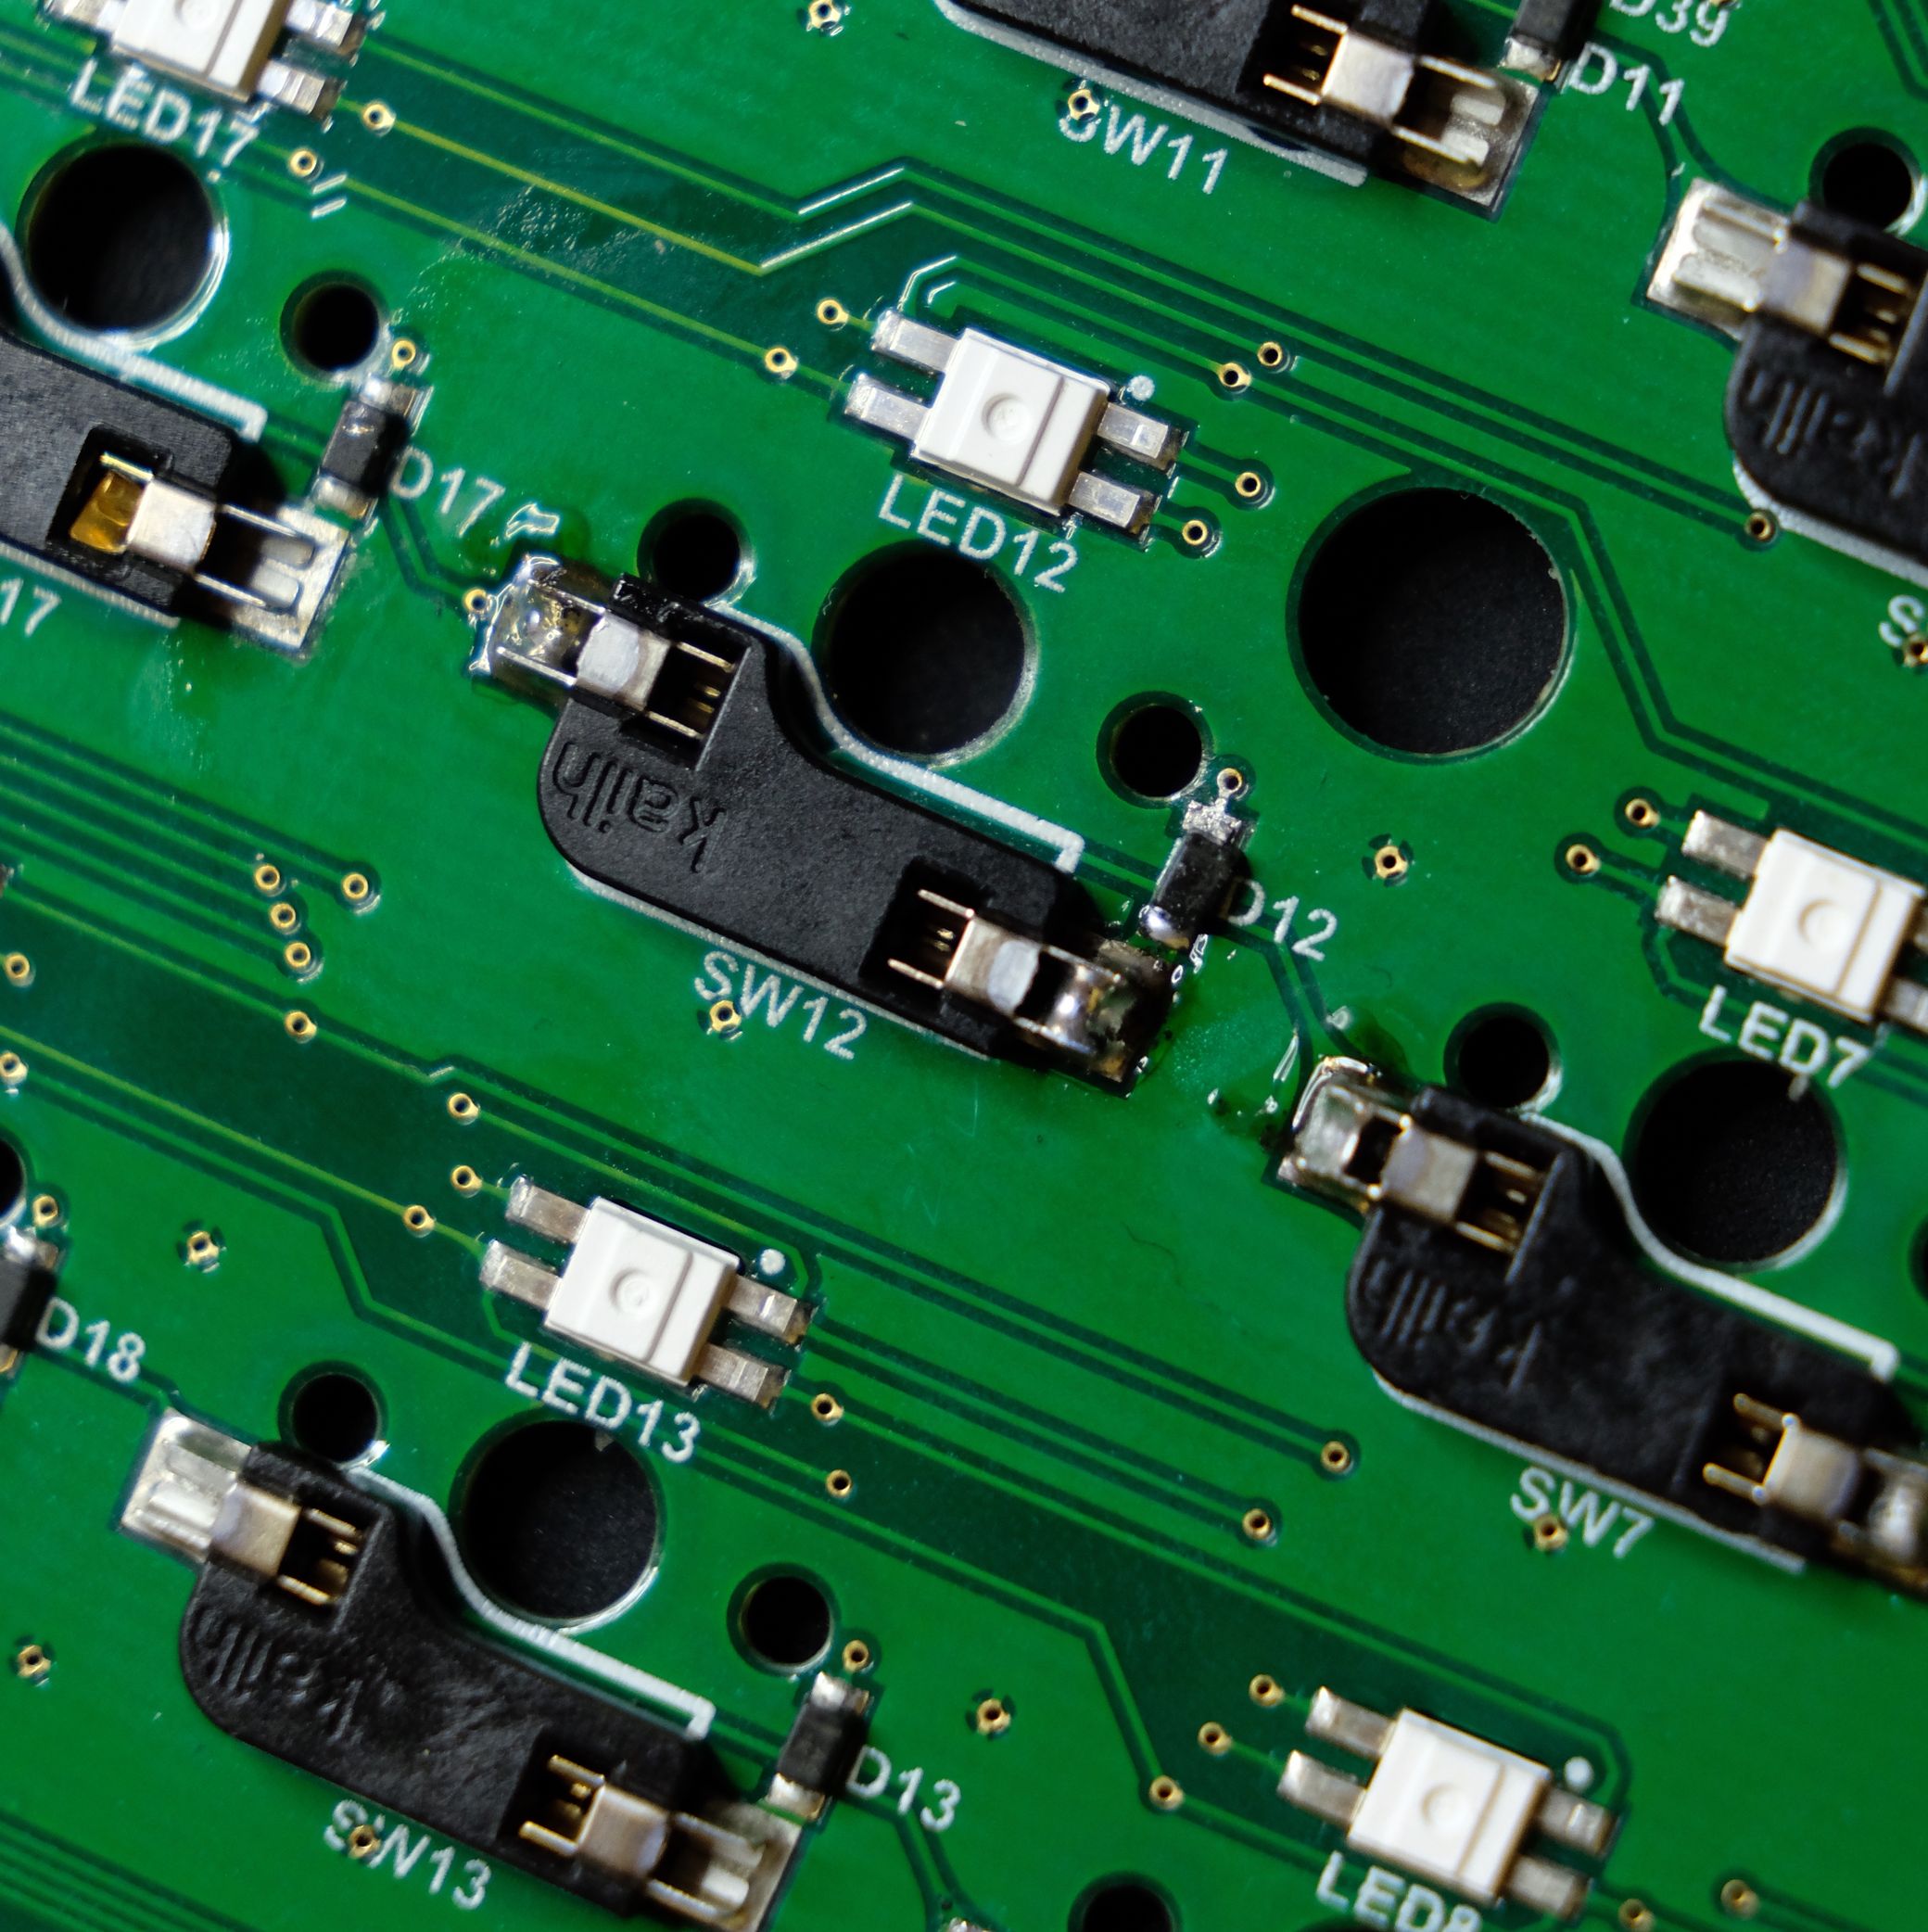
You can tell a socket is loose by inspecting the solder on the contact of the socket. If there is a clear lack of solder covering the small prongs on either end of the socket, the connection will be spotty. Your socket may or may not be literally loose (this socket pictured does not really move much), but a lack of solder is still something to fix.
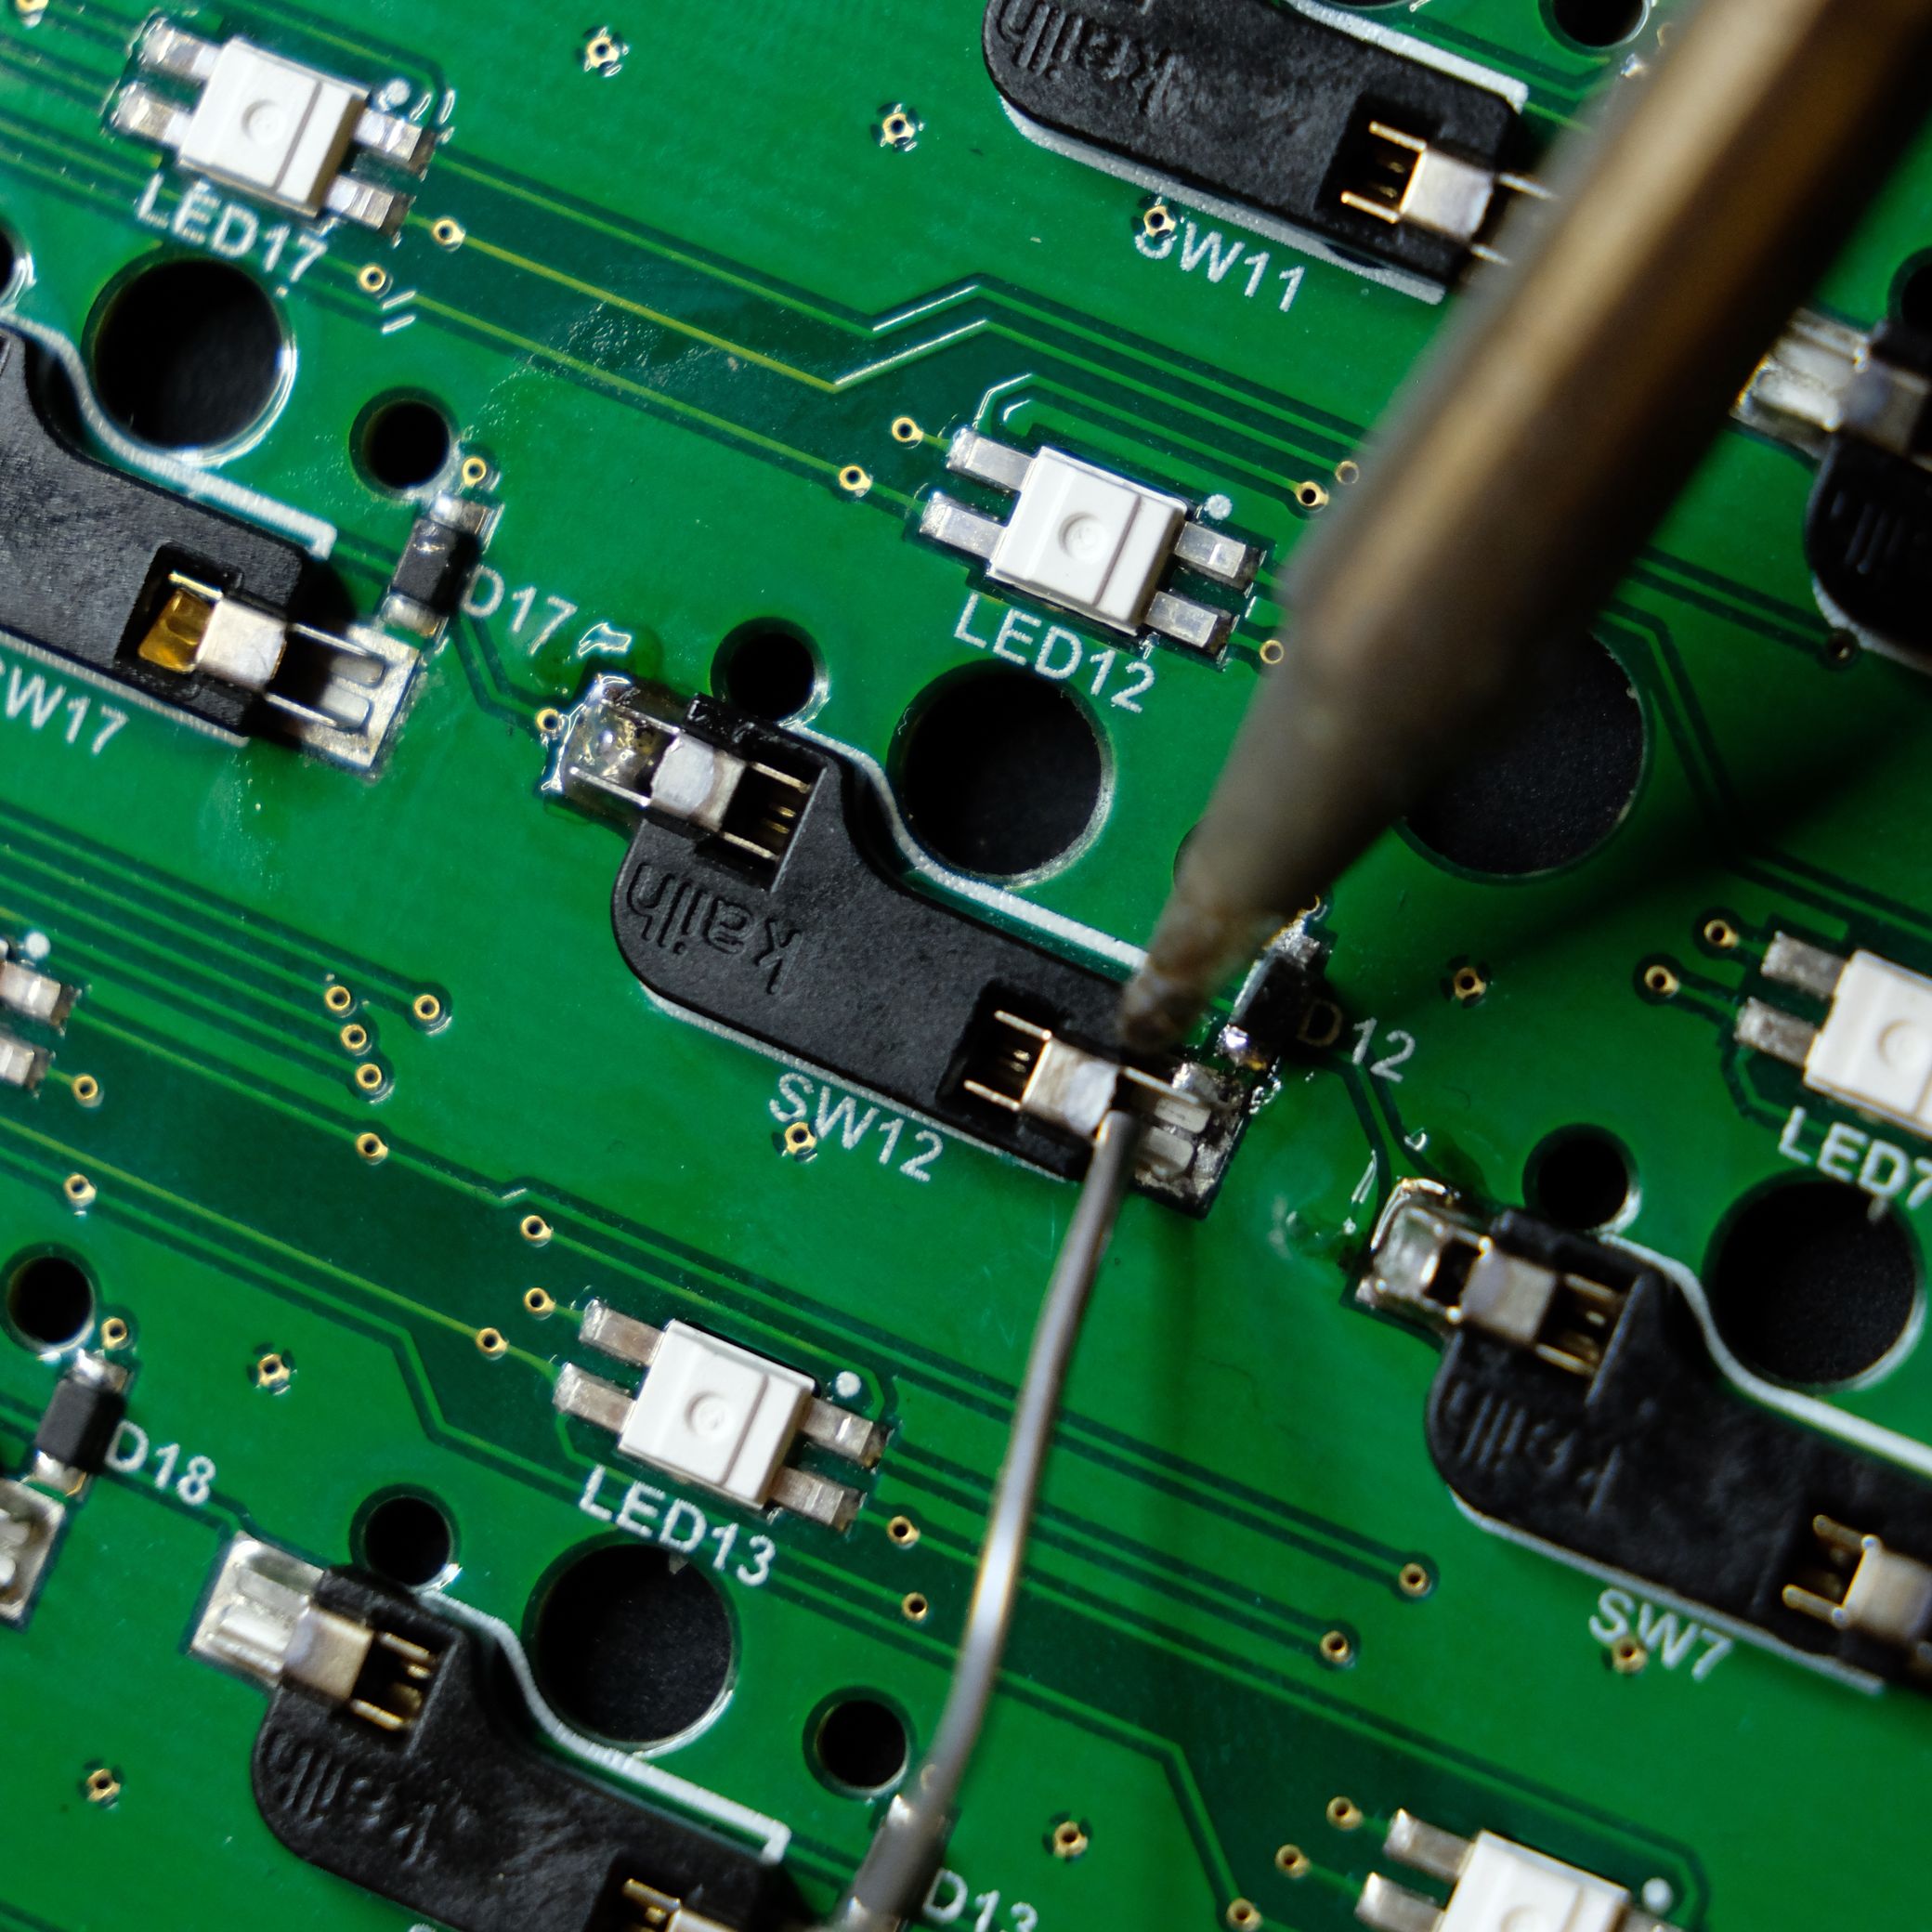
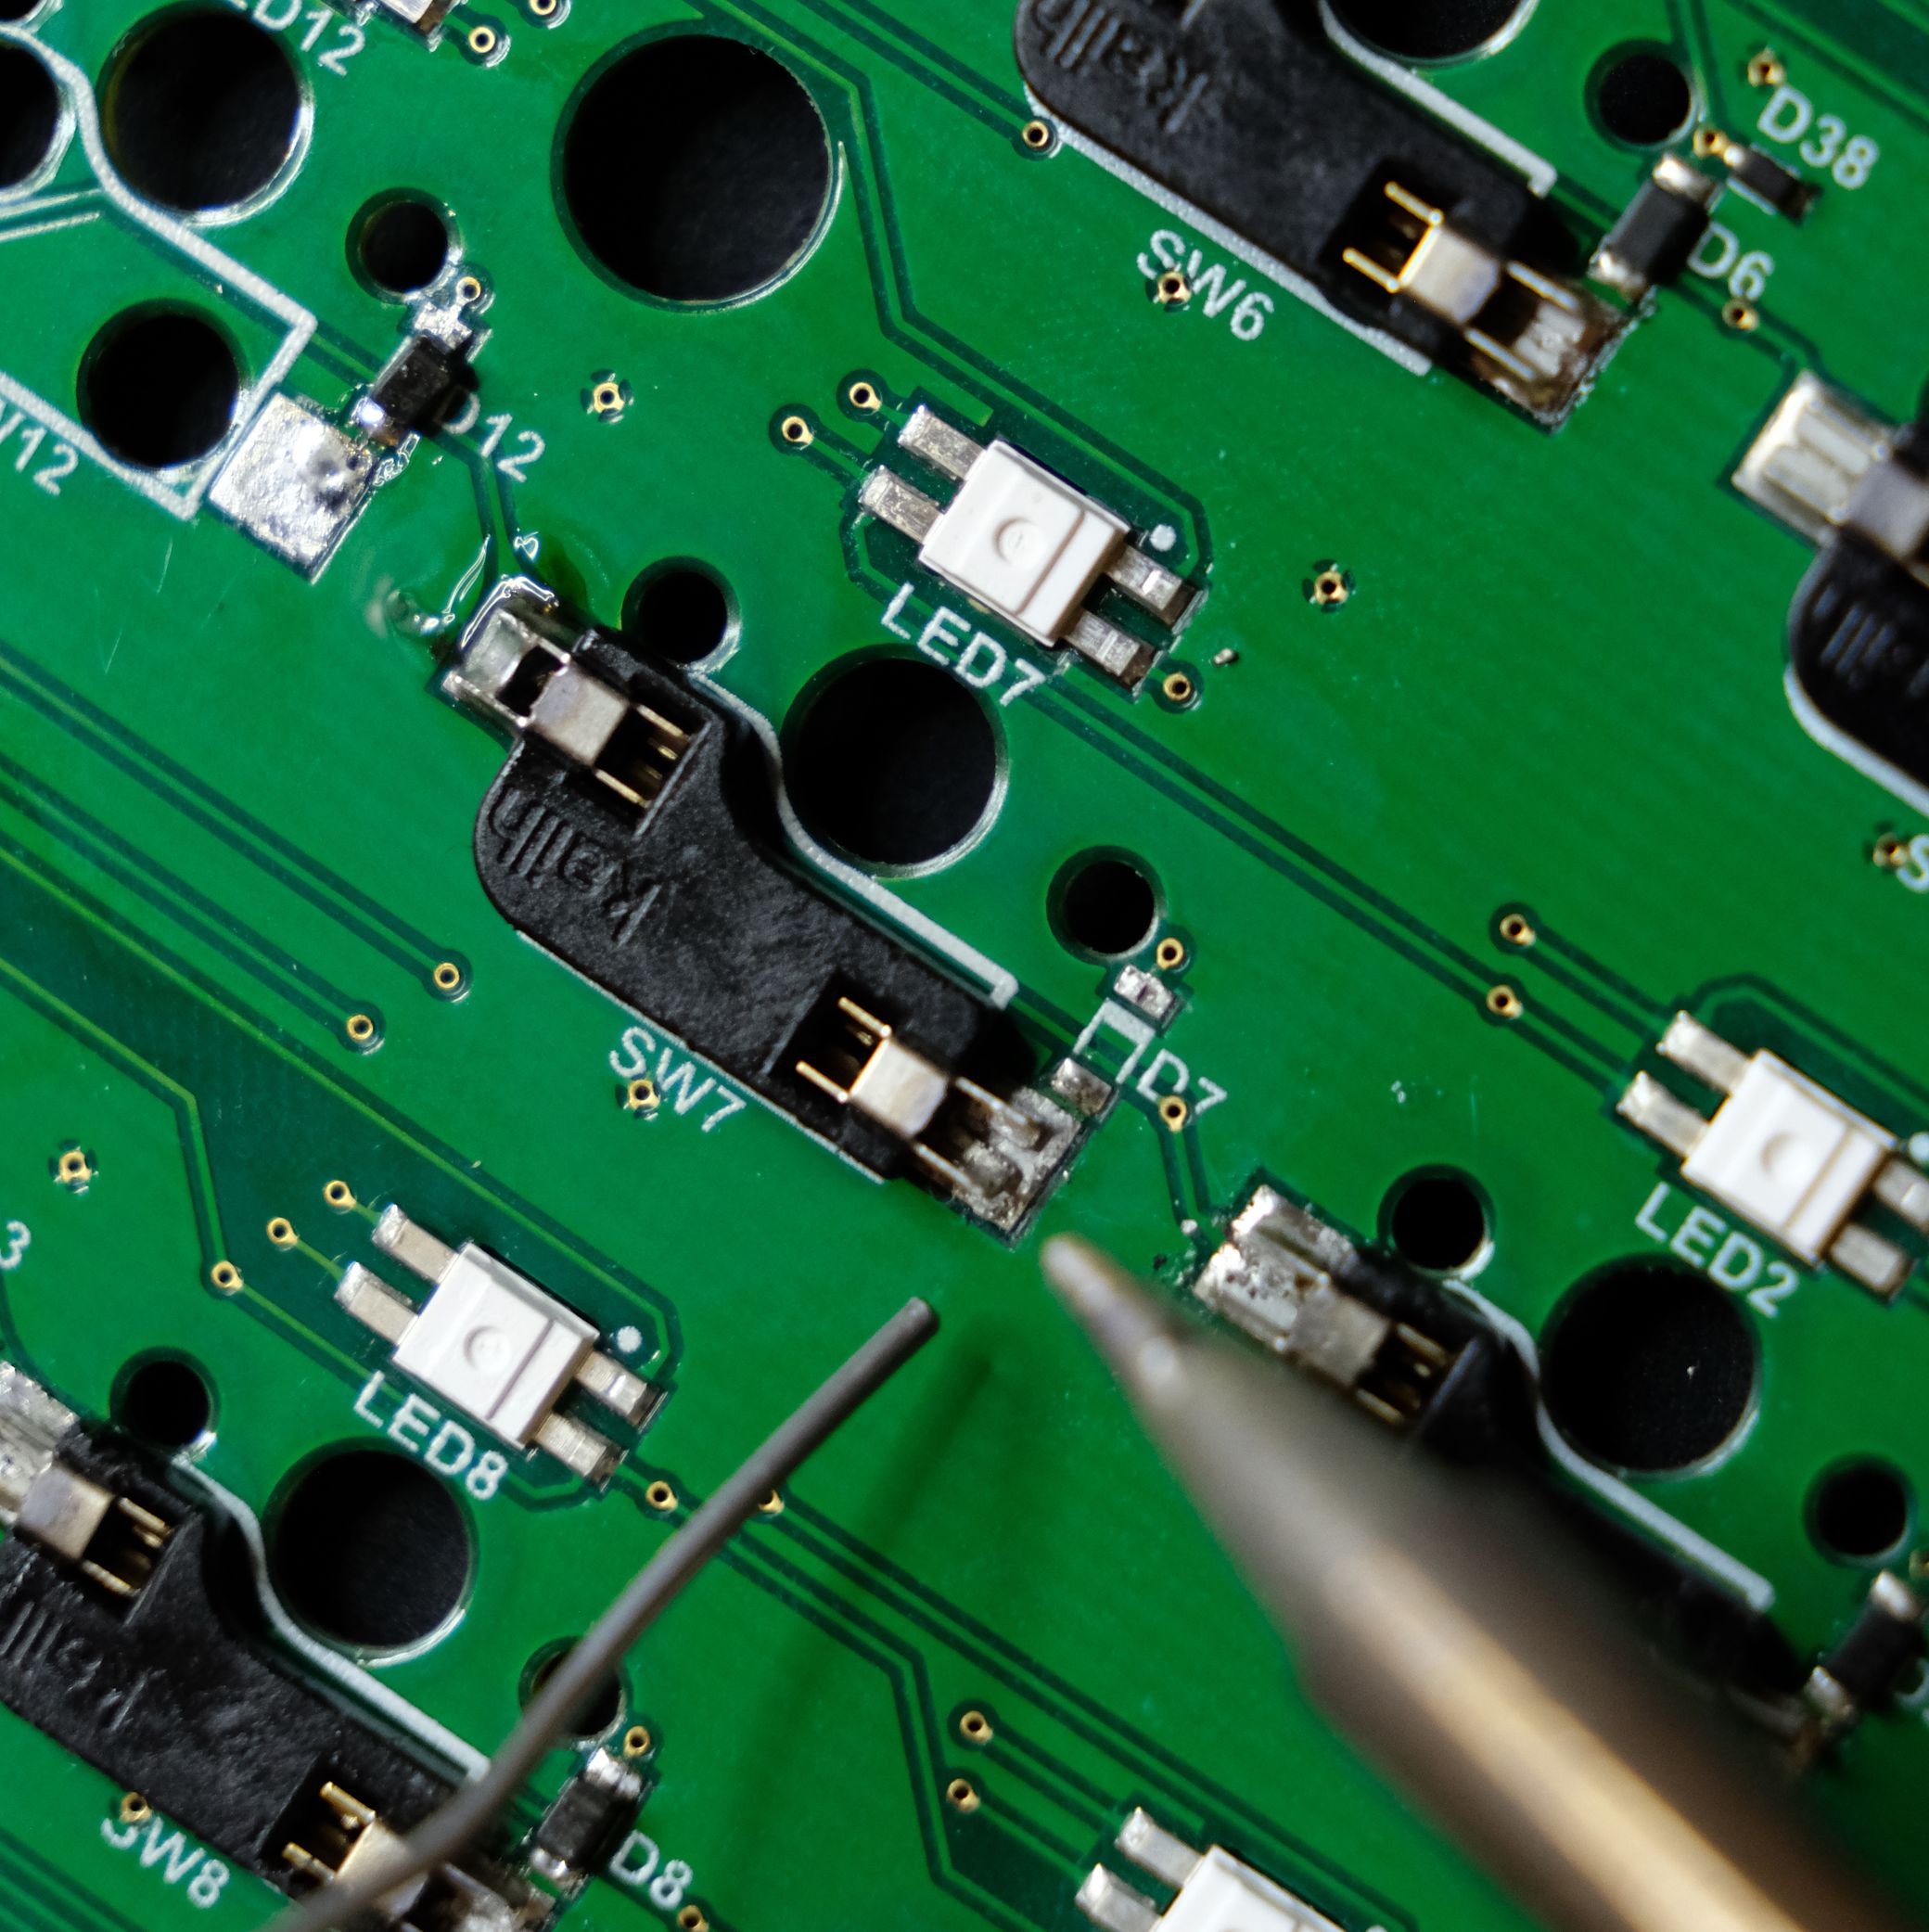 To fix a loose socket, first I create a little pile of solder, not being too concerned about a perfect connection just yet. Hotswap sockets are a forgiving component to solder because their prongs form almost a little box for the solder to go into. So just get a nice amount of solder in that box. You don't want it to be overflowing, but a good amount will help further secure the socket.
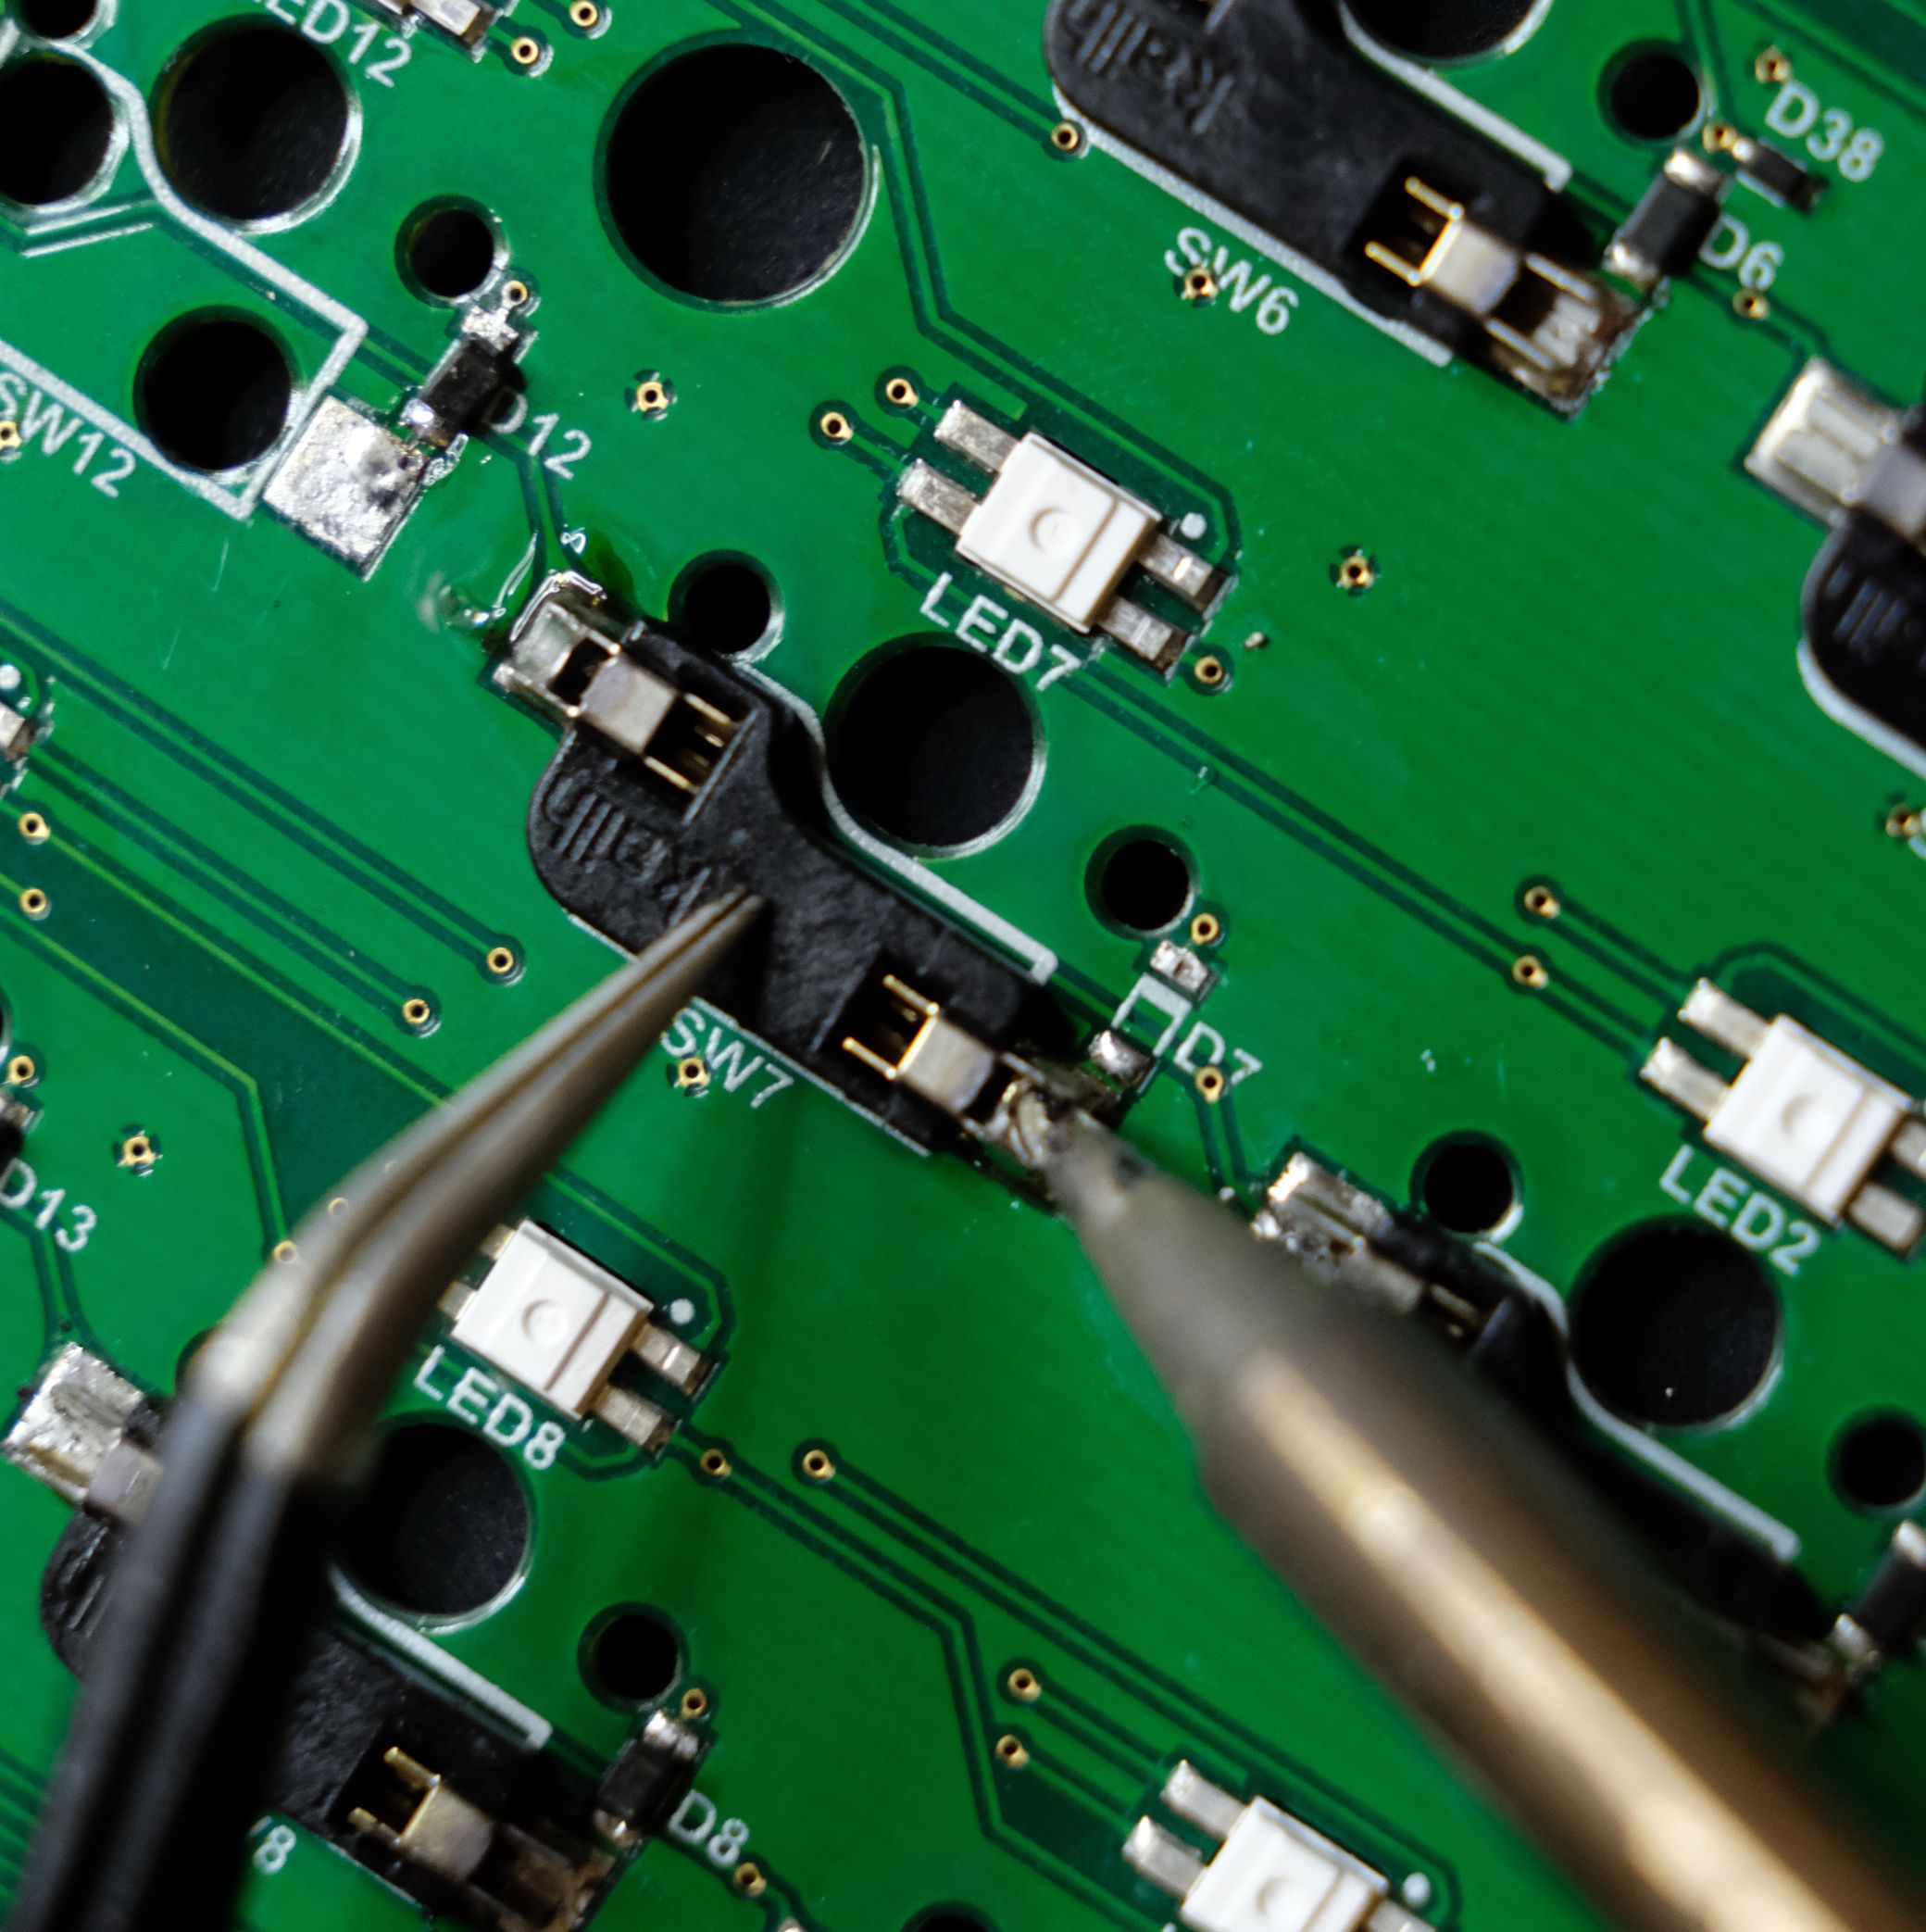 Now, with my pile of solder made, I use some tweezers to push the socket down while heating up that pile of solder again. This will turn the solder back into liquid and let the hotswap socket's contact sink into it. This is to make sure the socket is nice and flush against the PCB, and the solder has formed a good bond.
Technically, I could do both these steps at once, but separating them into two is both safer (to avoid burning yourself) and will usually lead to cleaner results.
 Tada! All better. This socket works again. Now, for the broken off socket.
Fixing a missing socket
Odds are that your broken off socket will still be in the case of the keyboard, rattling around. This is good because sockets can usually be reused even when broken off. If there is something wrong with your socket, Kailh hotswap sockets are a common and readily available part from various keyboard vendors.
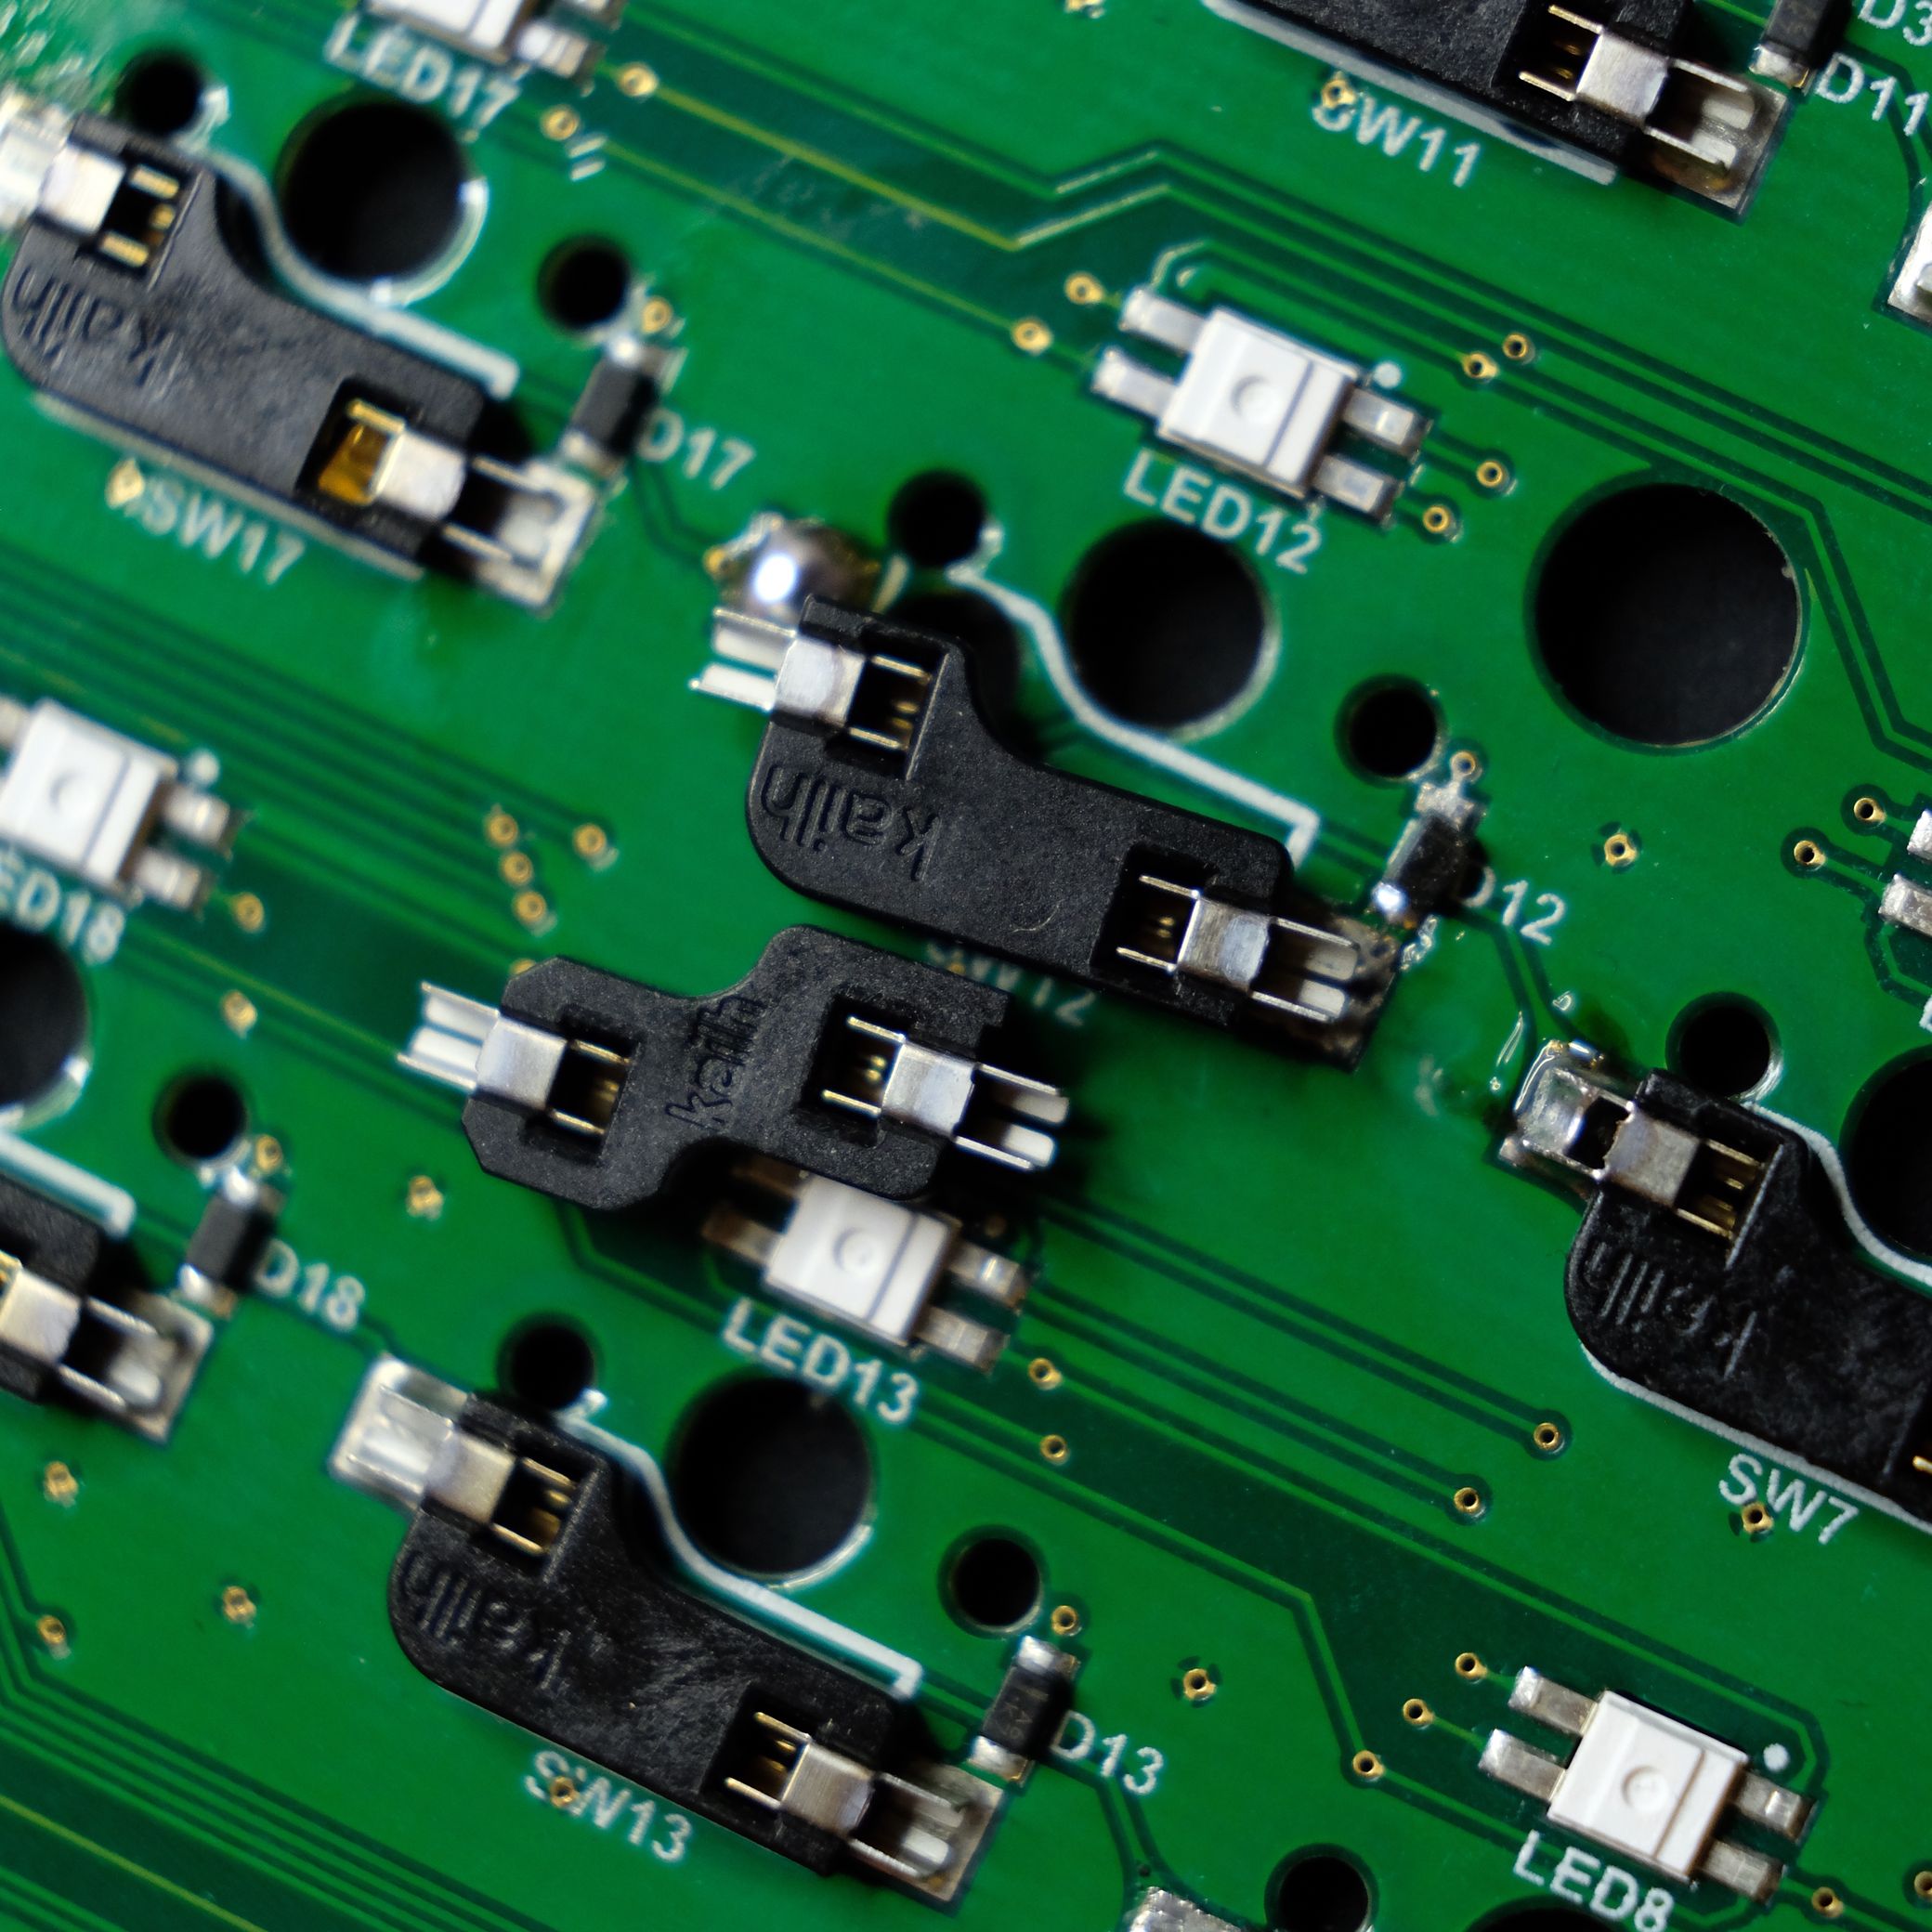 Just make sure you're getting the right kind: Kailh makes both MX-style and Choc hotswap sockets that are not compatible with each other. The socket on the bottom here is for Choc switches and the socket on the top is for MX switches. I think MX-style sockets look kind of like "L" pieces from Tetris while Choc sockets look like the zig-zag pieces. Of course, you can always look at the other sockets on your board to be 100% sure you have the right kind.
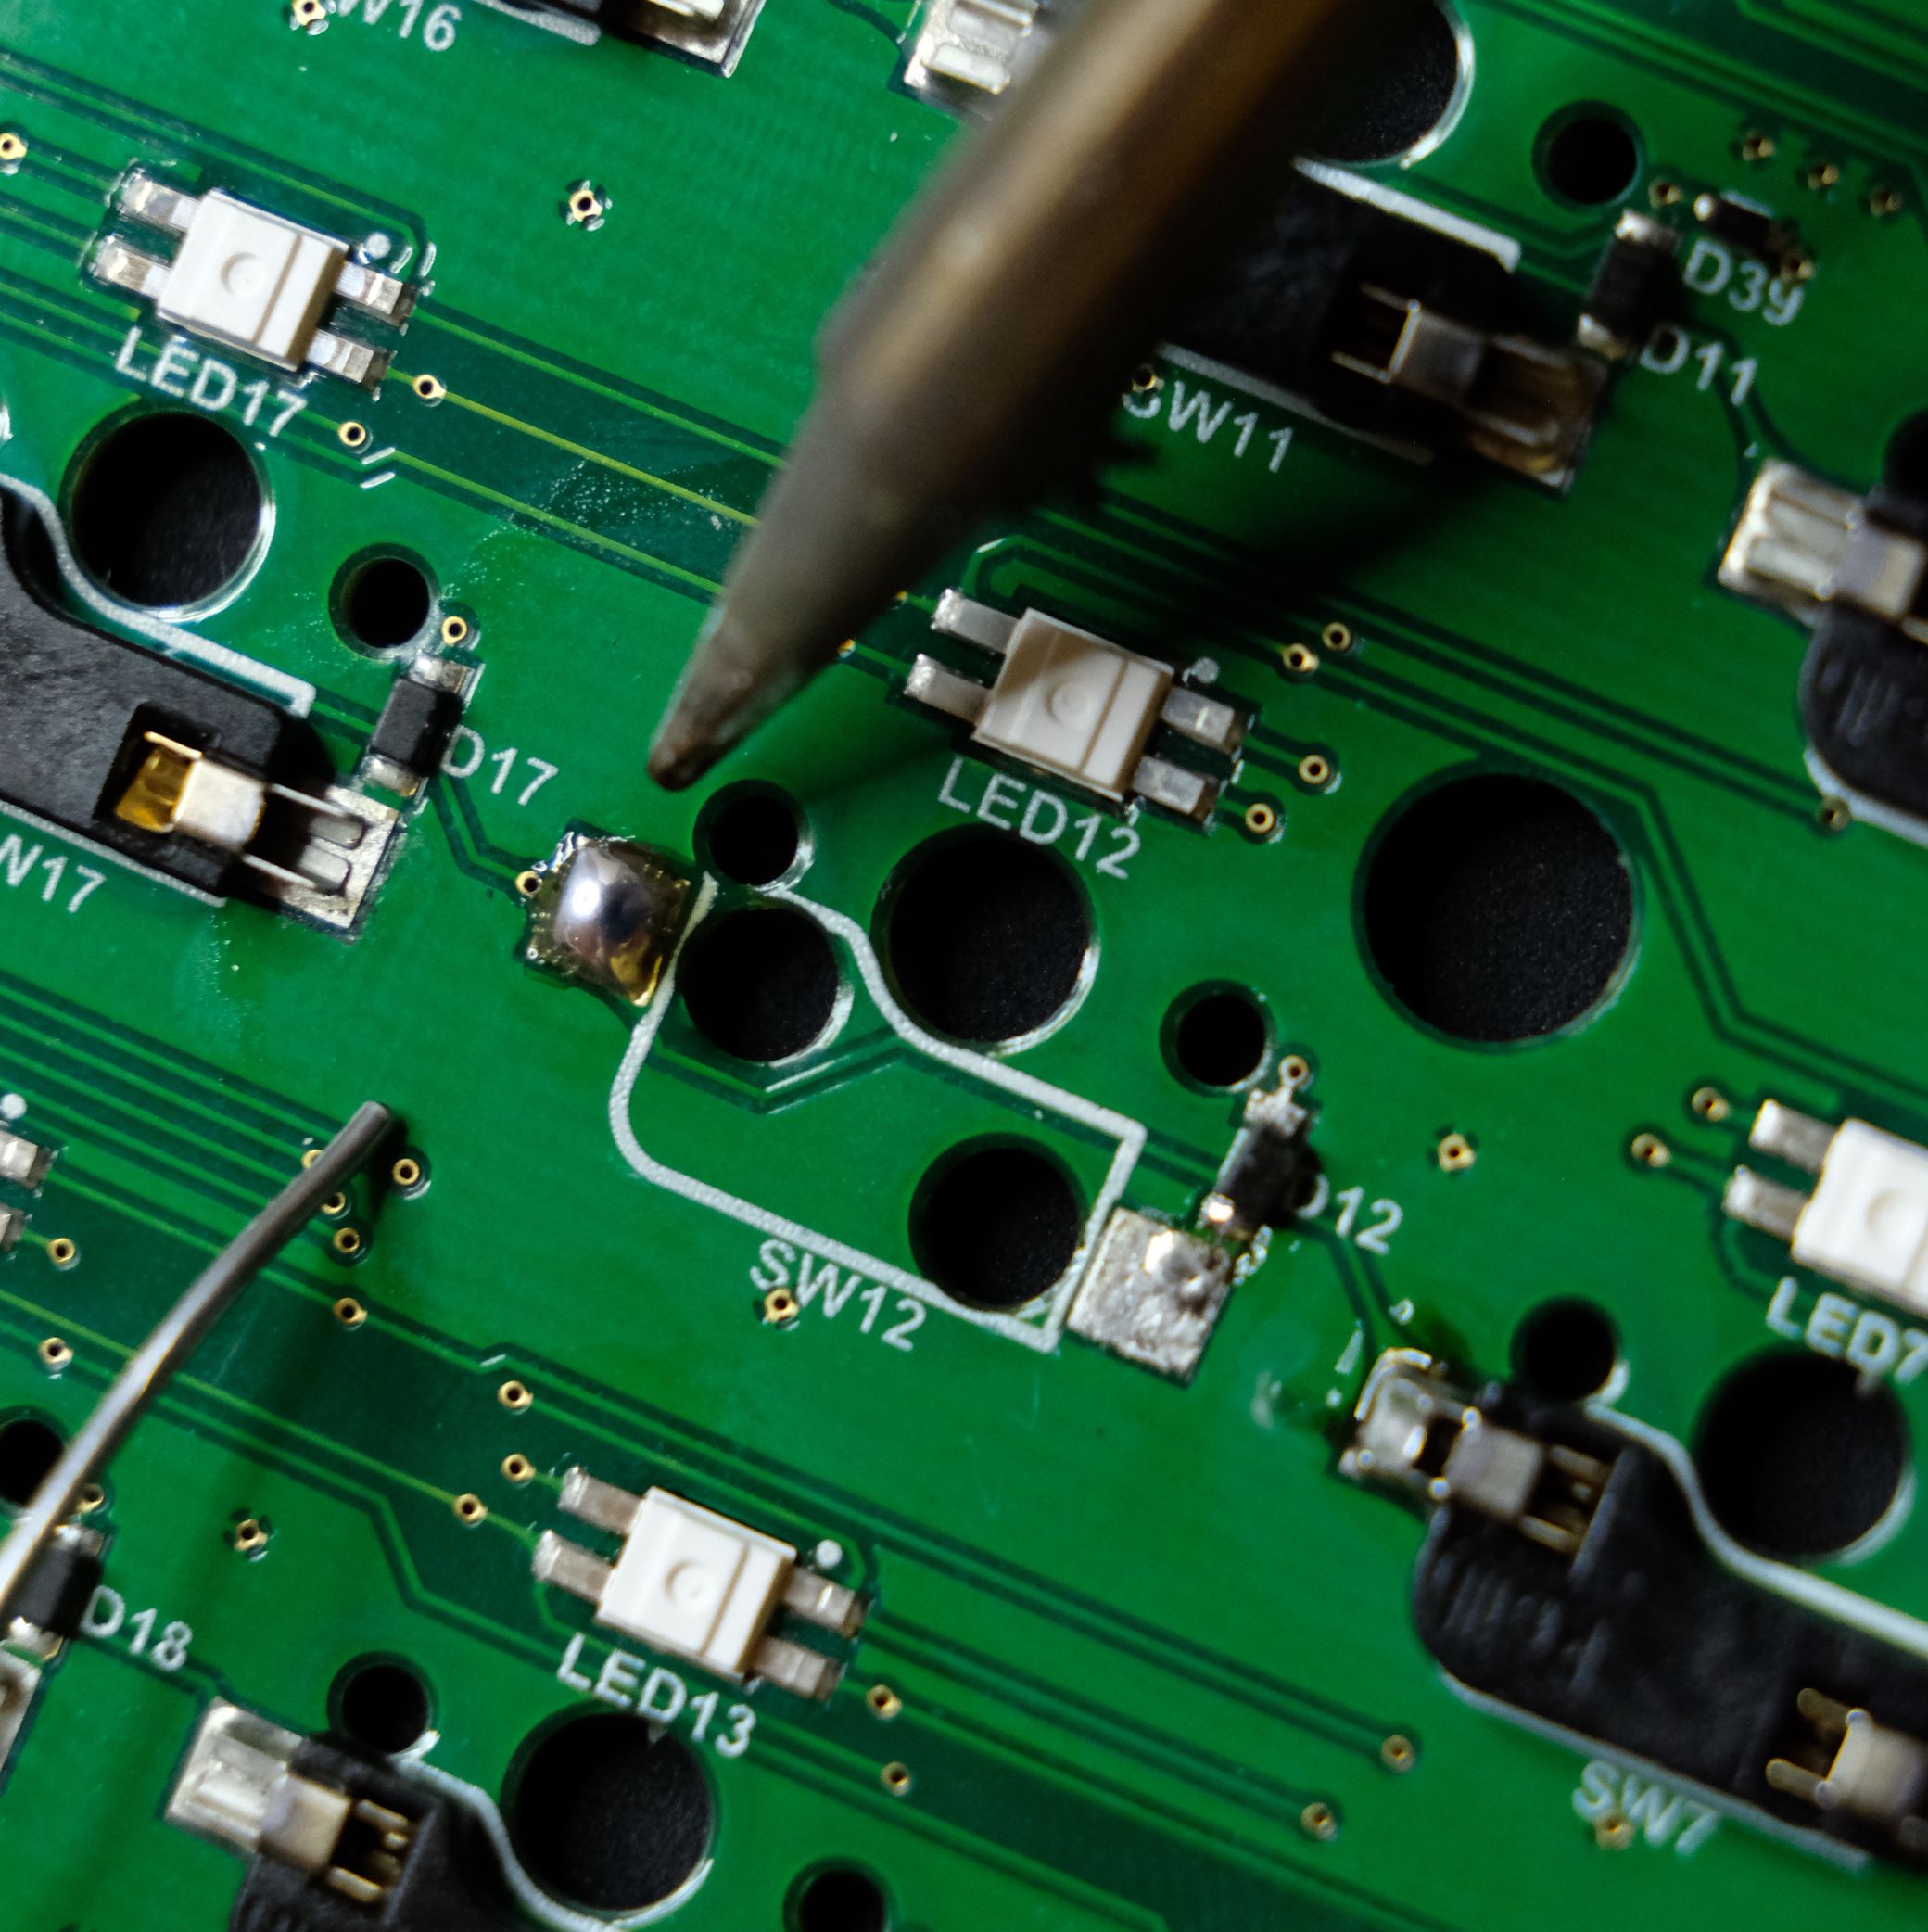 The process to fix a broken off hotswap socket is very similar. First, make your pile of solder.
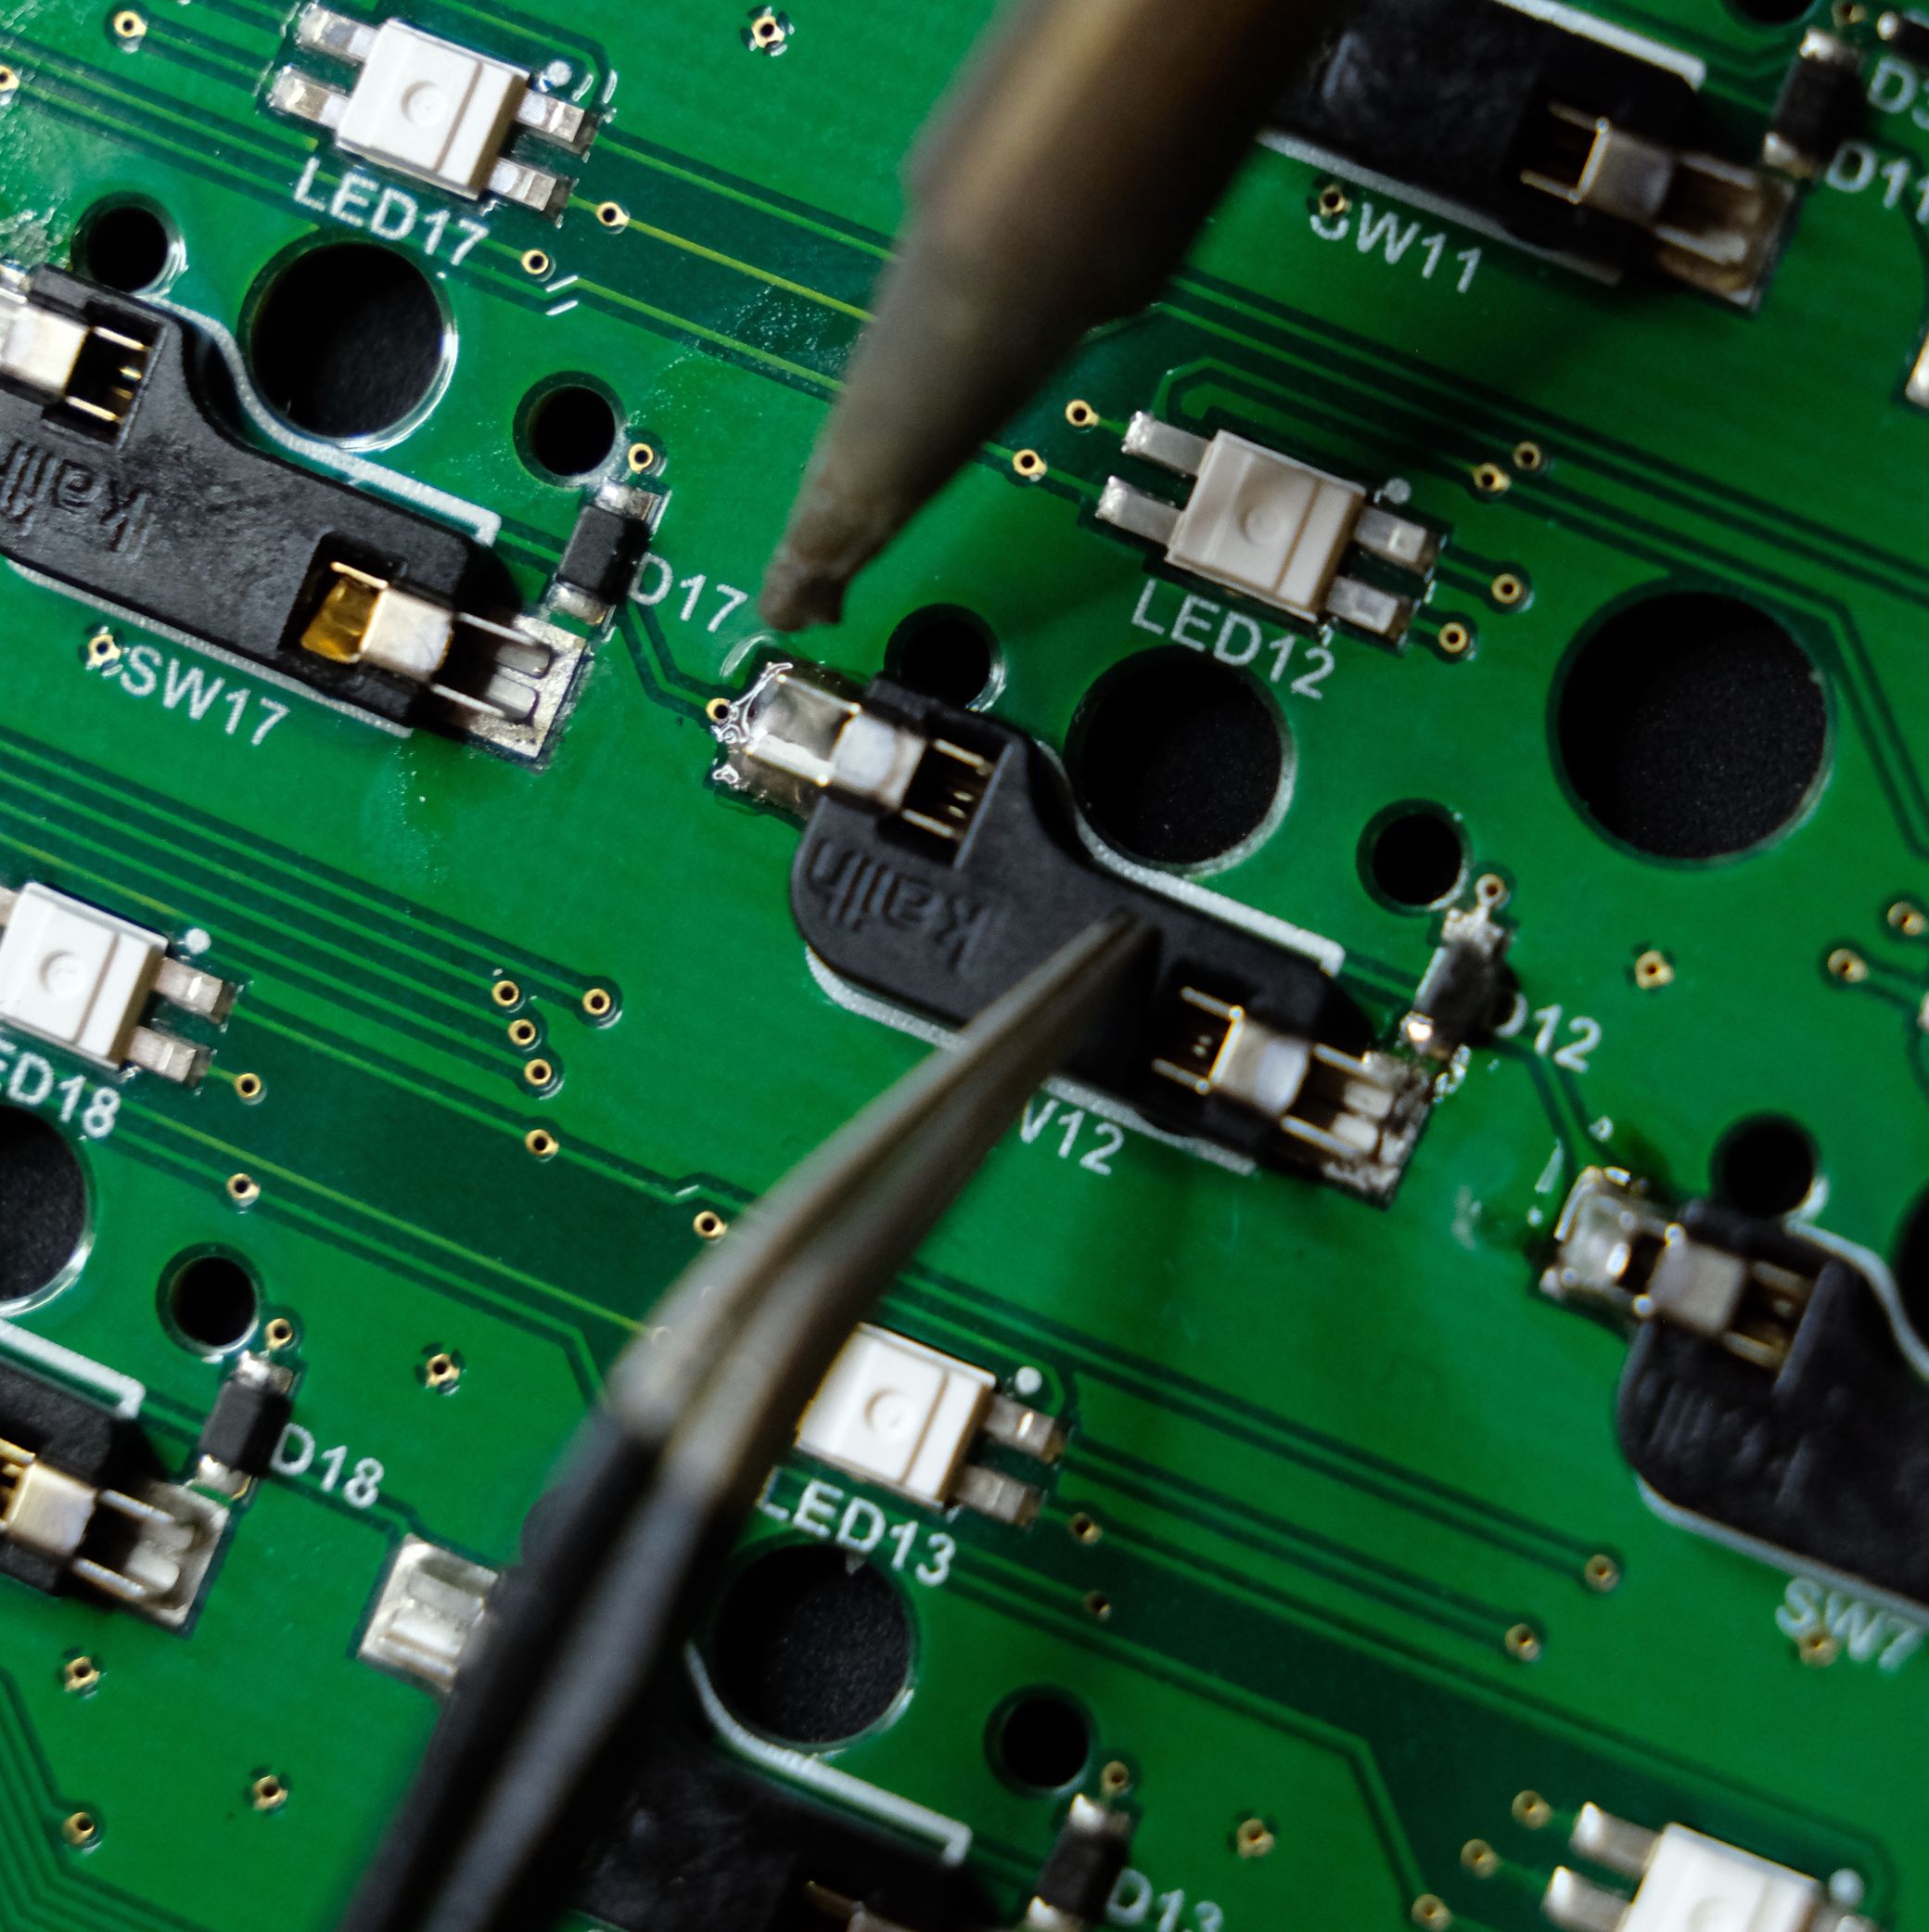 Then, reheat the solder and take extra care to make sure the socket is pushed nice and flush against the PCB. You may want to repeat this reheating and pushing process a couple of times to be sure.
 Finally, add a little bit of solder inside the hotswap prongs on the other side. You don't really have to worry about reheating and pushing down here as long as you did it for the first side.
 Success! A reattached socket. If you want to try out a repaired socket before reassembling your board, just be sure to push against it from the back while you insert a switch or you may end up breaking it off all over again.