Mechanical switches make sound. There are ways to reduce this sound, like installing o-rings, but there are also ways to enhance this sound. Many mechanical keyboard lovers embark on a quest to make their keyboard "thock". The goal is to make the key presses bassy and satisfying. So, the natural question arises: Can we make a Moonlander thock?
The reality of thock is nuanced. Keyboard sound is influenced by tons of factors, which is why there is so much discussion of keyboard thock online. There isn't one single recipe for the perfect thock for everyone. In this article, I'm going to cover one element of keyboard sound control: foam.
Warning: The procedures in this article will void your warranty. This guide is intended for people who want as much control over the sound of their keyboard as possible and are okay with DIY fixes if issues come up. If you would like to keep your warranty intact, you can still get a lot of acoustic benefit from using a your board on a desk mat and swapping out your switches for pre-lubed ones. If something goes wrong, we do offer replacement parts as well.
Why install foam
There is a fundamental acoustic principle at play when thinking about foam: sound is vibrations in the air. When you have a lot of air with big, smooth surfaces to bounce off of, sound is amplified. Think of echoes in a cave.
On the other hand, when you have very little air in a very constricted space, sound tends to become much more flat or muffled. Without room to bounce around, it dies out quickly.
So, while keyboard foam does change how your keyboard sounds, its purpose is really about minimizing the variance of the sound. A keyboard with foam sounds "flatter" than a keyboard without foam — that's the point. It eliminates unpredictable resonance and echo. It's easier to control and tweak the sound when it is very similar each time.
Keyboard foam is not really a solution to keyboard thock on its own. It's more like creating a canvas to let the sound of your switches come through crisp and clearly. For this guide, I'll be using a sheet of neoprene, but there are lots of other materials you can try.
Installing case foam
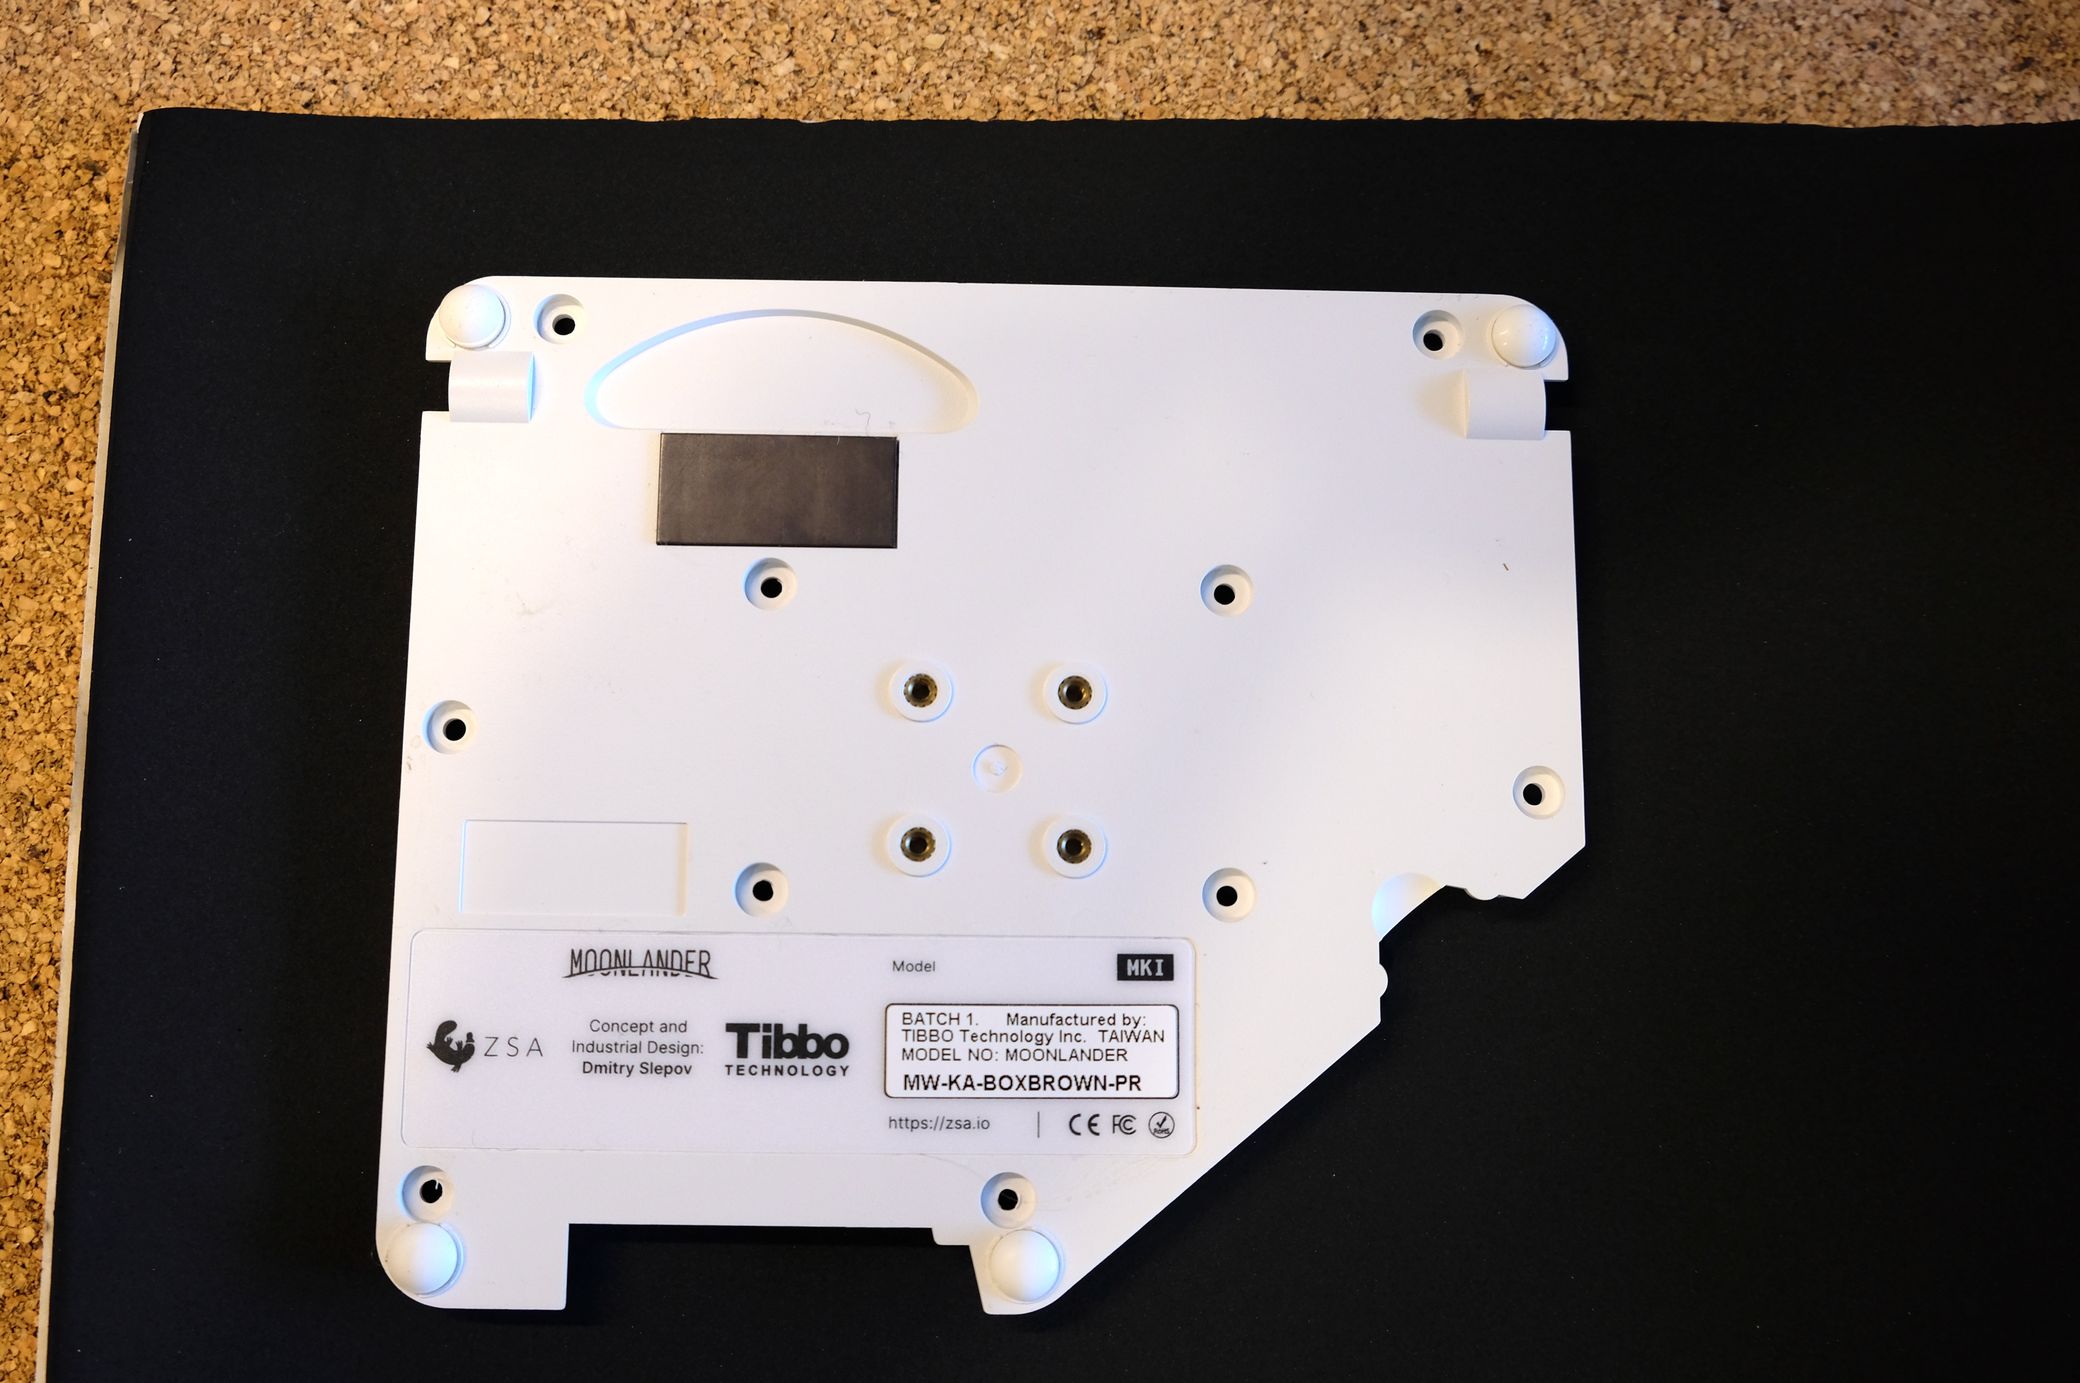
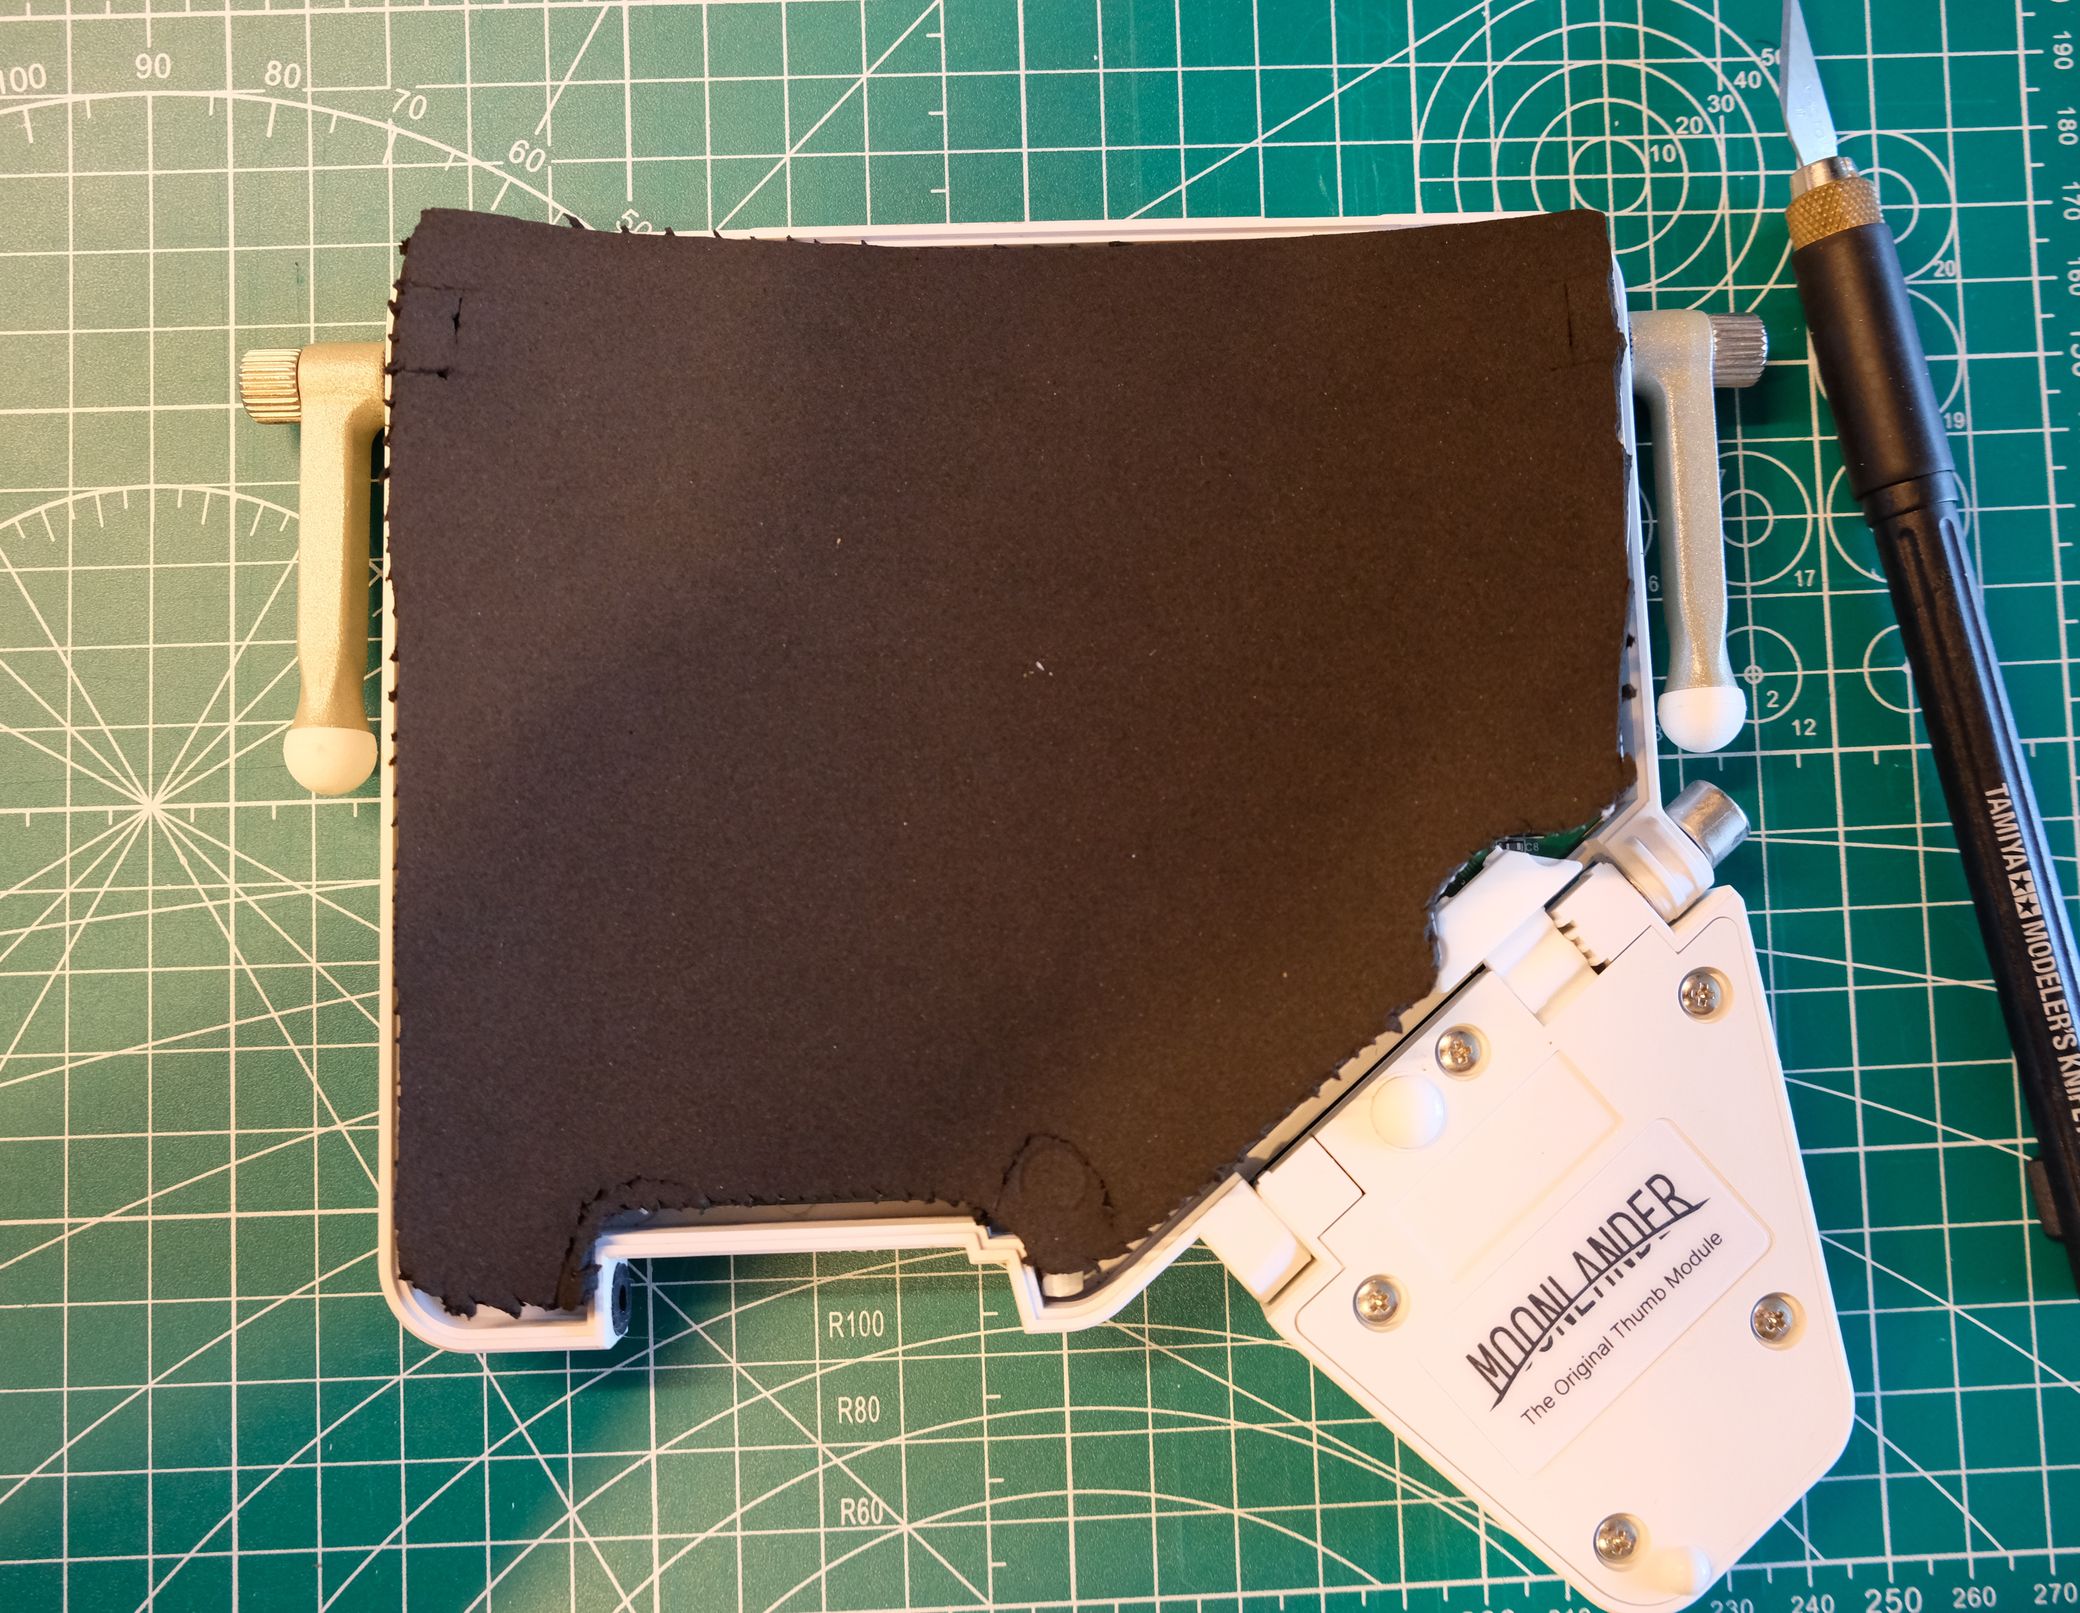
The basic idea of case foam is to fill the cavity of the keyboard case underneath the PCB since that's where most of the empty space for sound waves to bounce around is. The Moonlander's backplate is a convenient reference for cutting out a custom foam insert. Just unscrew the backplate, lay it down on your foam sheet, and use any old pen to trace a rough outline.
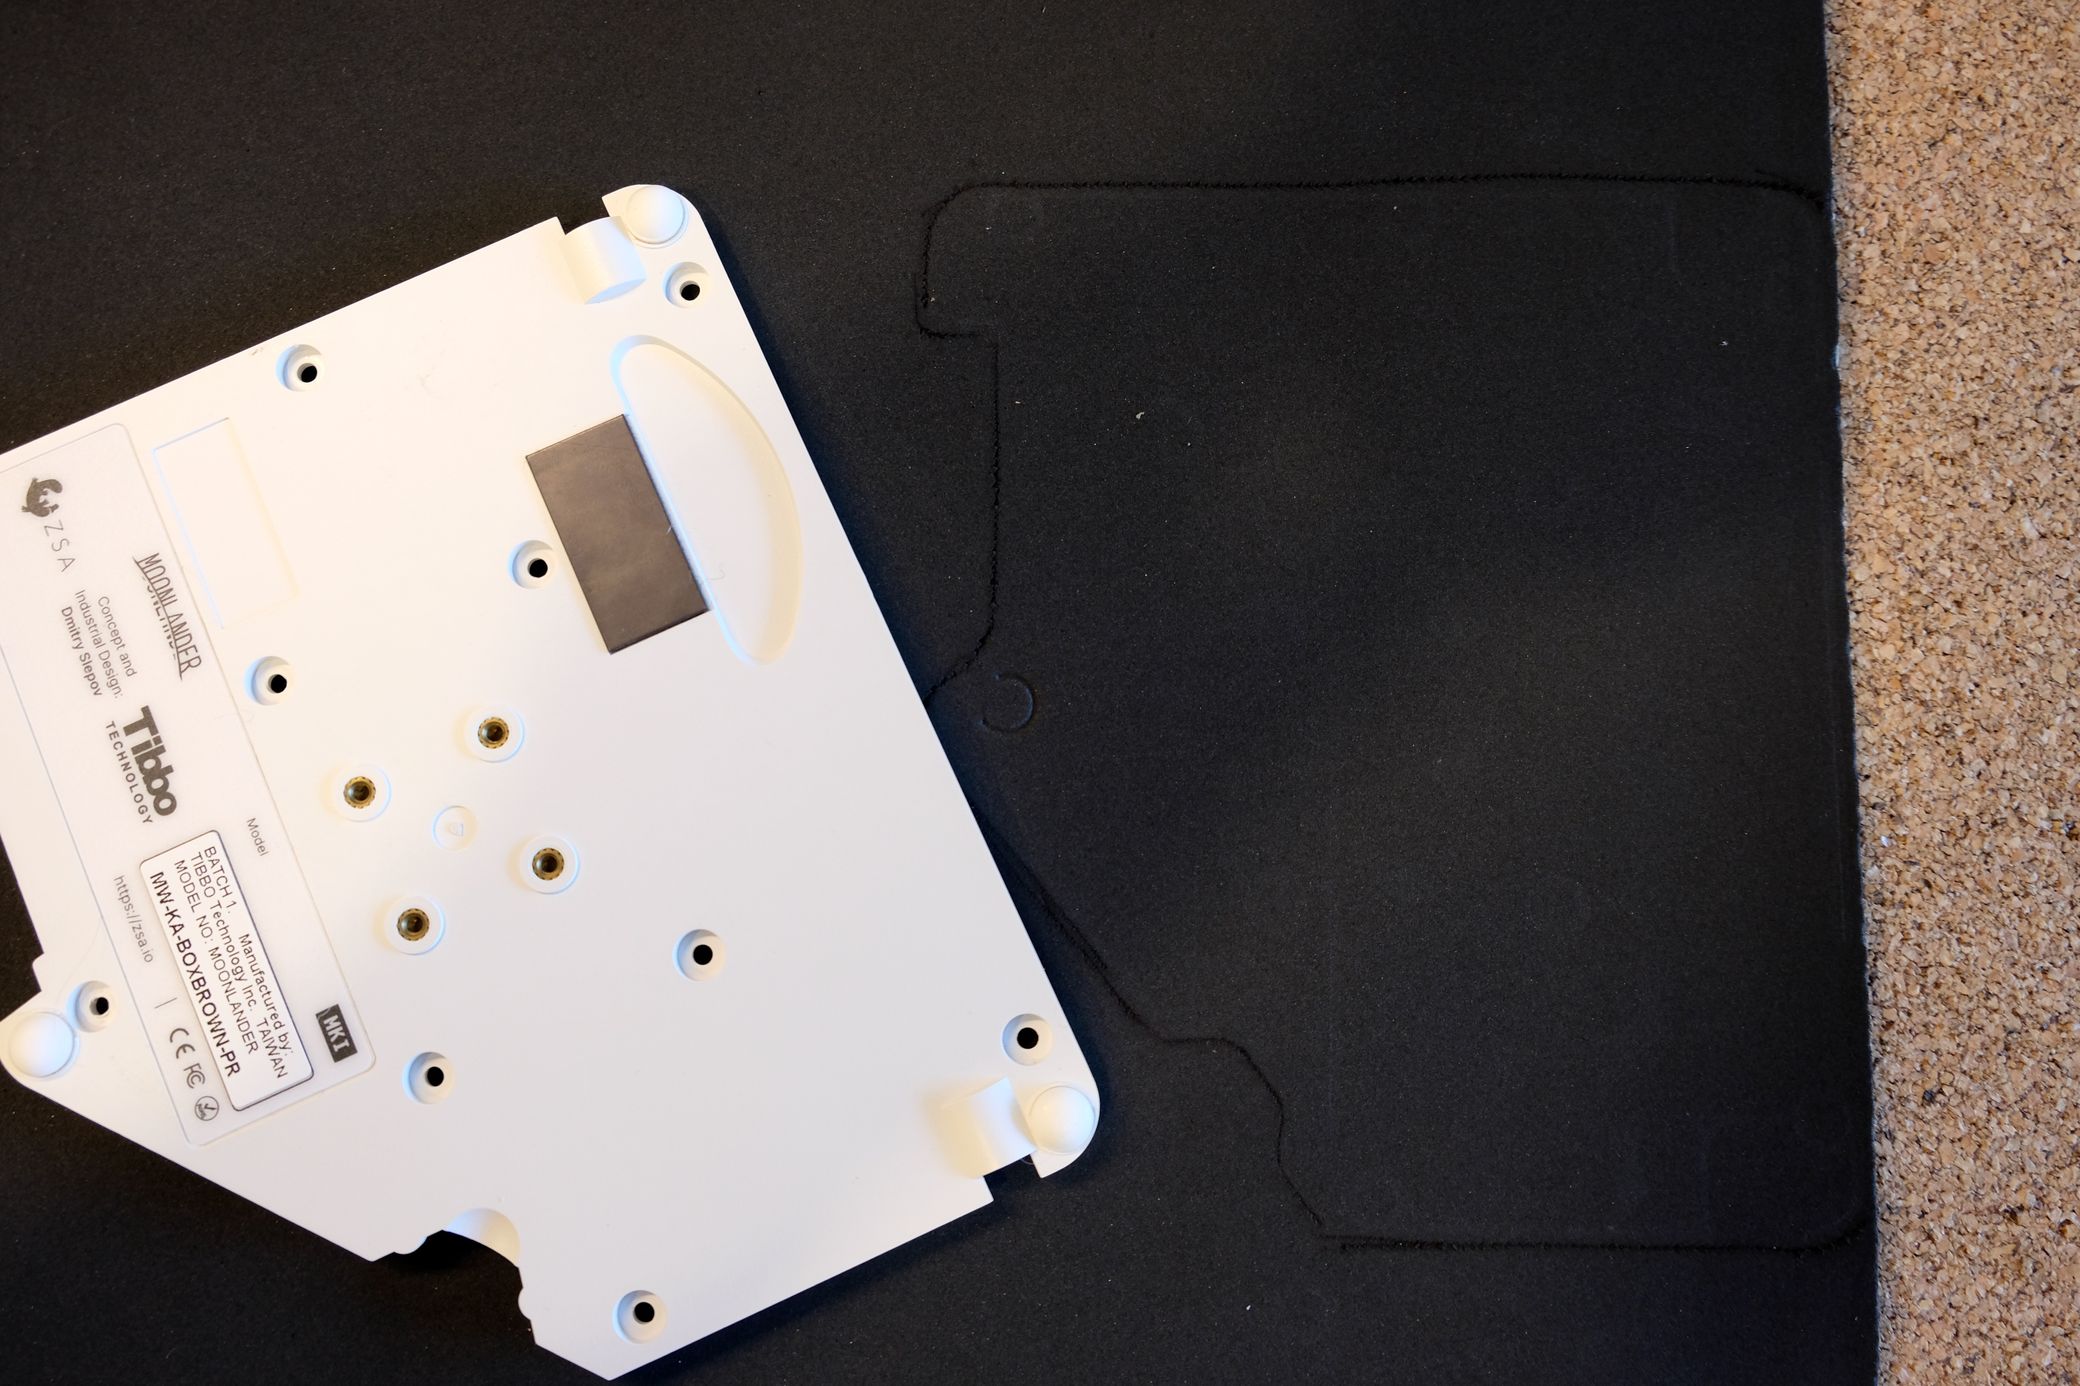
Now carefully cut along the outline. It's okay if it isn't perfect yet. It's better to cut a little bit larger than you'll think you'll need because you can always trim it.
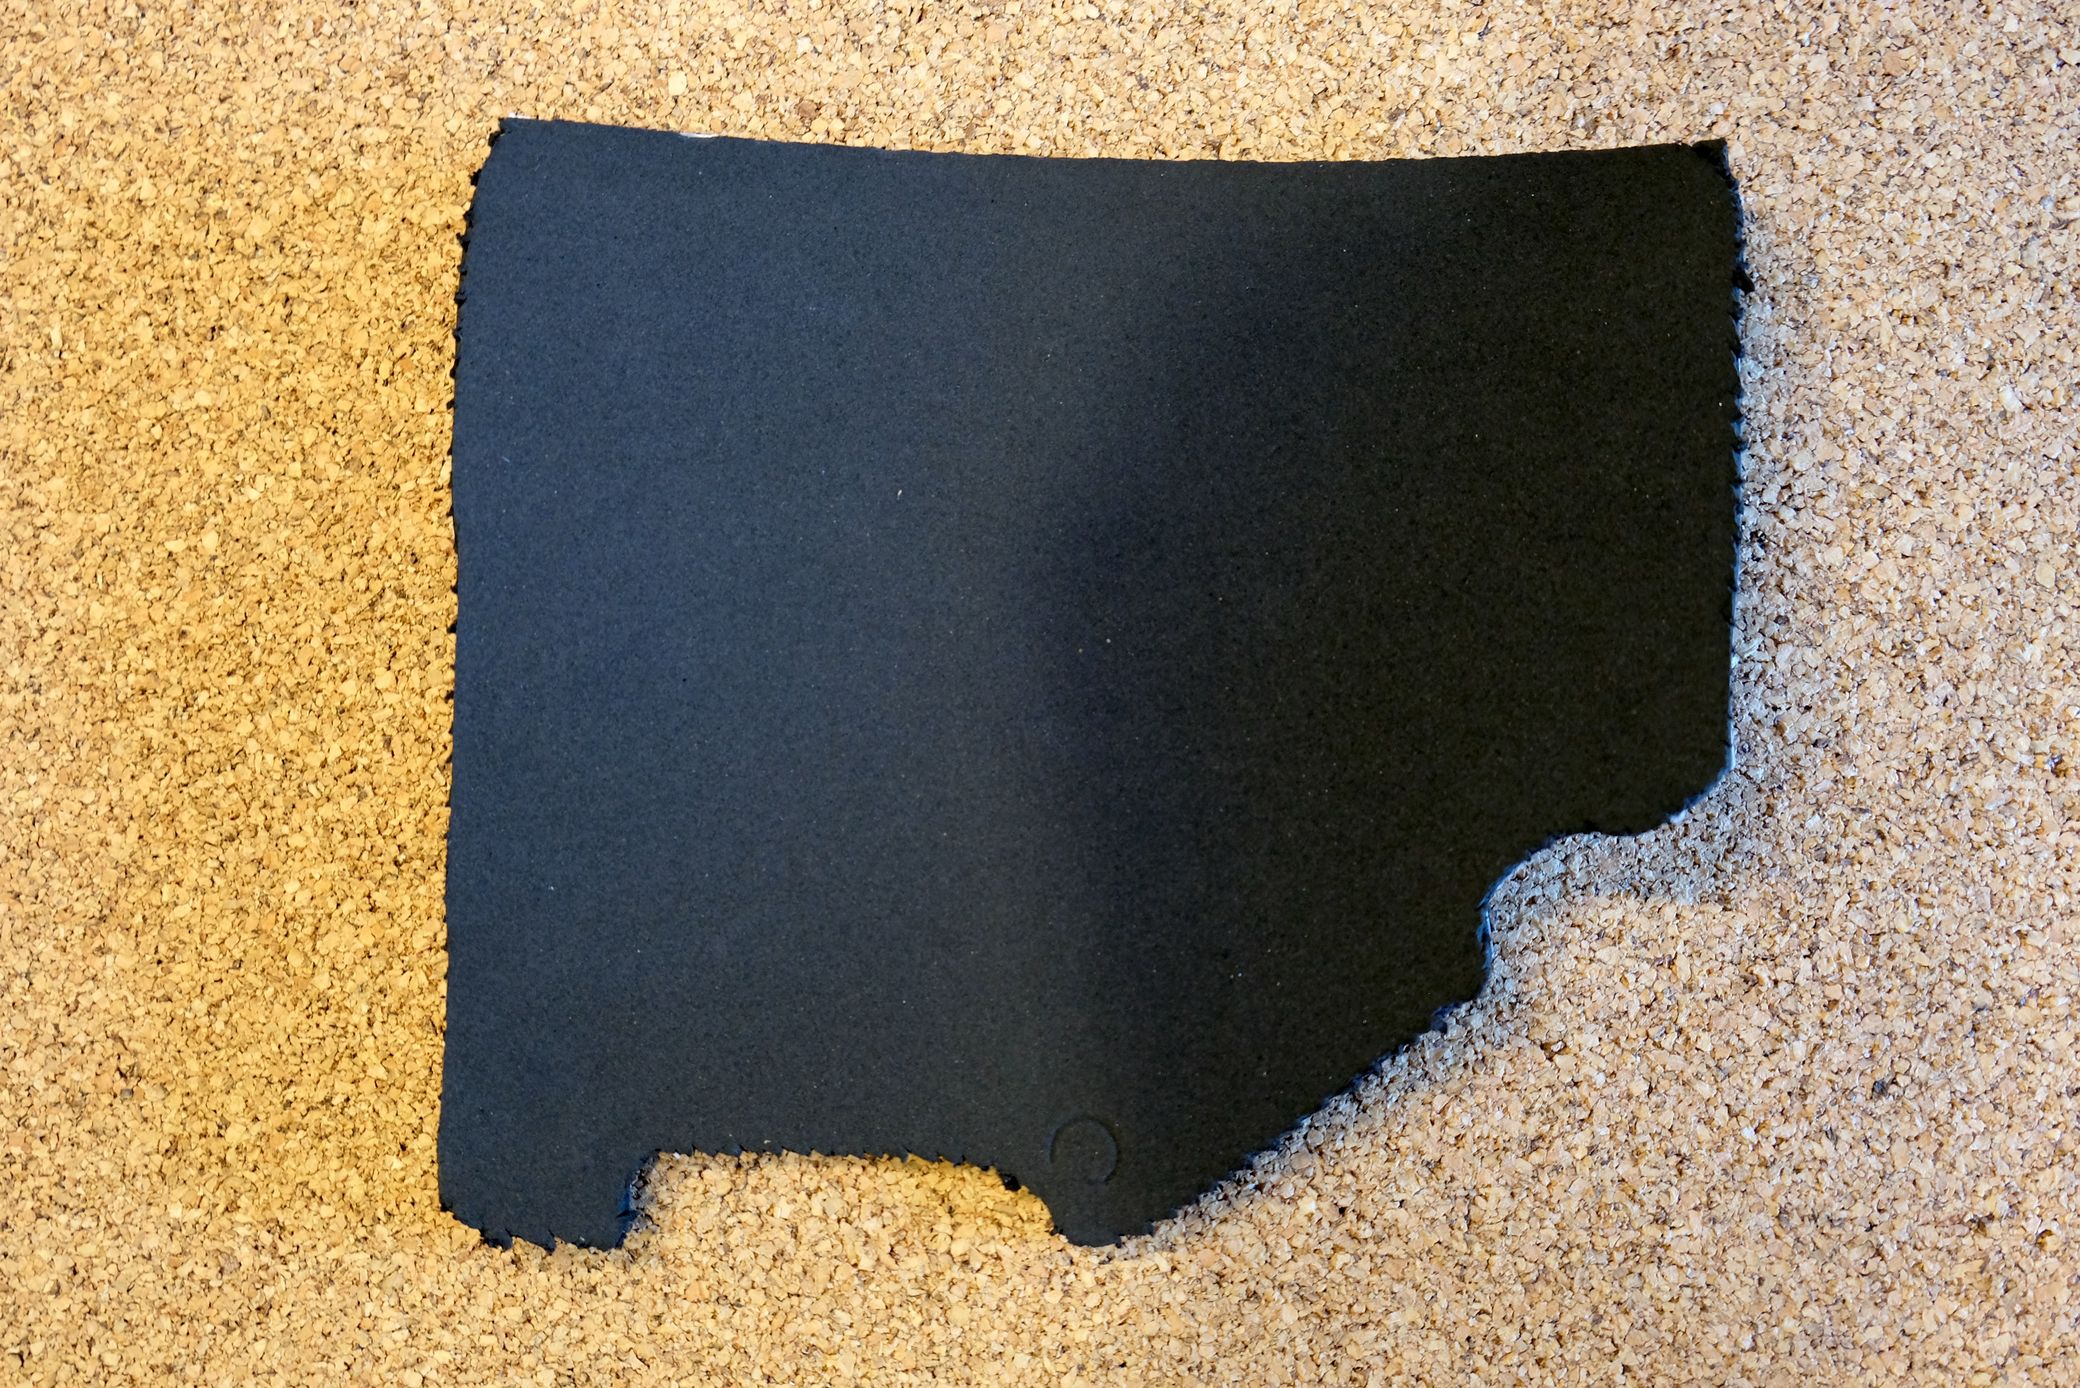
Time for a test fit.
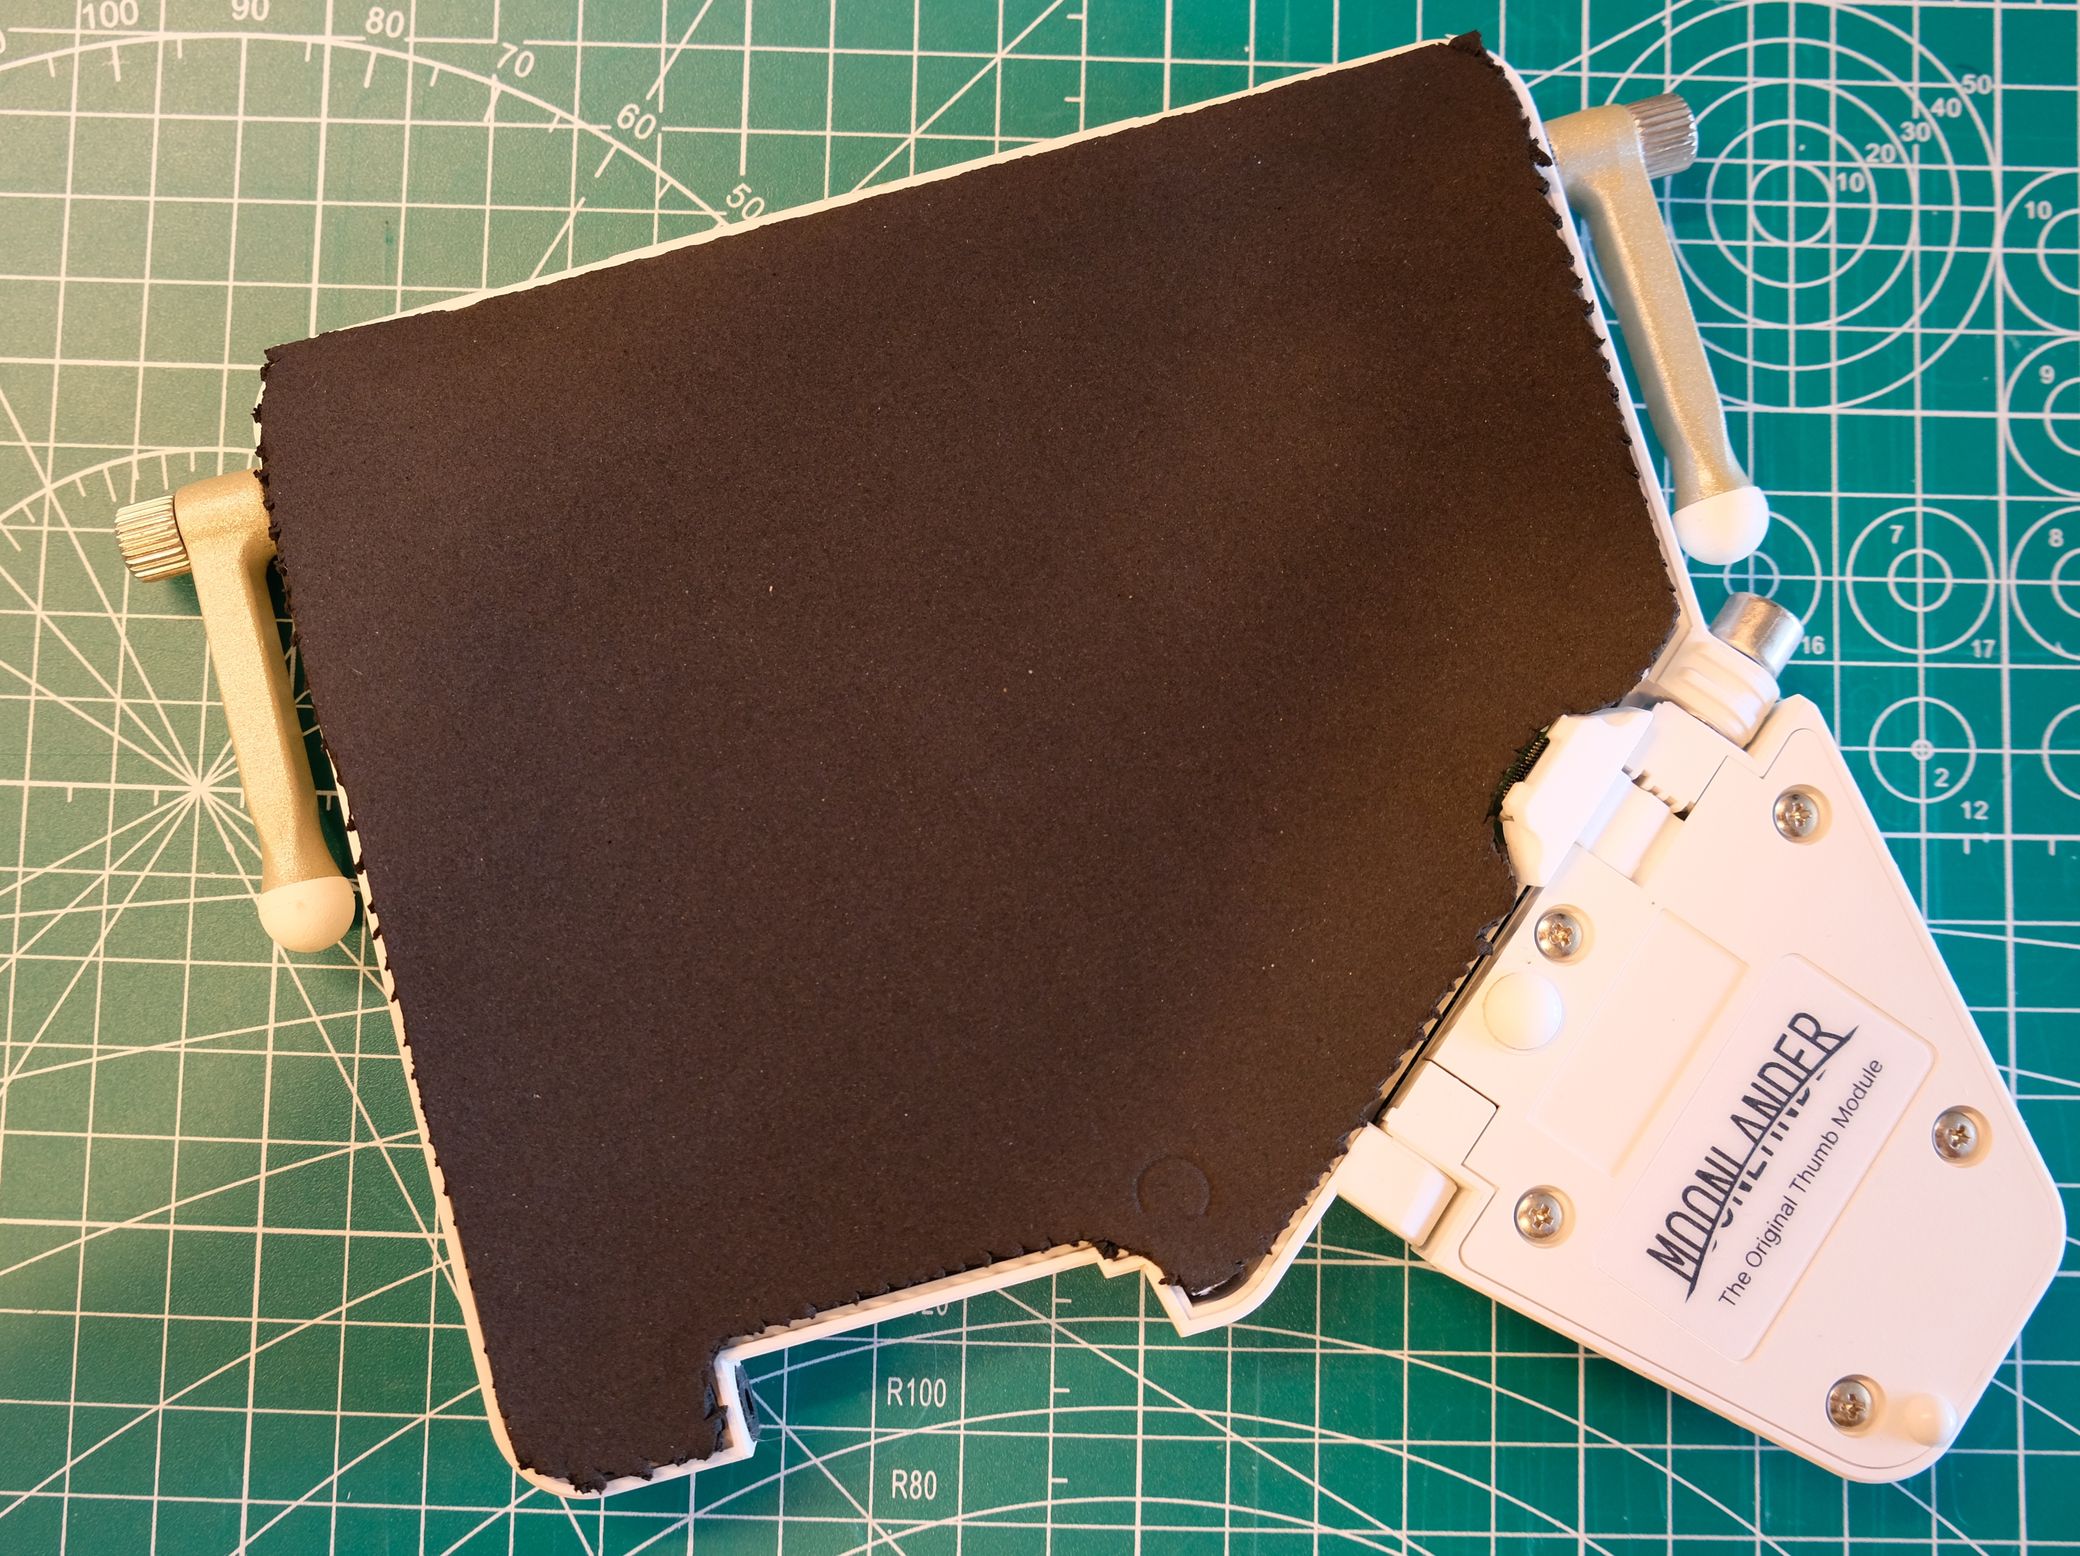
It's looking pretty good already, but the top edge is just a little too tall. It also needs space for the parts of the case that hold the legs. Let’s refine the shape:
Don't forget to mark where the case screws are and cut holes for them to go through.

Great! It's okay if the insert is a little bit messy on the edges. No one is going to see if after you close the board up.
Note that here I'm using 1/8 inch (about 3mm) thick neoprene sheets. This does work for the Moonlander, but it is very tight and the back panel of the board bulges slightly, so the keyboard could end up wobbling on your desk. I'd recommend something like 1/16 inch or 2mm foam instead.
For the ErgoDox EZ, 3mm of thickness or so works well, but you can also always stack layers of foam if you want to try something thinner.
I would not recommend case foam for the Voyager. The internal tolerances of the board are already really tight — even 1mm of foam would be pushing it, and it probably wouldn't have much of an effect anyway.
So that's case foam, but there's one more foam-based mod you can do to make the sound of your board even more crisp.
Installing switch foam
Another type of keyboard foam you might see is switch pads. The idea behind them is a little bit different from case foam. Think about the those small felt pads you can stick to the bottom of chairs. Without them, your chair will scrape against the ground as you move it. With them, moving the chair might not be silent exactly, but it will sound a lot more pleasant.
Even when switches are mounted securely to the PCB, there can still be small movements either side-to-side or up-and-down that create inconsistencies in the sounds of key presses. Switch pads cushion the bottom of switches so these tiny movements don't make a sound anymore. This is for the hardcore thock seekers.
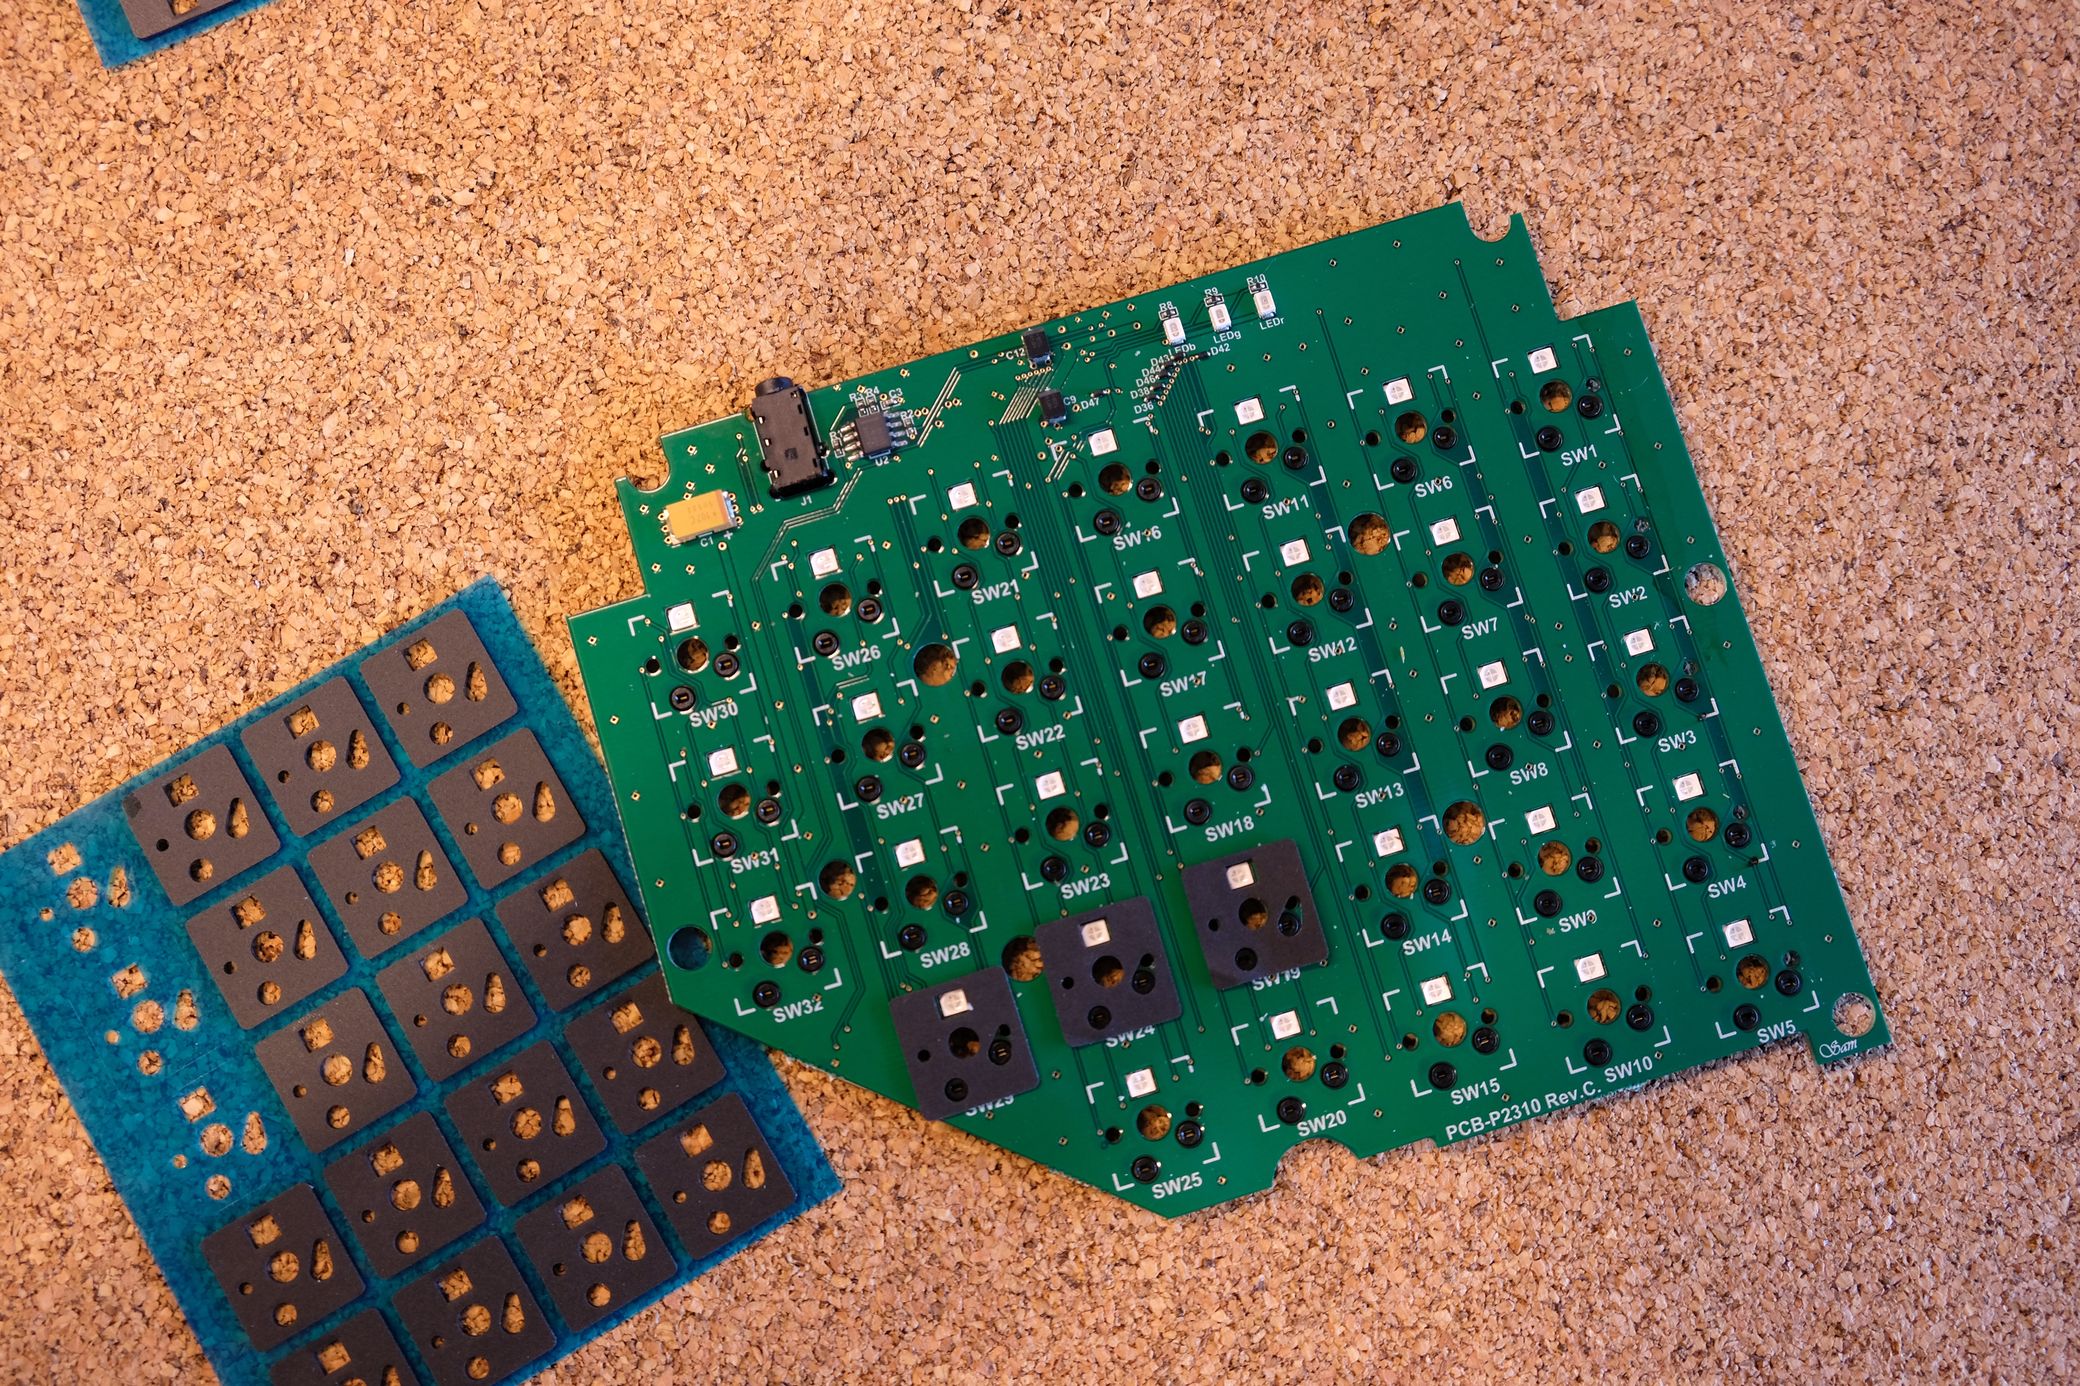
Installing the pads is straightforward, though. It just takes some time. First, remove all your switches and take out the PCB so you're looking down at it from the top (the switch sockets facing down).
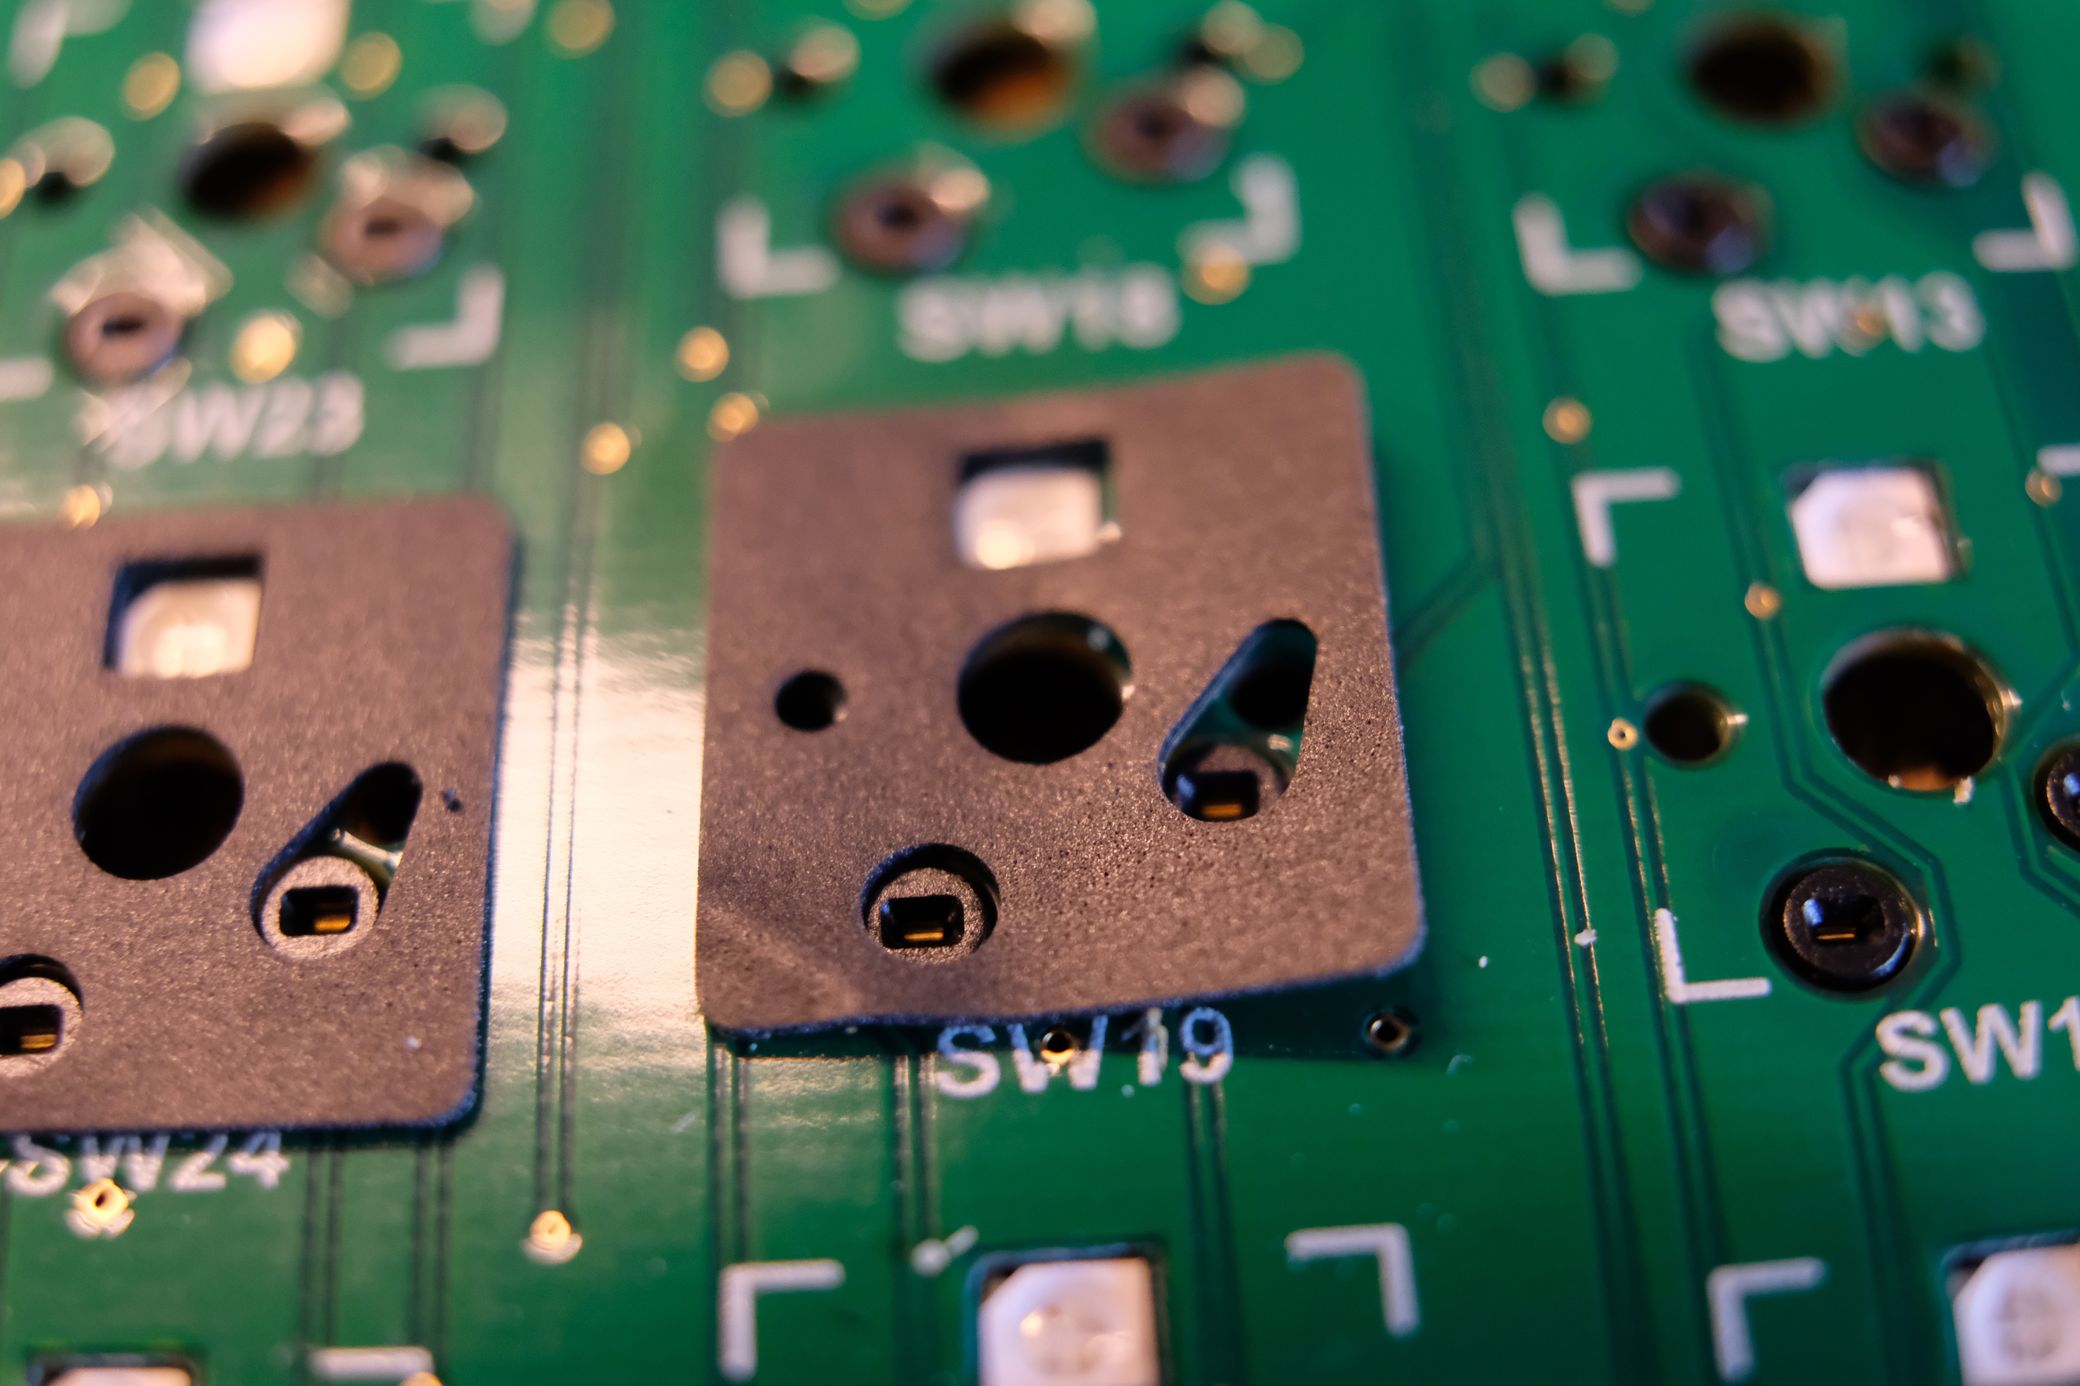
Then, peel off a switch pad and lay it down, making sure to line up the cutouts with the parts of the PCB. I found the best strategy was sticking down one side of the pad slightly outside of the printed switch area on the PCB, then pushing it down from that side to the other, kind of like a screen protector.
Eventually, your PCB should start to look like this.
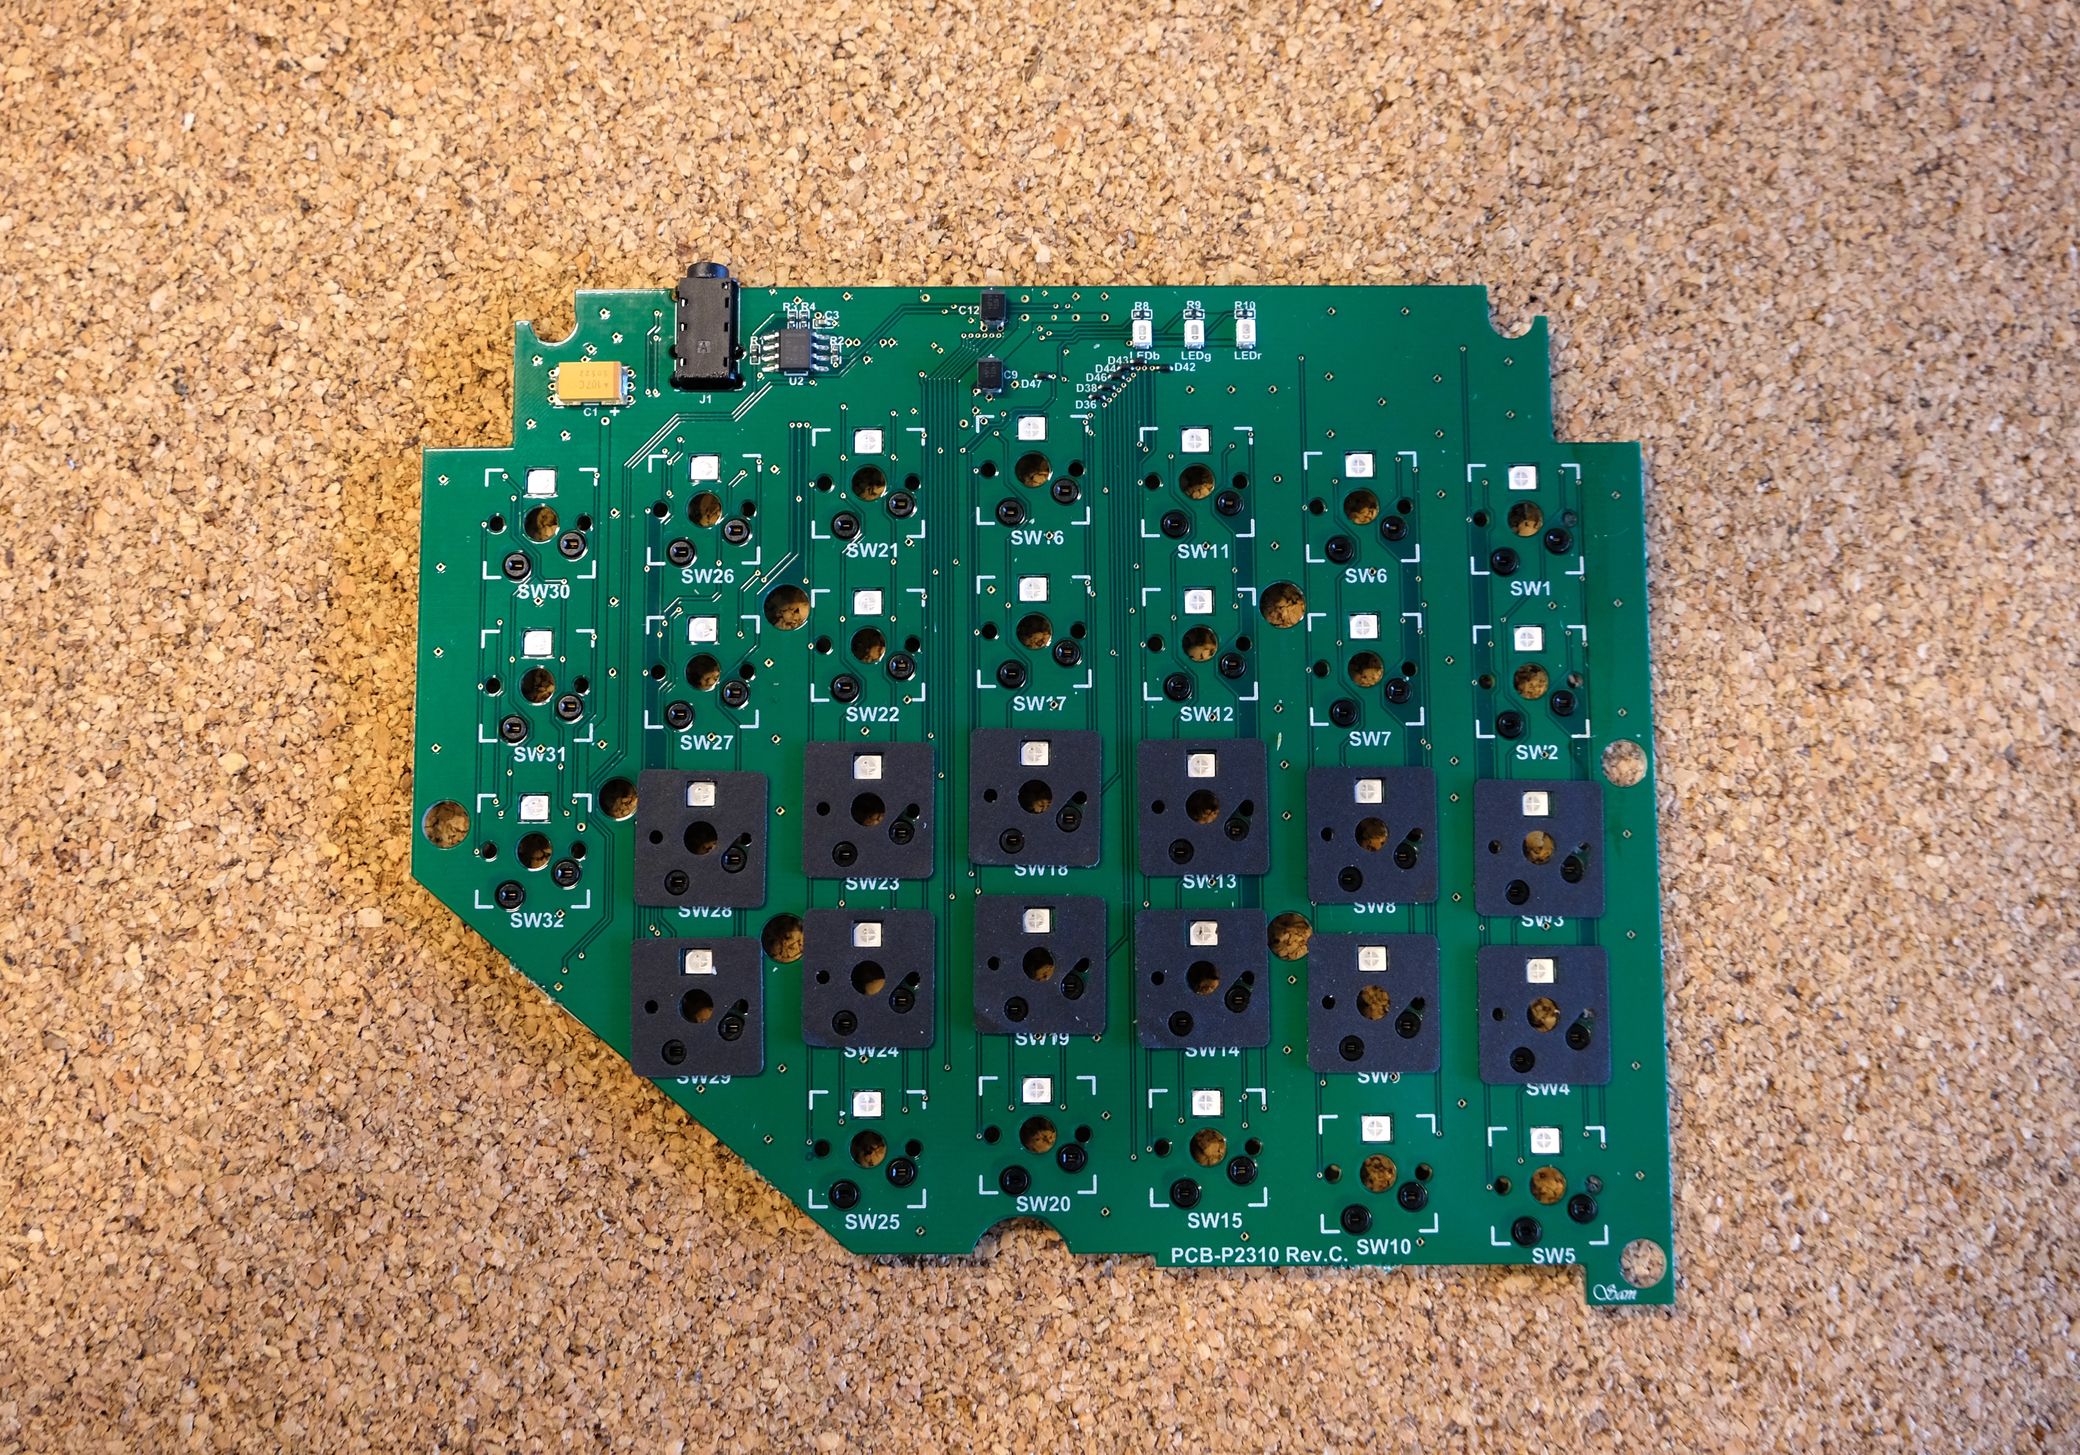
Once you've got the whole thing covered, close everything up and reinstall your switches.
One step closer to thock!