Occasionally, someone writes in and asks if we have any advice for painting their ZSA keyboard. The support team usually gives some info on the plastic type and directs to the Teardown Tutorial — but this is such a fun project that I've decided to take the time and do it myself, carefully documenting the process. So, if you've ever wished your Voyager was blue, here's how to make that happen.
Important disclaimers
Stuff you should know before you get started:
- This will void your warranty. Unfortunately, we can't cover damage due to modding. So file this under "Fun ways to void your warranty" — still totally worth it, but just something to keep in mind.
- This isn't a quick weekend thing. The more time you take to test and practice your technique, the better the result will be. To get a great result you'll likely need many layers of spray painting and drying in-between, and even after painting the longer you can leave your keyboard alone, the better the paint will bond to the plastic (the brand I used recommends 5-7 days!). You should also practice first (more on this in a moment).
- I'm just painting the top part of the board. Not the metal back, nor the keycaps. The metal back is hidden under the board, and spray painting the keycaps would affect the surface texture and occlude the double-shot lighting.
I'm not a DIY professional, I've used spray paint maybe twice before this project. I used a decommissioned ErgoDox EZ to run a few trials and practice my spray painting technique, and after a bit of practice it felt easy to get a nice even spray.
I also tested different sandpaper grits, different drying times, and painting with and without primer. This tutorial is what worked best for me - the best way to figure out what works for you is to test your materials and setup by doing test runs. ZSA keyboards are made out of ABS plastic, which you'll find in discarded electronics, toys, and some types of piping. Get some, and do practice runs before jumping into spray painting your nice, expensive keyboard.
Materials
Once you're ready to tackle the keyboard itself, here's what you'll need:
- Your Voyager (or other ZSA keyboard).
- Key puller.
- A star screwdriver.
- Medium grit sandpaper (I used 220).
- A spray primer for plastic.
- Spray paint in your chosen colour, this should also be for plastic.
- A clear-coat spray paint to add a layer of protection — make sure it's for plastic.
- Alcohol wipes.
- PPE. A dust mask isn't good enough for spray paint fumes, get a respirator to save yourself a nasty headache and possible long-term health effects. As long as you can't smell the paint through the filters, you should be good. You may also want to get or build a simple paint booth that vents out the fumes.
I'm using Rustoleum for the spray paint here, but as long as you find a primer and paint that work on plastic, you should get similar results. Don't skip testing this, though.

Your workspace should be well ventilated (I'm using a table in my garage, with doors on each side open to encourage airflow), and free of any dust that could stick to your drying paint.
Step 1: Disassemble your keyboard
I'll show the steps for a Voyager here, but more detailed instructions are available over at our Teardown Tutorial, as well as steps for the Moonlander and ErgoDox EZ.
Note: If you're using a EZ Shine, don't try to remove the lighting strip from the bottom — instead, just cover it with some masking tape.
Magic. :)
Once the keycaps and switches are off, you'll need to open up the case. This means getting the sticker off the back. This takes work: The easiest way is using a hairdryer to slightly warm up the glue, then pulling. Doesn't need to be too hot, you should be able to comfortably hold your hand there for a few seconds.
You'll need to get the glue off too, otherwise your keyboard will stick to your table and pick up gunk. Alcohol wipes work well here, but just go slow and be patient - it takes time. If you're really struggling, you can use a little acetone, but do this only after removing metal back to avoid getting any in the keyboard.
Time and elbow grease required.
Now, unscrew the 10 screws per side, and put these in a safe spot to find later.
Once the back is unscrewed, just push from below near the thumb cluster to pop the metal plate up, then pull gently away from the outside edge. There's a green PCB cover that usually comes out with the metal backplate, and then you just gently push the PCB out after. You might need to wiggle a little, especially on the left hand side to get the PCB out near the connectors, but just go slow and gently.
Between this project and the Teardown Tutorial, I've disassembled and reassembled the Voyager a fair amount of times and it's no worse for wear. You don't need force here, sometimes it just takes a few tries to get the angle right.
Removing the back cover and PCB.
Important: There is a small translucent plastic piece used for the layer LEDs by the thumb cluster. It is easy for this piece to fall out or even fly out during disassembly, and it may be hard to find it again. Go slowly and keep track of this piece as you remove the PCB.
The layer indicator LED cover.
Step 2: Prepping for painting
Give your two Voyager top halves a quick wipe down with the alcohol wipes. This helps clean and remove any oils.
Next, take your sandpaper, and start lightly scuffing the surface. We're not trying to sand through here, but just give our paint enough rough texture to hold onto. Don't push hard, or you'll end up with grooves in the plastic.
Circular motions, lightly scuffing the surface.

Finally, give the pieces another clean with the alcohol wipes. This time focus on getting any dust out of the grooves, and making sure there's nothing left on the board. You can give the pieces another quick blast with the hairdryer to get any loose dust off, too.
Step 3: Primer
If you don't want to risk your work table here, a cardboard box works great for containing spray paint (and is great for test sprays). You can also make a hole and mount a small fan in it for exhausting the fumes, making a DIY paint boot.
Having a stand to hold the board off the ground will help keep paint from pooling and make rotating easier. You don't need anything fancy here, paper straws work great! Bigger "smoothie size" ones give a little more balance. Cut four or five pieces of the same length, wet the one end and pinch it together, and let it dry for a few moments. Once it's dry, place it on one of the board's inside screw standoffs. You could also add a little Blu-Tack or similar if you need a more secure hold.

And we end up with this setup:

When spraying, I just do a quick first spray on the box to make sure paint is flowing well and to clear any dried paint from the nozzle. Then I move onto lightly spraying the board, holding the can upright 10-16" away, and spraying in a steady back-and-forth motion, slightly overlapping each stroke. Not every brand is the same though, so be sure to read the instructions on your cans to see what is recommended for technique, as well as the drying time between coats for your particular paint.
Keep the coats light, you don't want any paint drips.
After one spray from this angle, I rotate the board to the next side (90 degrees), lightly spray, and repeat until I've got a light primer coat all over the board.
Step 4: Painting
Time for color! Same as the primer, light coats and keep rotating until you have a nice even coat. Follow the instructions on your products for wait time in-between. Patience and a light touch are key.

Step 5: Sealing
Once you've happy with the color, seal it all in with a clear top coat. Again, follow the instructions on your paint for how long after drying you should spray this, and for how many coats. Sealing the color properly will help avoid getting any scratches on the painted board.

Step 6: Re-assemble
Time to put your board back together. Layer light indicator cover, PCB, green plastic cover, then the metal back. Go slow when installing the PCB, and angle the top corner in first like in the video.
Next, install your chosen keyswitches and keycaps
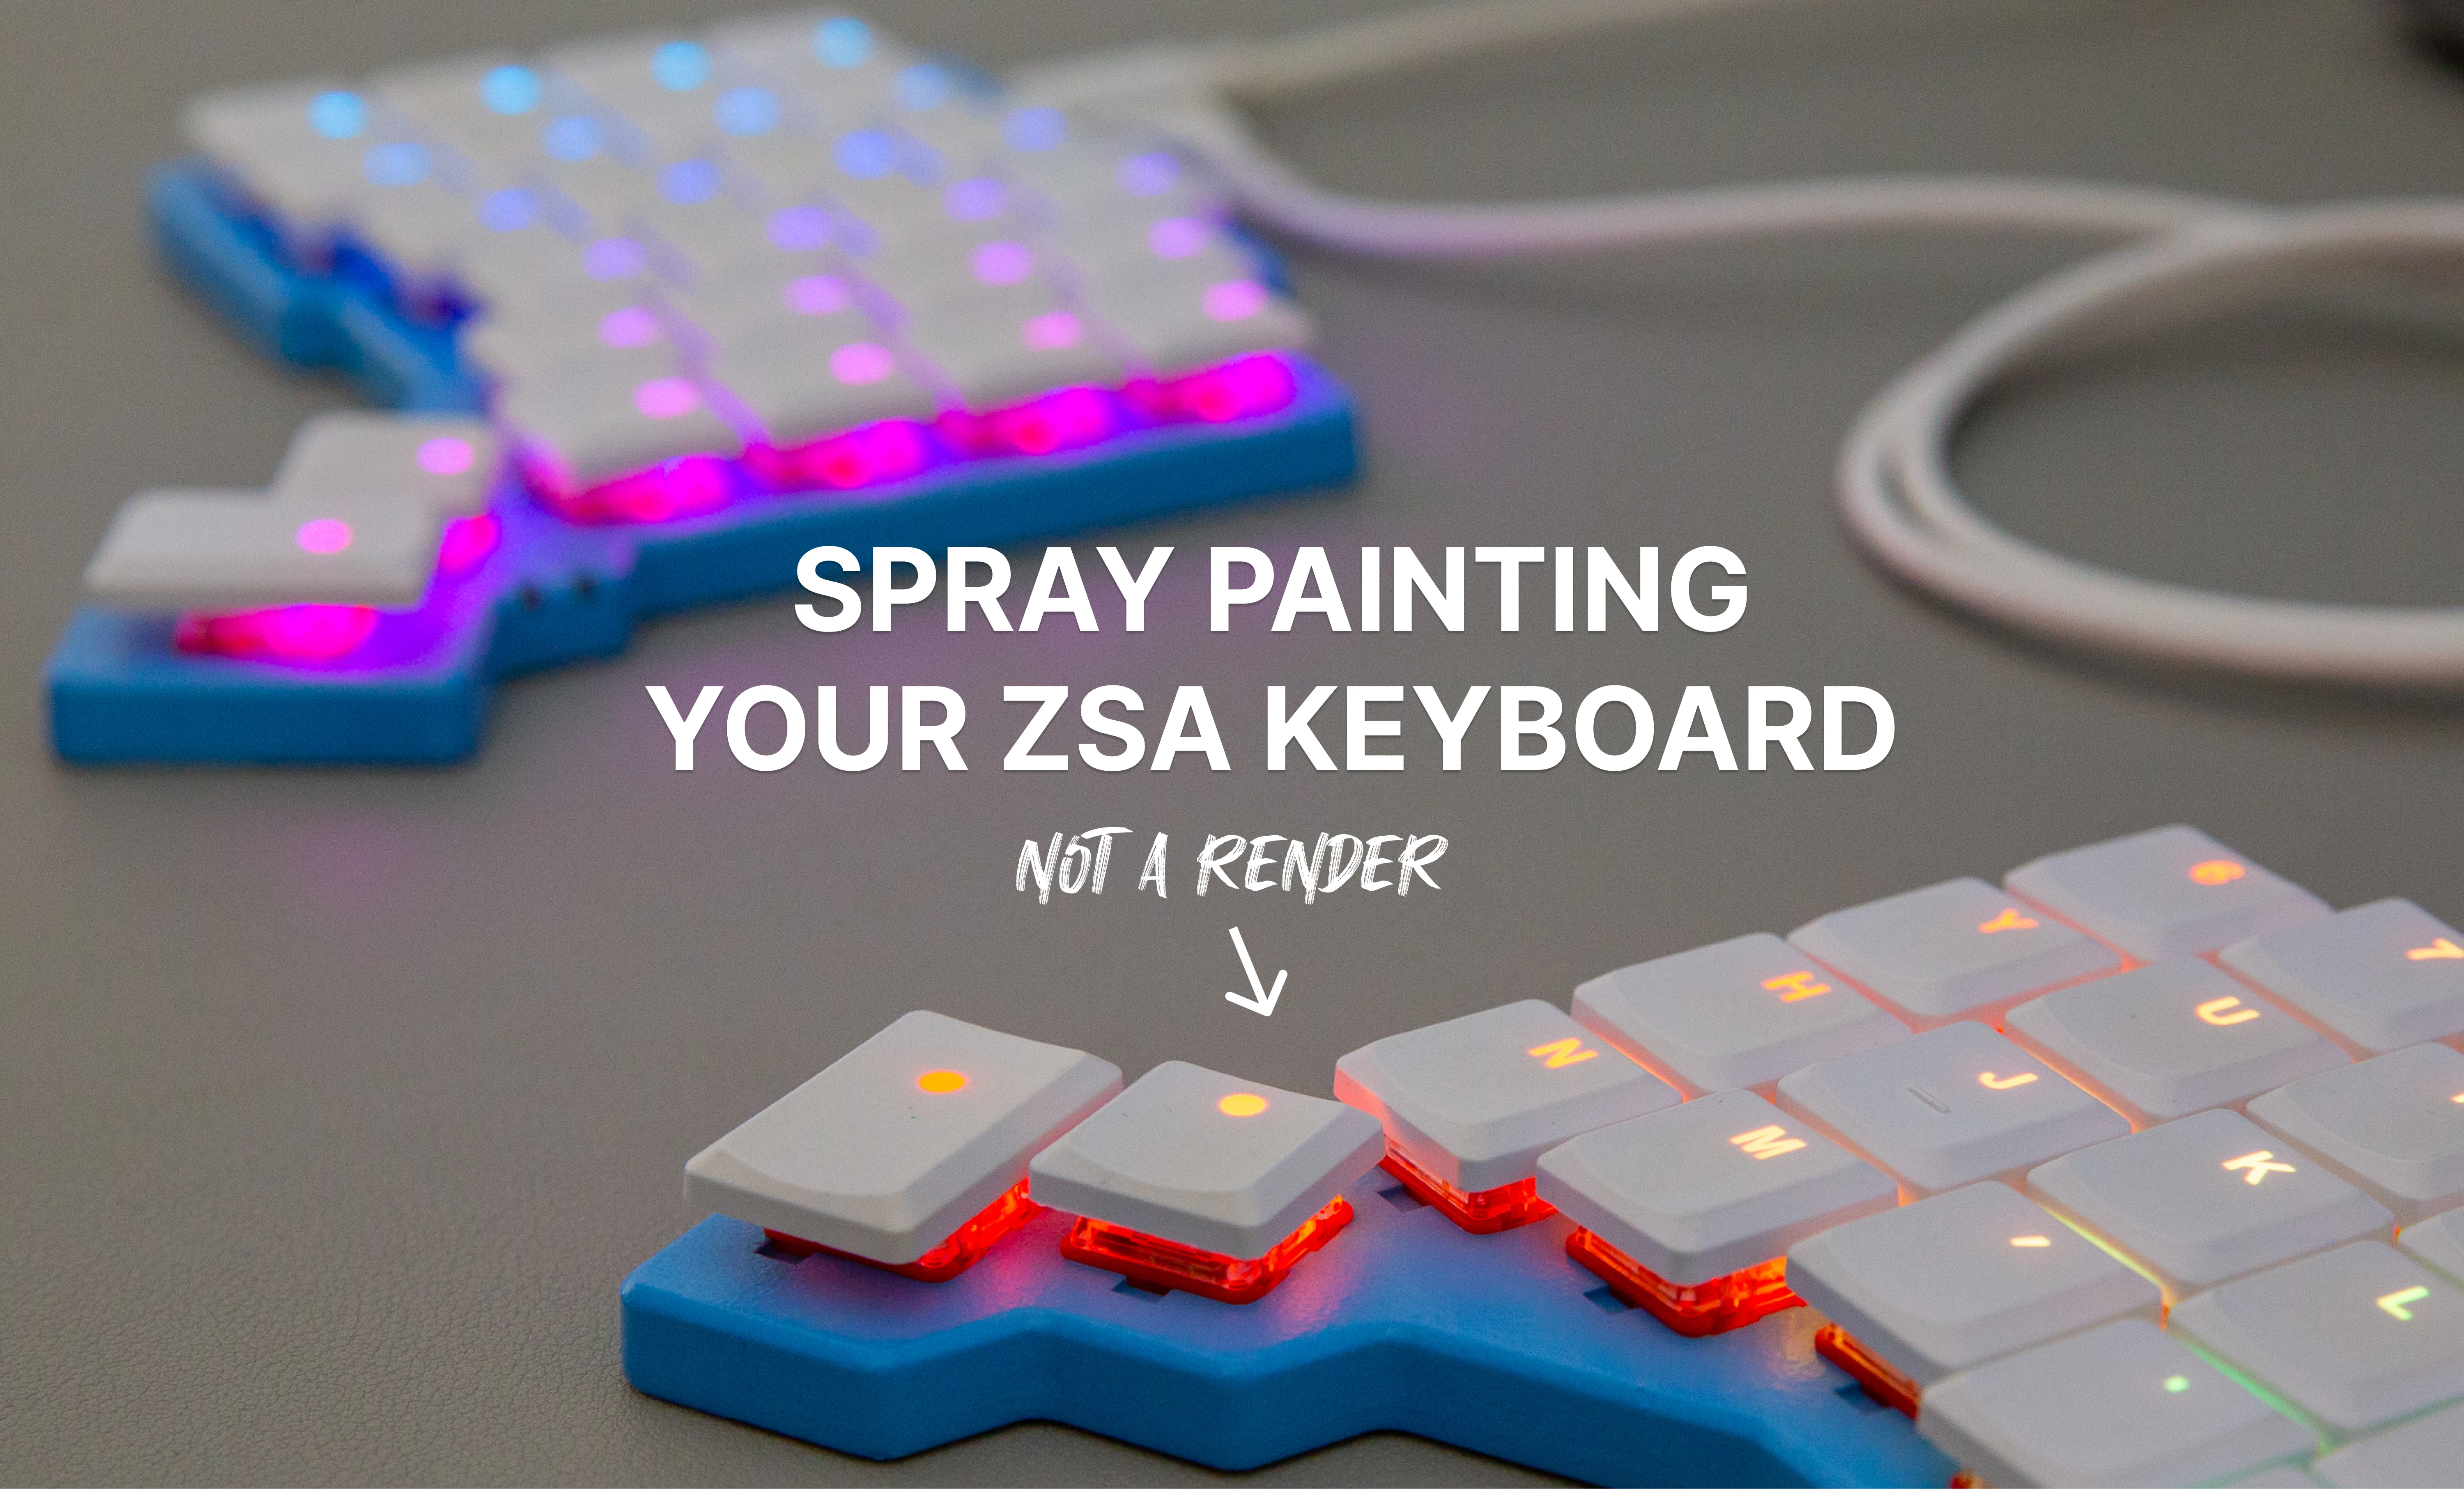
And that's it! You now have one very unique keyboard. Here's mine:

And here's a closer look:

I haven't used the board for long enough yet to see how the paint wears, but so far it's holding up great! Spray-painting the case rather than the keys (so, not something your fingers touch all the time), and using multiple layers as well as a primer and a clear coat, all help ensure longevity here. I expect this to last.
Bonus: You can change your mind
Another fun thing about doing this yourself is that you an always change your mind. Here's an ErgoDox EZ that I painted green when testing, and then changed to blue. To do this, I just buffed, primed, and painted over the previous color. This worked really well, even though the color I was changing from was darker than the new color I was changing to.

Share your creations
If you end up spray-painting your keyboard and changing its color, email us a photo! [email protected].
Thank you for reading!