Imagine you've just been given a nice new chef's knife and you're excited to start cutting ingredients with it. You pull out the cutting board, and line everything up, but when you go to cut, the weight is a little different. The handle doesn't feel quite the same. It's a little awkward. You finish prepping dinner with mixed emotions. The knife felt good in some ways — you felt how the added weight can make cuts easier — it just felt strange in your hands.
The next night, you try it again, maybe with different ingredients. It starts to feel more natural. Not perfect, but better. You're getting faster with it.
In a week, you can't believe you ever used a different knife. This one feels like an extension of you, gliding through ingredients and making food prep enjoyable again.
That's what using a ZSA keyboard is like.
Our boards can feel strange out of the box, maybe even frustrating, but your ZSA board is an investment in yourself. It takes a little time for things to feel natural and for you to settle on a layout that works, but it's worth it.

Here I'll cover my personal recommendation for getting used to a ZSA board. This is the method I used myself when getting used to my first split keyboard, and I've heard from a number of people who had success with similar strategies.
Of course, this is not the only way to learn to use a ZSA keyboard — go at your own pace. Lots of people end up feeling comfortable with the board faster than what I lay out here.My ultimate point is yes, it will take some practice to use your board, but it doesn't have to be a drag or take forever. Practice consistently, but not constantly. Purposely, but not forcefully. You're learning a new skill that not many people can say they know. This is exciting!
Day 1
You've got the board — woo! Now, to figure out how to use this thing. On day 1, don't worry about being productive — you'll be lucky if you cross 10wpm (words-per-minute). Just try to feel things out. Type gibberish. If you notice any changes you definitely want to make to the layout, like swapping your Space key to the other side, feel free to make those, but try to keep the layout changes minimal for now.
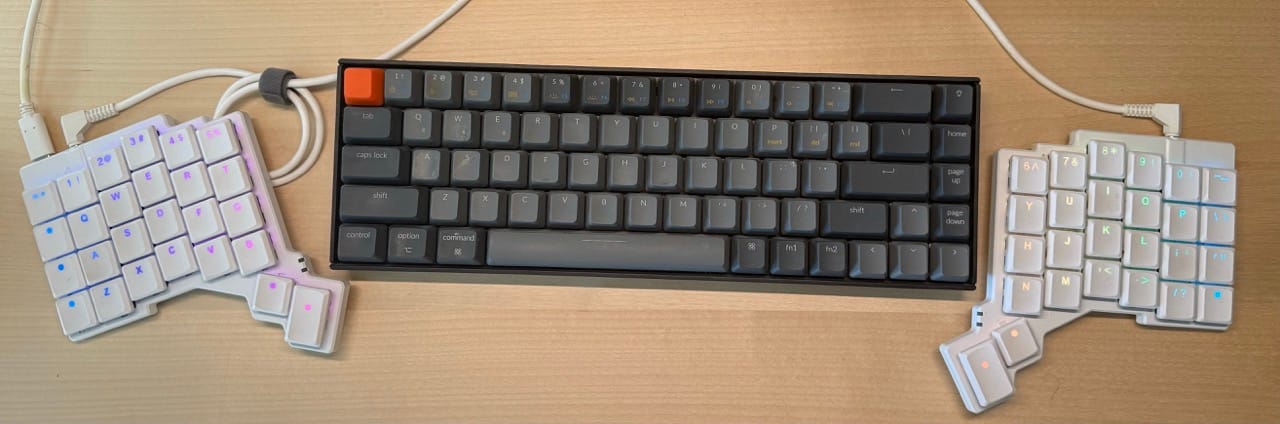
Feel free to leave your previous keyboard plugged in, too. You can plug in your ZSA keyboard alongside your old one, and put the ZSA keyboard "around" your old keyboard (to either side of it) so that you can easily switch back and forth when you need to as you learn.
Week 1
Once the initial excitement wears off, it's time for the awkward part: the first week. This is when your cuts with your new chef's knife will be all over the place or when you just can't hit the right note when learning a new instrument. It's important to be patient with yourself. This is a normal part of learning a new skill.
There are tons of tools out there to help. Try out our typing trainer, typ.ing for a wide variety of typing exercises, including fun ones, like typing through the first pages of books to get reading suggestions. Typ.ing also lets you connect to your Oryx layout and displays it for you while you practice, so you won't get lost. .
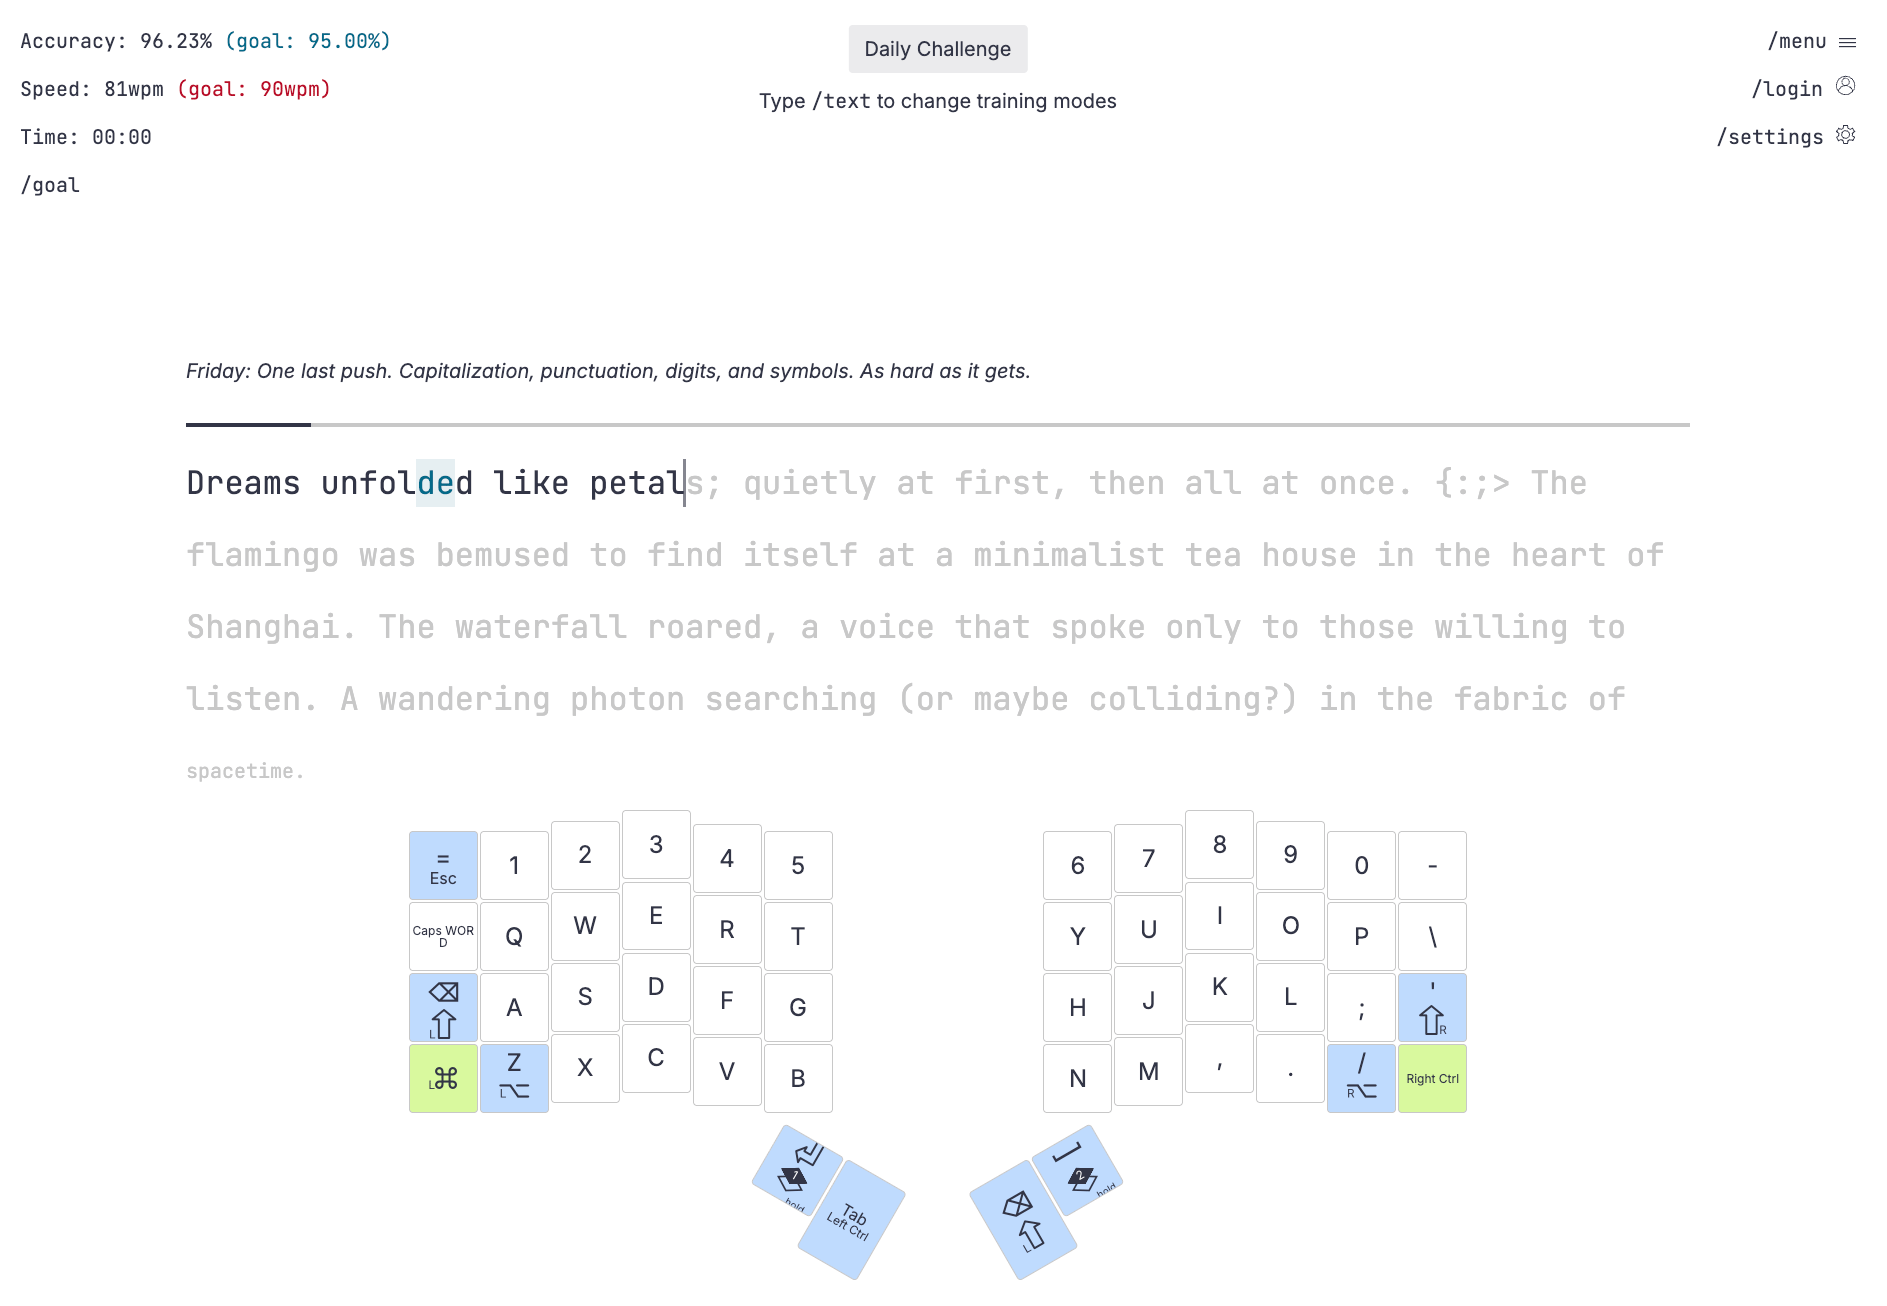
Try to practice at least two times a day for the first week; three times is even better. You can do this because the practice sessions should be kept short. 10-20 minutes per session is fine at this stage. If you're feeling up to the challenge of practicing more, go ahead, but you don't have to burn out doing endless drills. Time away from training is just as important as time spent training.
Just focus on just the letter placements for now. If you start to feel good about letters, try to incorporate capitalization and punctuation. Just be prepared for a jump in difficulty — punctuation in particular can take a while to really get comfortable with. Above all else, focus on accuracy. You will get faster over time, I promise, but speed doesn't mean very much if you have to retype every other word.
An aside on customization
How much or how little to customize your keyboard layout will be different for everyone, but as a general rule, try not to make any huge changes yet. Moving some things around so they make more sense or adding anything you know you'll need (like configuring an international layout) are completely fine changes to make, but resist the urge to switch to a new layout like Colemak or make a layer of intricate shortcuts. You can absolutely do these things soon, but it's important to not overwhelm yourself right at the start.
Everyone has mastered the skill of typing to some extent. So, when learning to use a board with a different layout, there's an extra element of frustration: "I know how to do this. Why can't I just do it?!" It's better to go slowly with changes because this kind of frustration can creep up without you realizing it's happening until you're already fed up. Just keep things simple and manageable for now.
Weeks 2-4
After a week or so of regular practice, you should start to feel like you have a sense of where things are, but you'll probably still be typing slower than you would like. Now, it's time to work on that.
Start your day with your usual practice, but then try to keep using your new ZSA keyboard for real work. It will be a struggle and you might get a little frustrated at your lack of productivity, but try to use the board for real work for an hour. After an hour, it's fine to switch back to a keyboard you're more used to so you can get more done. If you prefer, you can also do this hour at the end of your day, but I find starting your day with it when your mind is fresh yields better results.
Continue your regular typing practice as you do this as well. At this point, you might want to start trying to get more specific with your practice. If you write code, for example, focusing more on typ.ing's coding mode might be a good idea. You can also add custom text to typ.ing if you want to practice with the exact text that you'd be typing for work.
The next day, try to use the board for a little longer. Two hours is ambitious, but if you feel up to it, give it a try. An hour plus 10-15 minutes is a little more realistic. Try to add at least 10 minutes a day until you're up to using the board for the majority of a day.
Once you can use the board for a several-hour stretch, it's a good time to start to think about more layout customization. Continue to take things slow, but as you use the board more and more for your real work, you should get a good sense for things you want to change that will practically help, but avoid adding complexity to your layout for complexity's sake.
An aside on comfort
The first week with the board will probably feel weird in many ways. If you get a bit of discomfort, that's normal. Don't push through extreme pain or anything, but some fatigue is to be expected. ZSA boards require slightly different muscle movements than traditional keyboards, and your body needs to get used to it.
If you start to get into week 2 or 3 and still feel discomfort, or you start to develop new discomfort, that's a signal that something might not be right. Try to stay in tune with your body and figure out what might be causing the problem. For example, if your outer hands and pinky fingers hurt, you might want to try moving your modifier keys away from the outer columns.
You can also always reach out to us if you're getting discomfort, and we'll be happy to help. We can't give medical advice of course, but we've seen a lot of keyboard setups, so we usually have some ideas to make things feel better.
Training for faster typing
As you get more comfortable with your board, you may even want to push past your previous normal WPM. 140wpm and beyond is completely achievable. Going in-depth about this is a topic for another guide, but here are some quick tips to start to build speed:
-
Focus on common n-grams (sequences of letters used within a language), especially bigrams and trigrams (typ.ing has a mode just for this). Knowing where each letter is is the first step to typing faster, but if you can cut down on the time between the most common letter sequences, you'll see a notable improvement in speed.
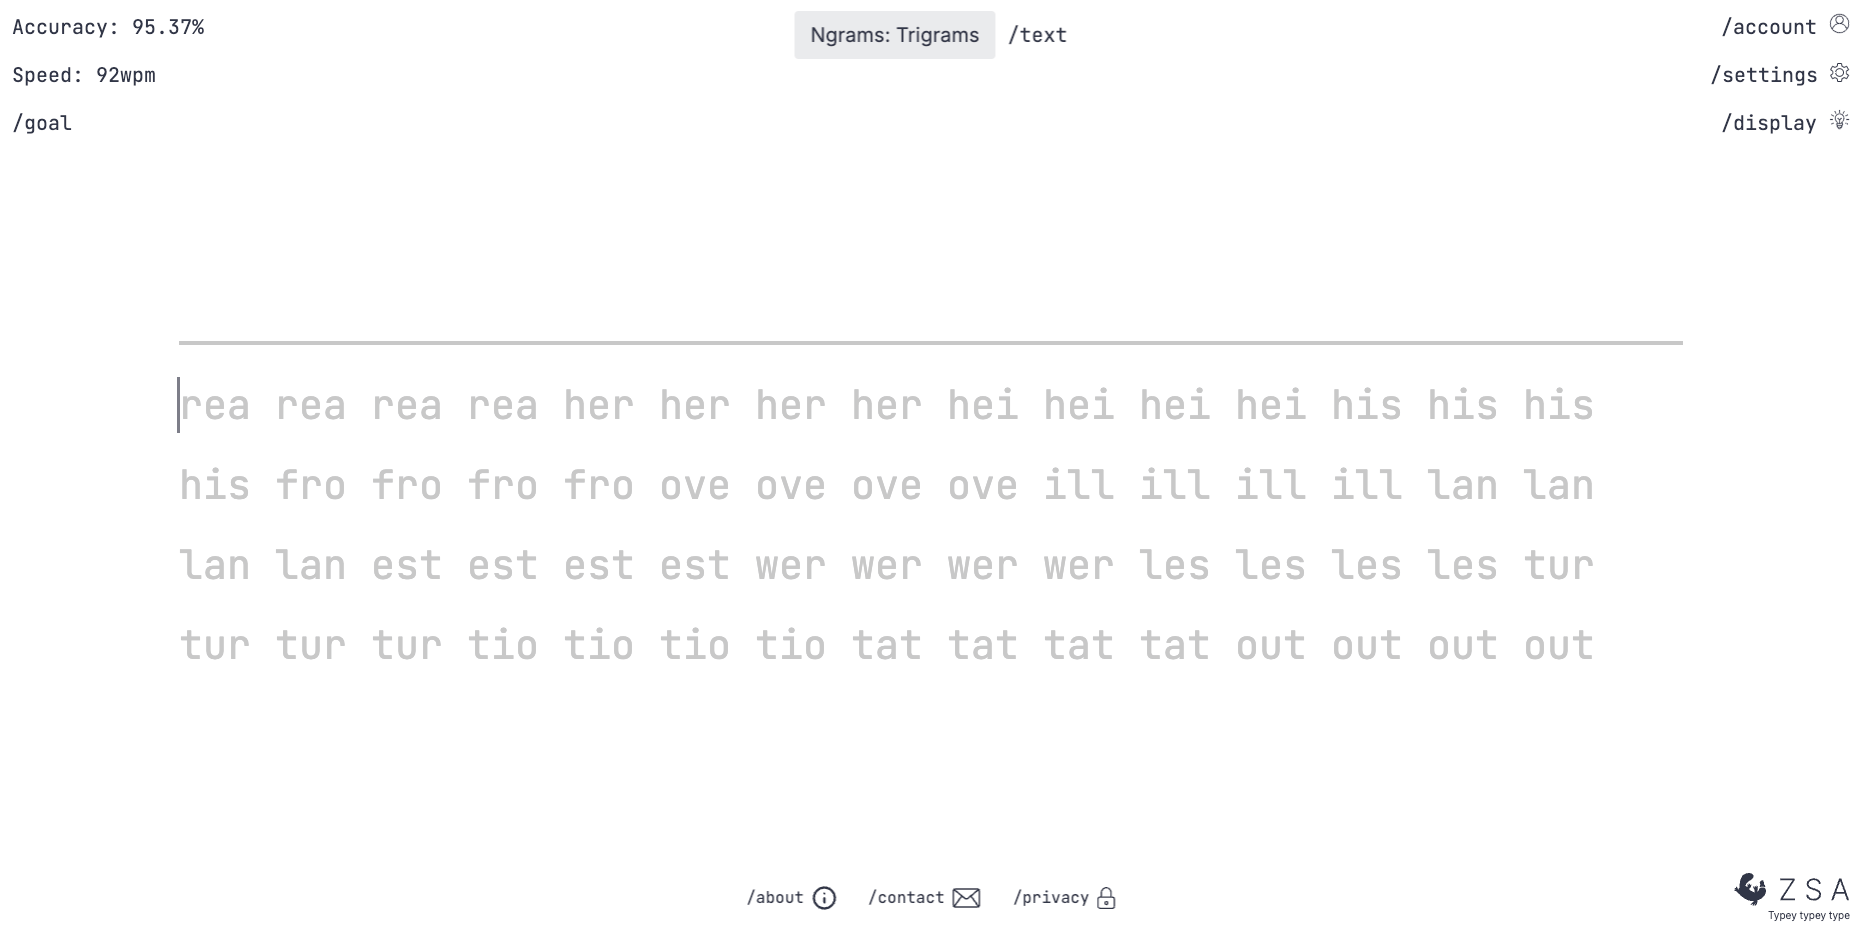
Trigram training at typ.ing -
Along similar lines, focus on complete words; avoid trying to type each letter independently. Most languages have commonly repeated words, so you'll get very efficient at the things you're typing regularly.
-
Finally, a counterintuitive tip: Don't worry about WPM that much. Many workflows don't actually benefit that much from higher WPM. It doesn't hurt, but the productivity gains aren't that transformative unless your job is full-fledged writing for hours. On the other hand, not stressing about WPM often leads to higher WPM anyway. Just relax and let yourself improve gradually.
The following months
Use the board, make some changes, practice, repeat. That's the basic cycle as you get more and more comfortable and your layout gets more optimal for you. Some people may be able to land on a basically perfect layout after just a month or two and some people may never stop making small tweaks — both are valid. This is your keyboard and your layout. Keep it up and you'll end up with something that feels uniquely yours.
Happy typing!