The Voyager is a small keyboard. It has just the keys you need, and nothing else. But what if the keys you need aren't the same as the default layout?
Having easily swappable keycaps and completely customizable layouts means you're not just stuck with the default. You can move things around and even completely transform how the Voyager works.
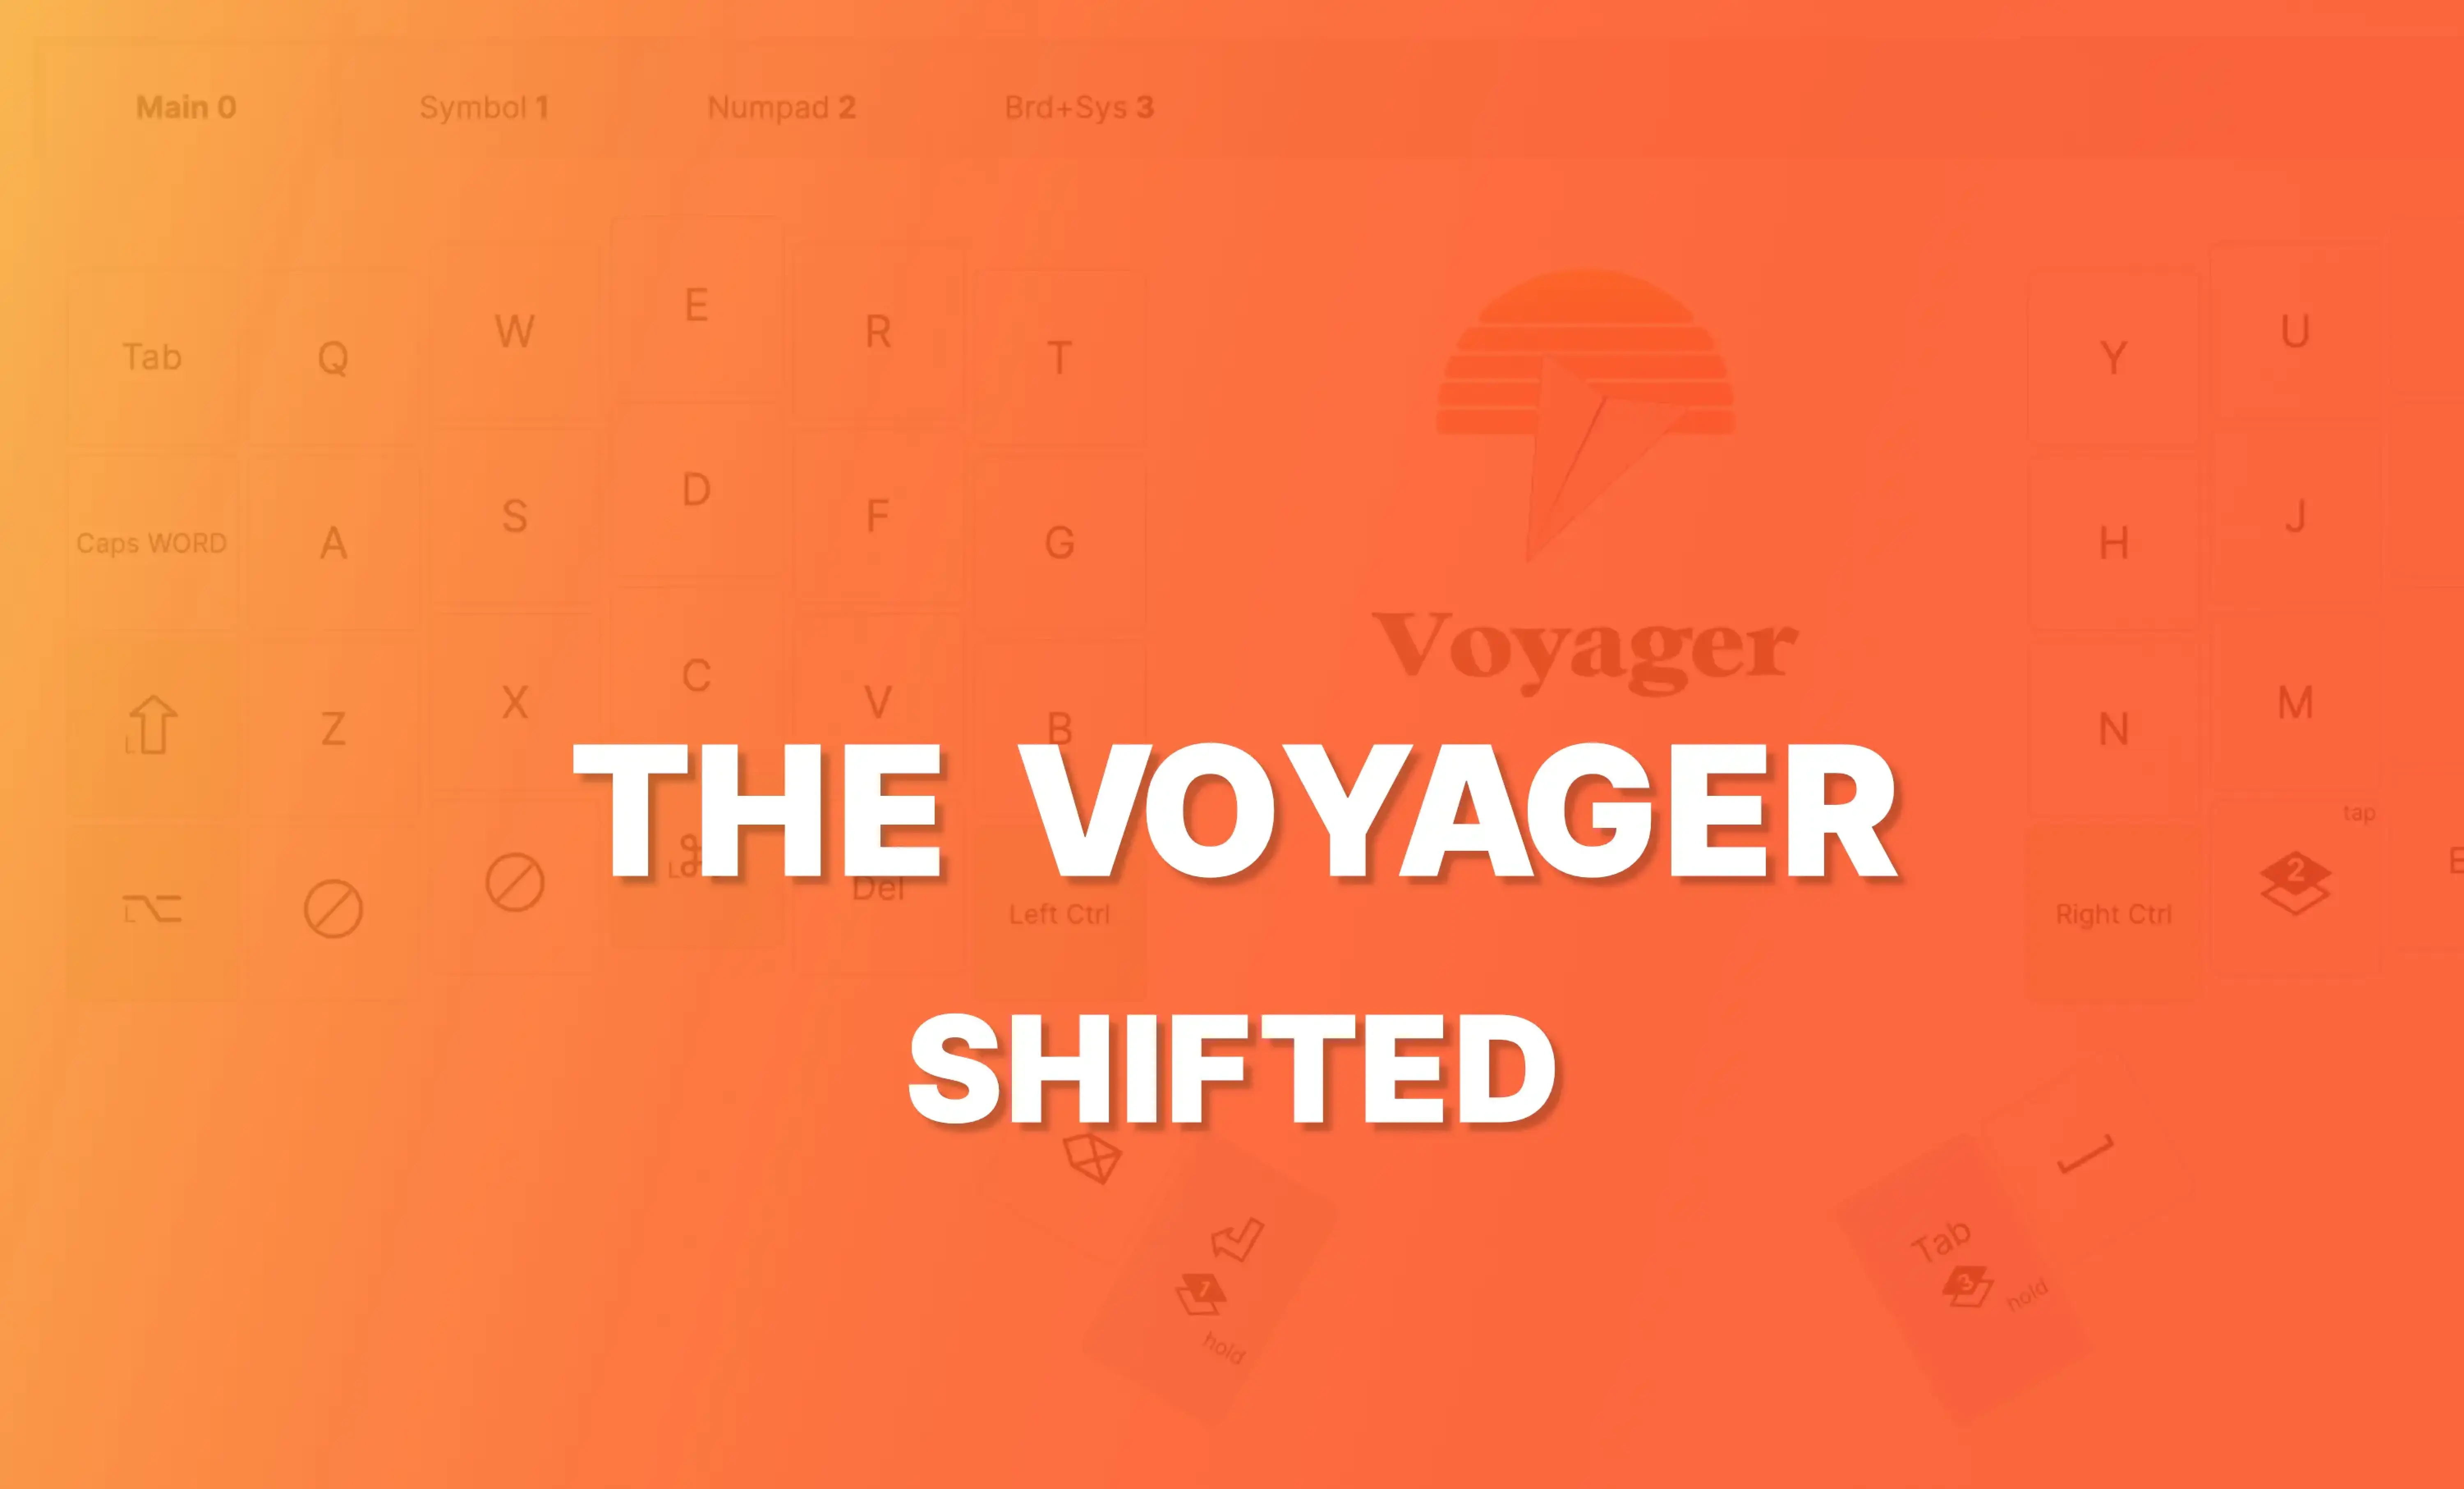
Gaining a row of keys on the Voyager
Removing some thumb keys and the lower row of keys were intentional design decisions of the Voyager, but if you have a good use case for either of these things, you can get them back with a simple tweak: move all the rows up one.
This puts your first letter row along the very top of the board and opens up the bottom row for whatever you'd like. Your thumbs can also hit more keys because of the way your hand shifts, so you can keep them more active as well.
Here's a sample layout in Oryx to show what this might look like. It has a tour, so feel free to step through it for some more detailed explanations of key placements.
And here is what that layout could look like on a real Voyager:

You do lose the number row of course, but this may not take long to adjust to based on your use case. Relearning to type numbers with a layer is one of the easiest and best uses for layers. It even feels pretty natural — to type numbers with a typical keyboard, we already have to move our hands up (for the number row) or to the side (for the numpad). Switching to a layer is a similar kind of “movement”, just smaller and ultimately more comfortable for some people.
If you prefer to have more keys for your index fingers to hit, you could even shift all the columns outward too, like this:

If you give a layout like this a try, let us know at [email protected]. We're always eager to see unique setups.