Mechanical switches have a lot of upsides. They're easy to understand, they offer a ton of customization, and they're easy to replace if something goes wrong. But they have downsides, too. An issue that plagues many mechanical switches across manufacturers and even different batches of the exact same switch is switch ping.
Switch ping is a distinct ringing sound you might hear while typing. It tends to be more pronounced with energetic keypresses, and it is unfortunately completely impossible to predict. The most common cause is very small manufacturing tolerances that aren't quite perfect, specifically with the internal spring found in all mechanical switches.
Ping can be annoying, but fortunately, there are solutions.
Replace your switches
If this sounds like it's taking the easy way out, it's because it is. The least-hassle solution to ping is to just try a different switch. It could be a different batch of the same switch if you want, but if you're getting new switches anyway, you can also look to change things up. There are tons and tons of switches out there to try, especially MX-style switches, so you may find something you like even better. There are also pre-lubed switch options which should have very little risk of ping.
However, if you already have switches you like that are pinging, or maybe you just want your switch to sound even smoother, there is another option: lube.
Lubing switches
Mechanical switches are like any other mechanical system — sometimes things just need a little grease to keep moving smoothly.
Warning: If you lube switches from ZSA, we will not be able to cover any potential issues with them under warranty (the rest of the board is still covered). If you're not confident about this process, getting a different set of switches is a much safer option.
There are many ways to lube your switches. Here I'm going to focus on the more bang-for-your-buck (and time) approach: bag lubing.
Traditionally, switch lubing involves disassembling all your switches, lining them up, and painting lube onto them. This will produce the best results, but it takes forever.
Bag lubing produces good results in a tenth of the time. It also requires far less careful technique. We're just going to take the springs out of our switches and throw them in a bag with some lube in it, shake it for a while, and put them back.
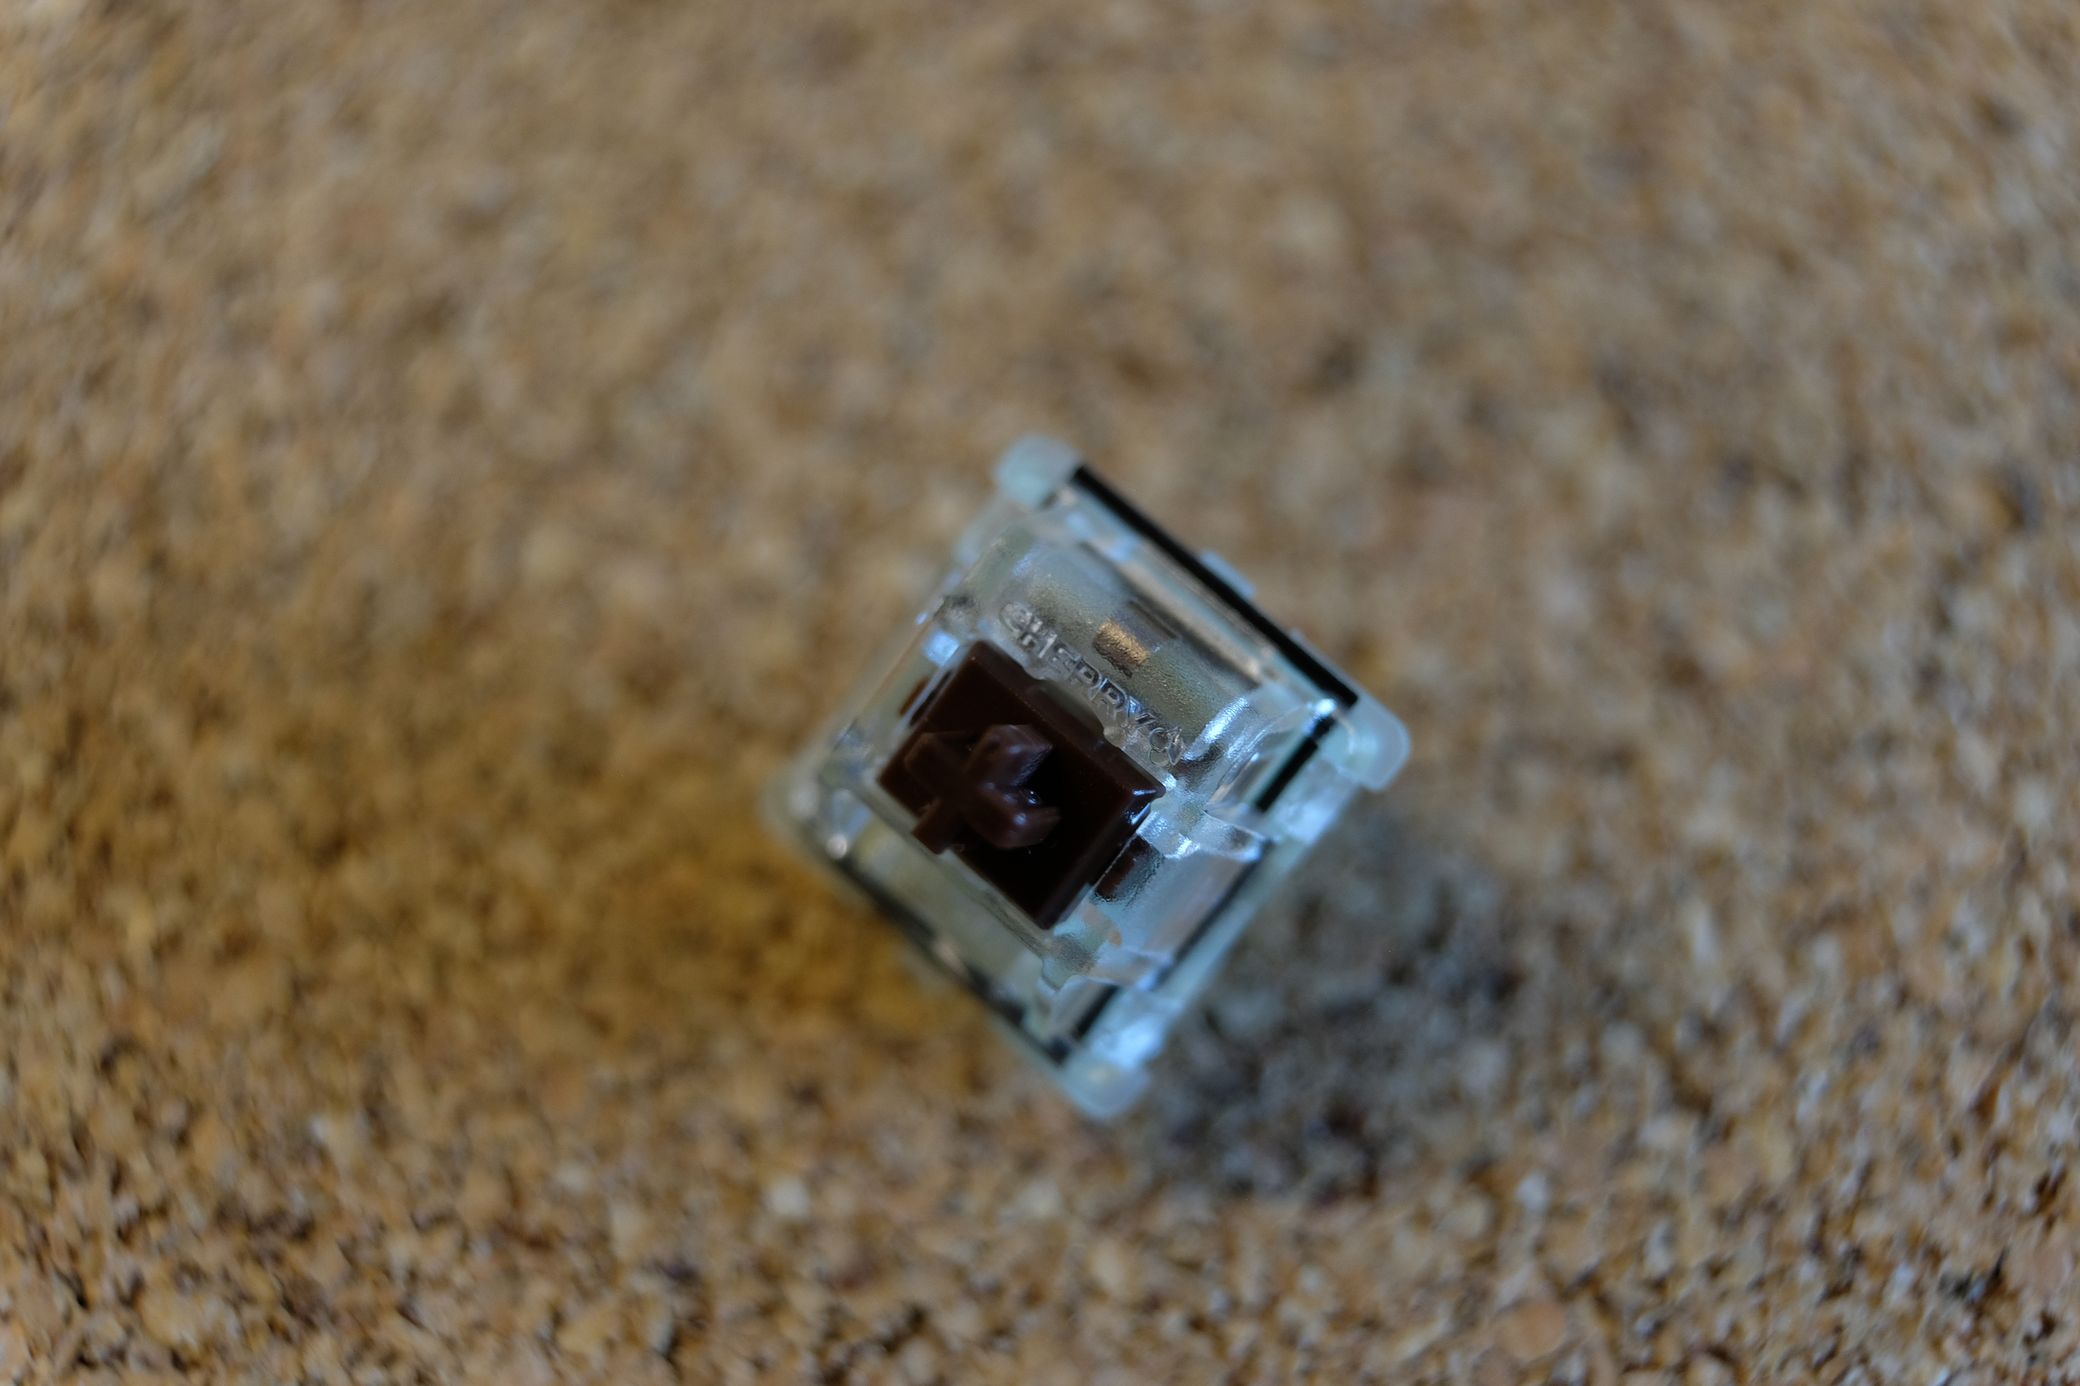
Note that linear switches tend to get the most benefit from lube and are also the most forgiving to try lubing with. Tactile switches can be lubed as well, but lubing tactile switches too much can make them feel terrible to use. This isn't as much of a concern with bag lubing, but still, it's something to be careful of. You can also lube clicky switches, but it will have little to no effect on the sound they make. That would purely be to make the press a little smoother.
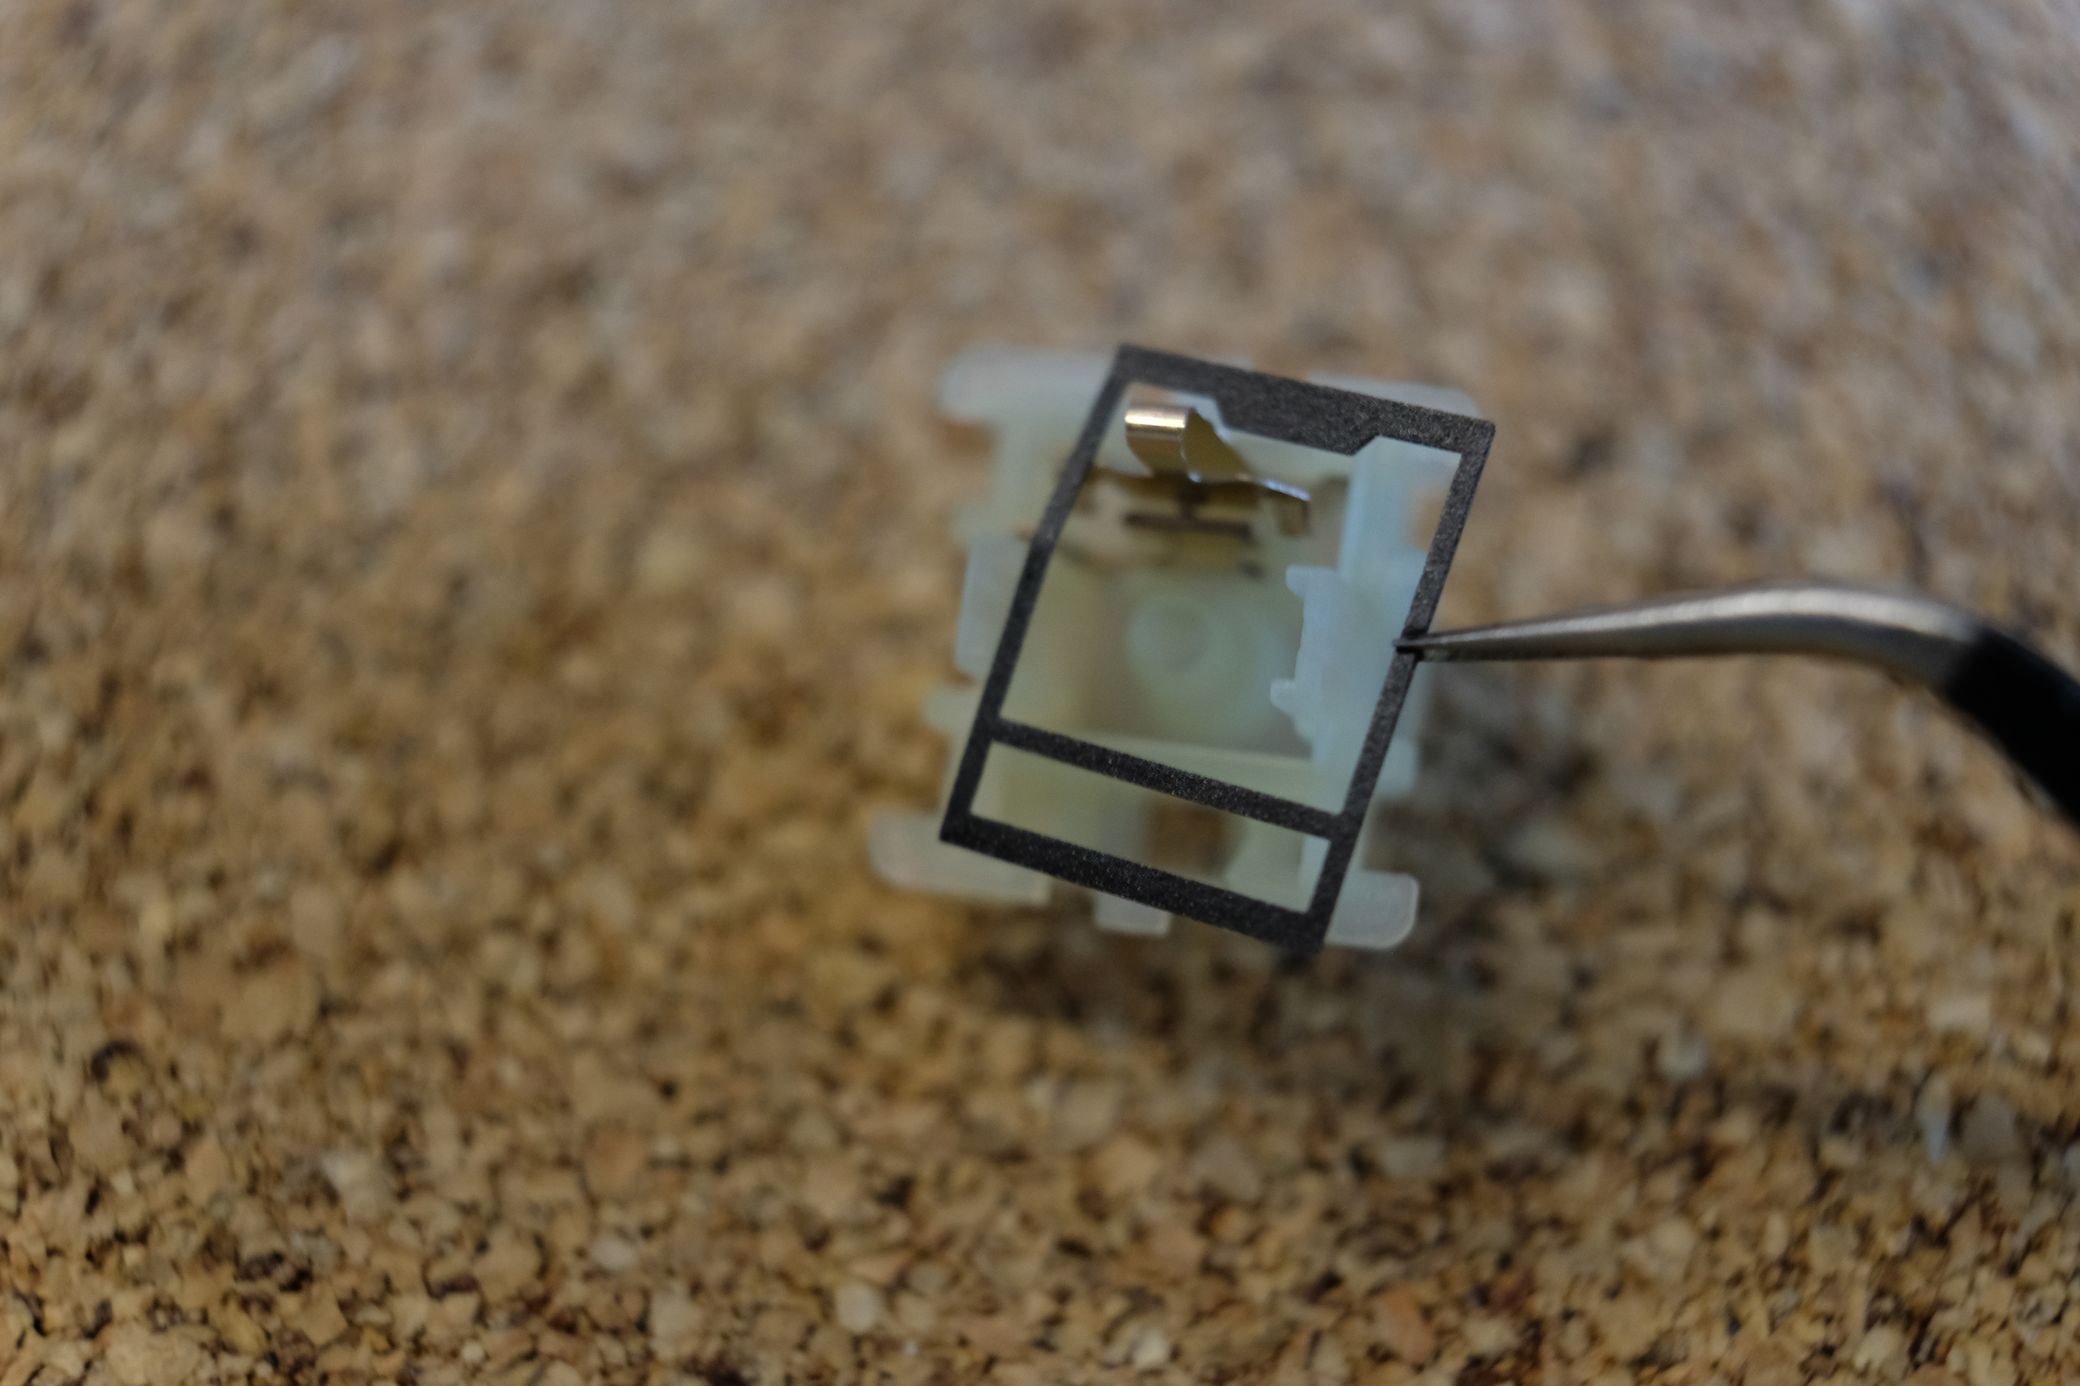
Disassemble a switch
There are fancy switch opener tools, but unless you plan to do a lot of switch lubing, they're really not necessary. You can use a pair of small tweezers just as effectively. MX-style switches will either have two small pegs on each side (pictured below) or one large clip on each side. The method is the same for either type.
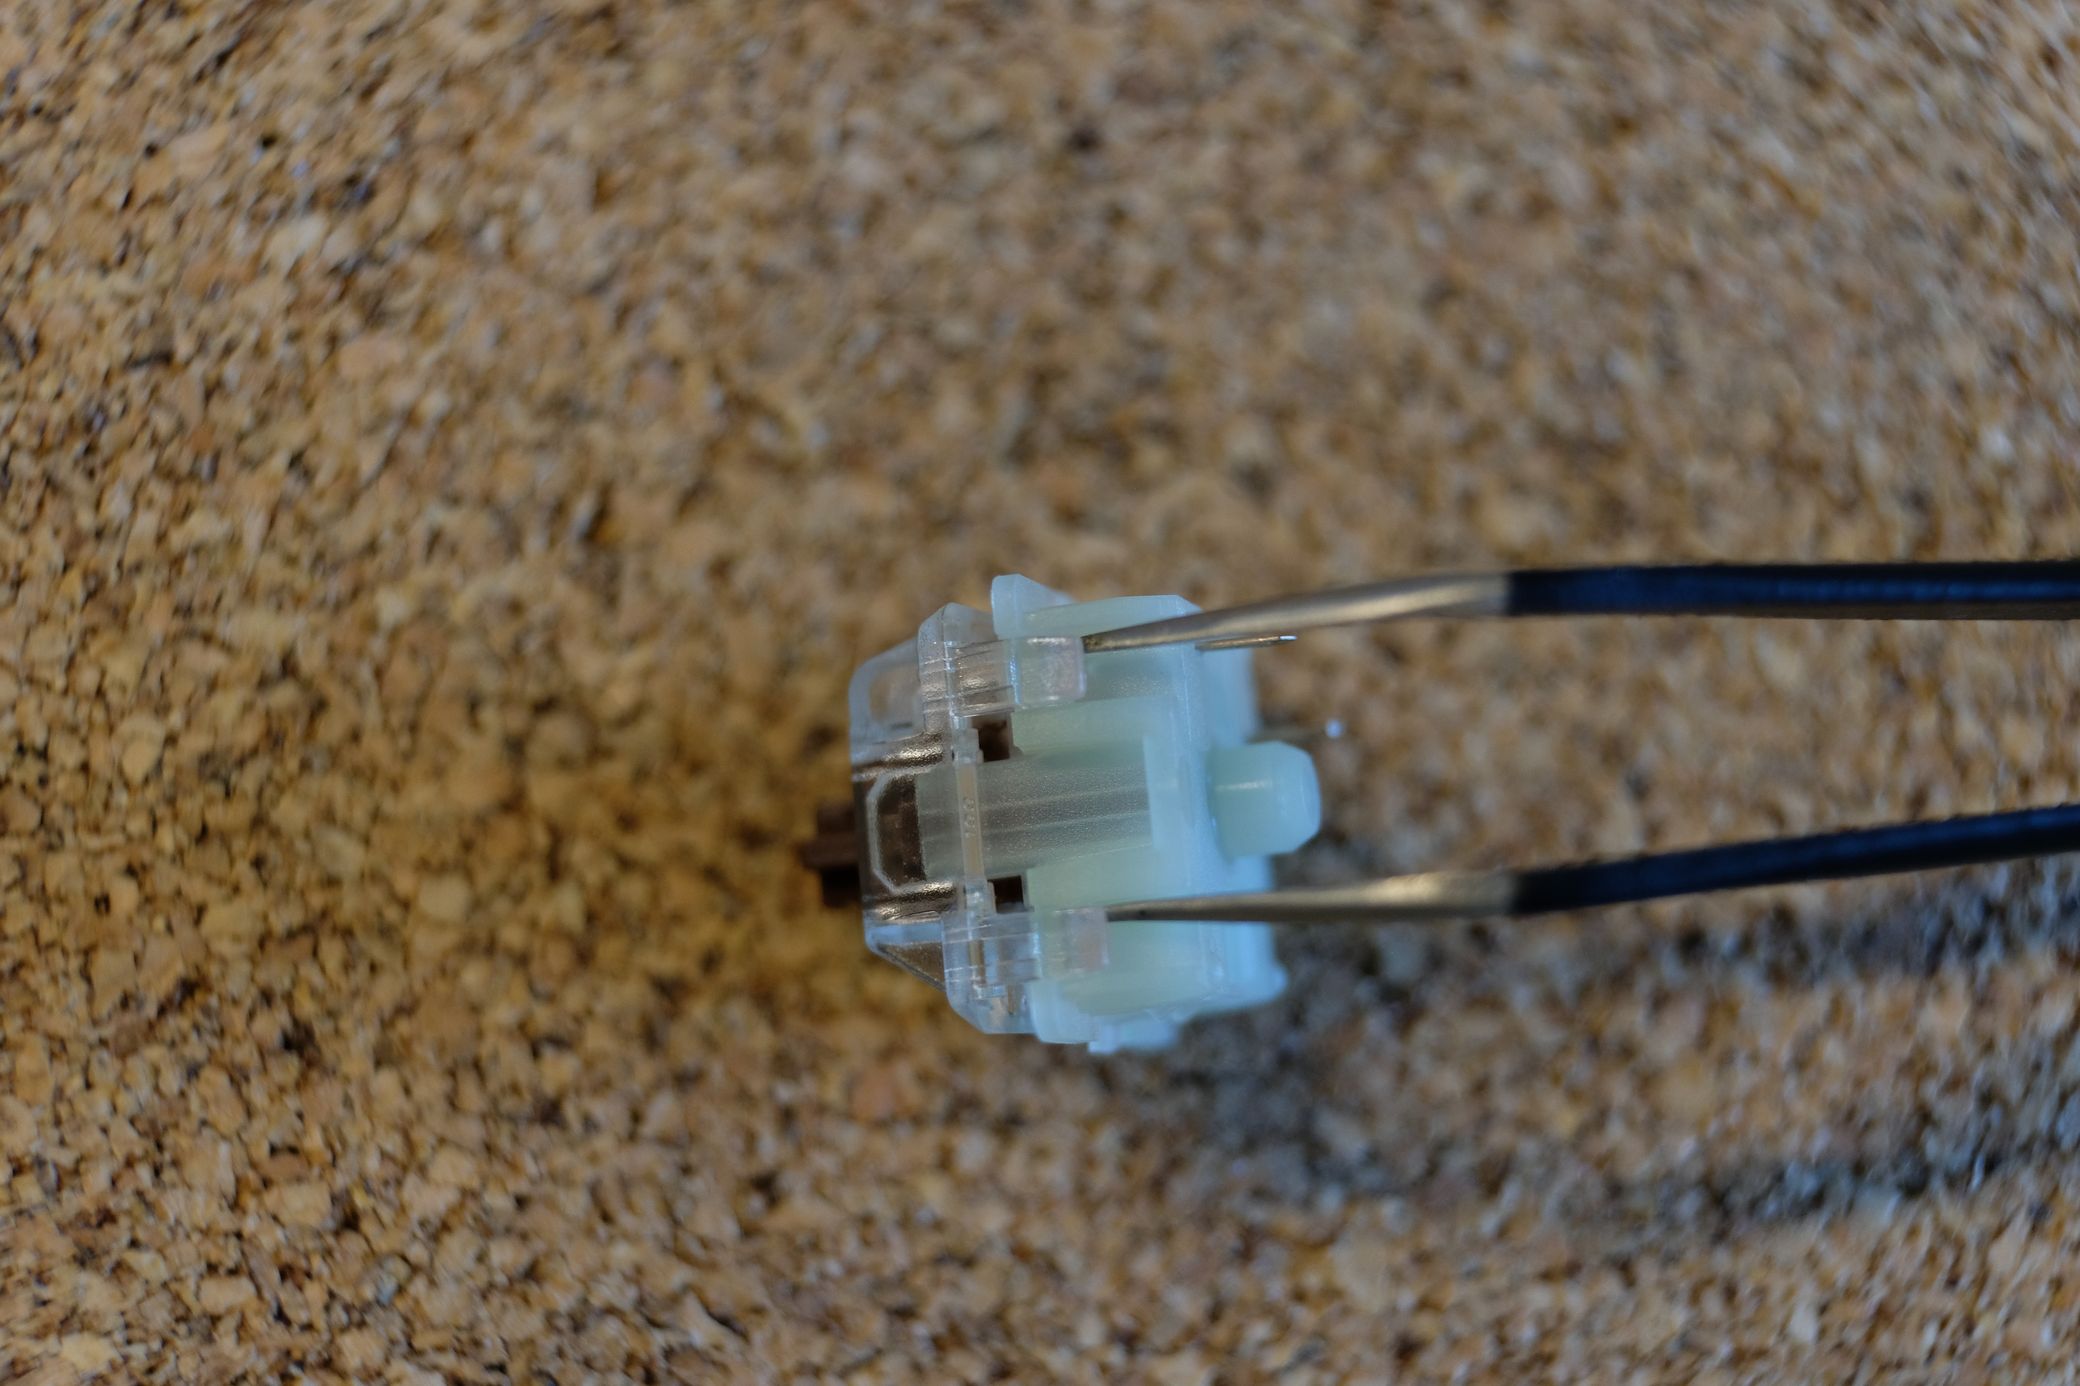
Work each part of the tweezers underneath the pegs and push up. The switch will pop half open. Then, keep the tension by squeezing the sides of the switch that don't have the clips, flip the switch around, and repeat on the other side. You may find the first side clips back closed, especially the first few times you try this. That's okay, just go back to the first side and repeat. Here's a great video of this process if you'd like to see it in motion.
Eventually, the switch will pop open. Be careful especially with heavier switches since the spring will expand quickly and can launch the top off the switch.
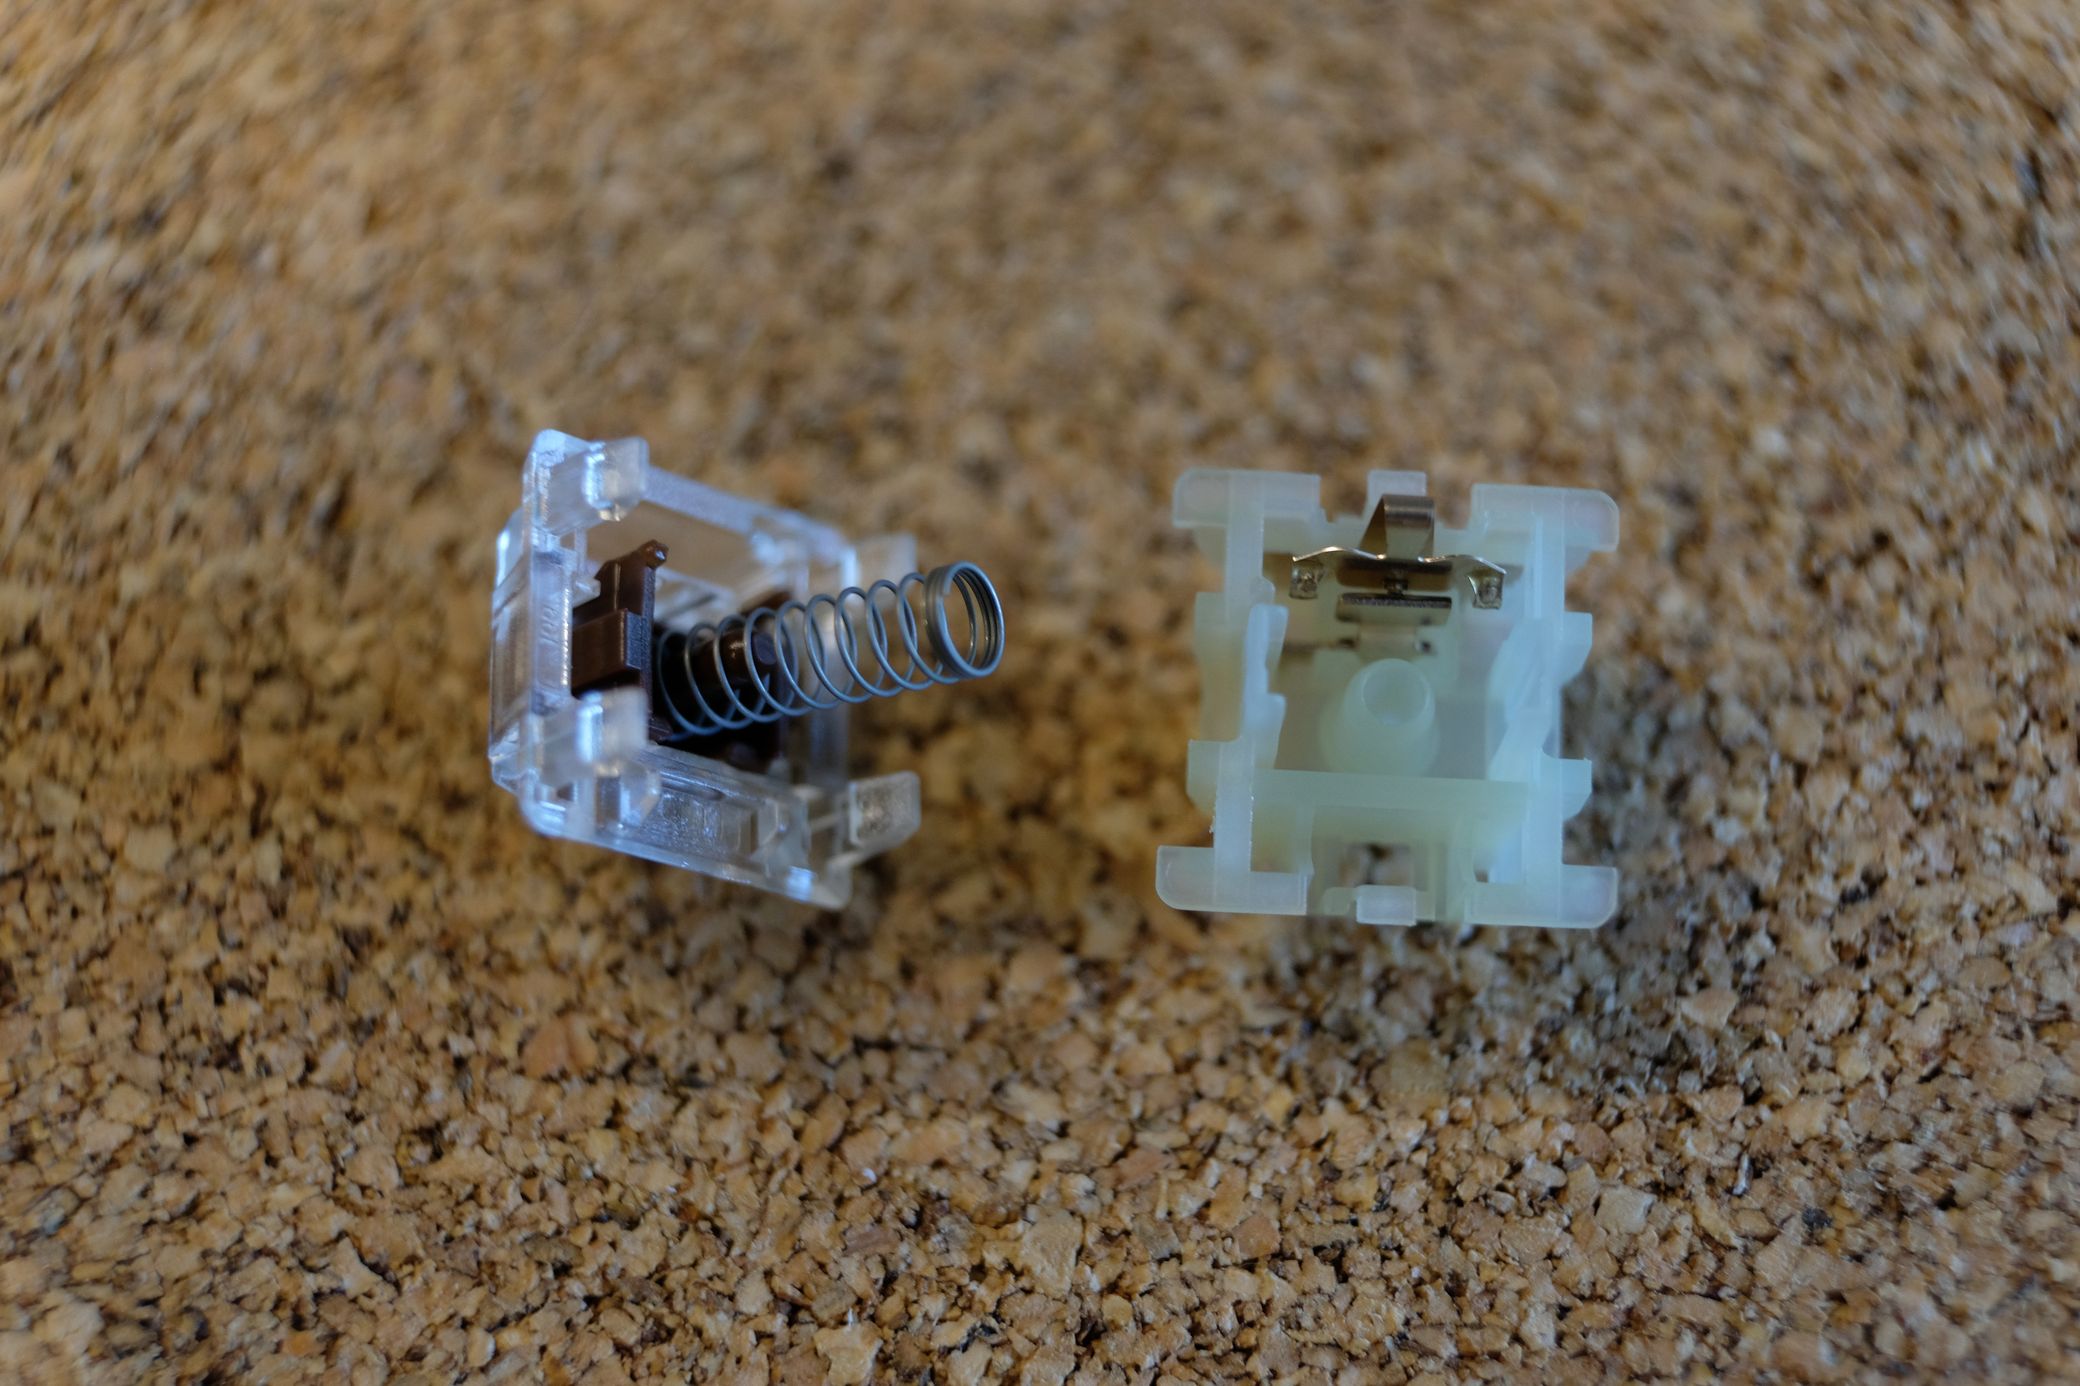
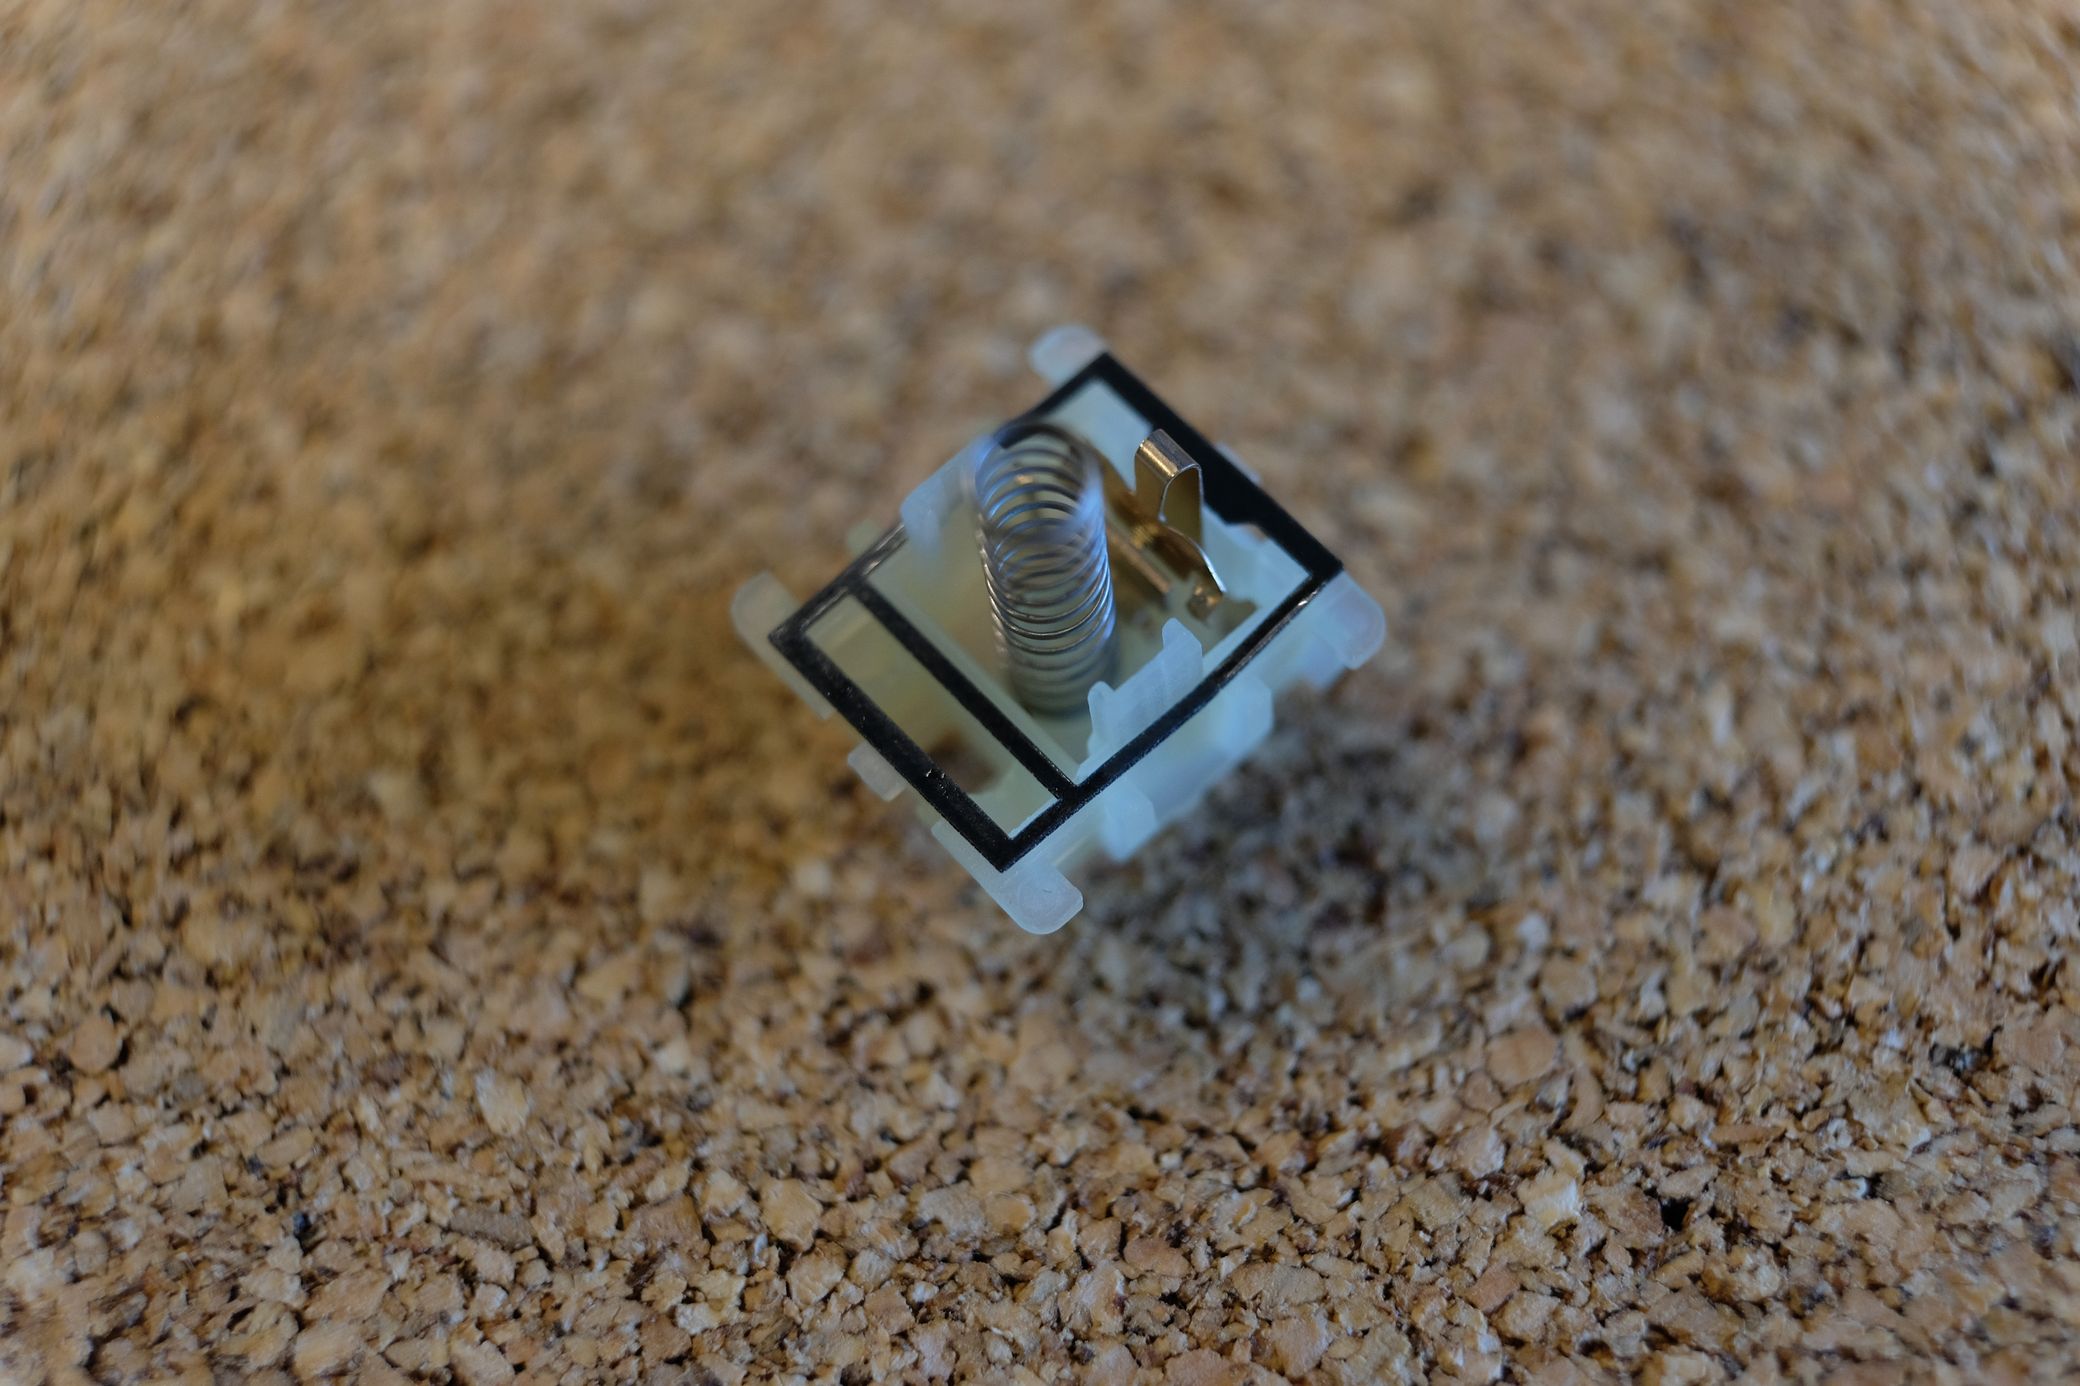
Take the top of the switch off and set it aside. Try to keep the top peg resting in the top switch housing to make sure you don't lose it or reorient it the wrong way. Then, remove the spring.
Once you have all your switches opened and the springs gathered, you'll need a sealable bag such as a Ziploc. You won't want to reuse this bag (unless you plan to lube more switches), so use one that you don't mind throwing away.
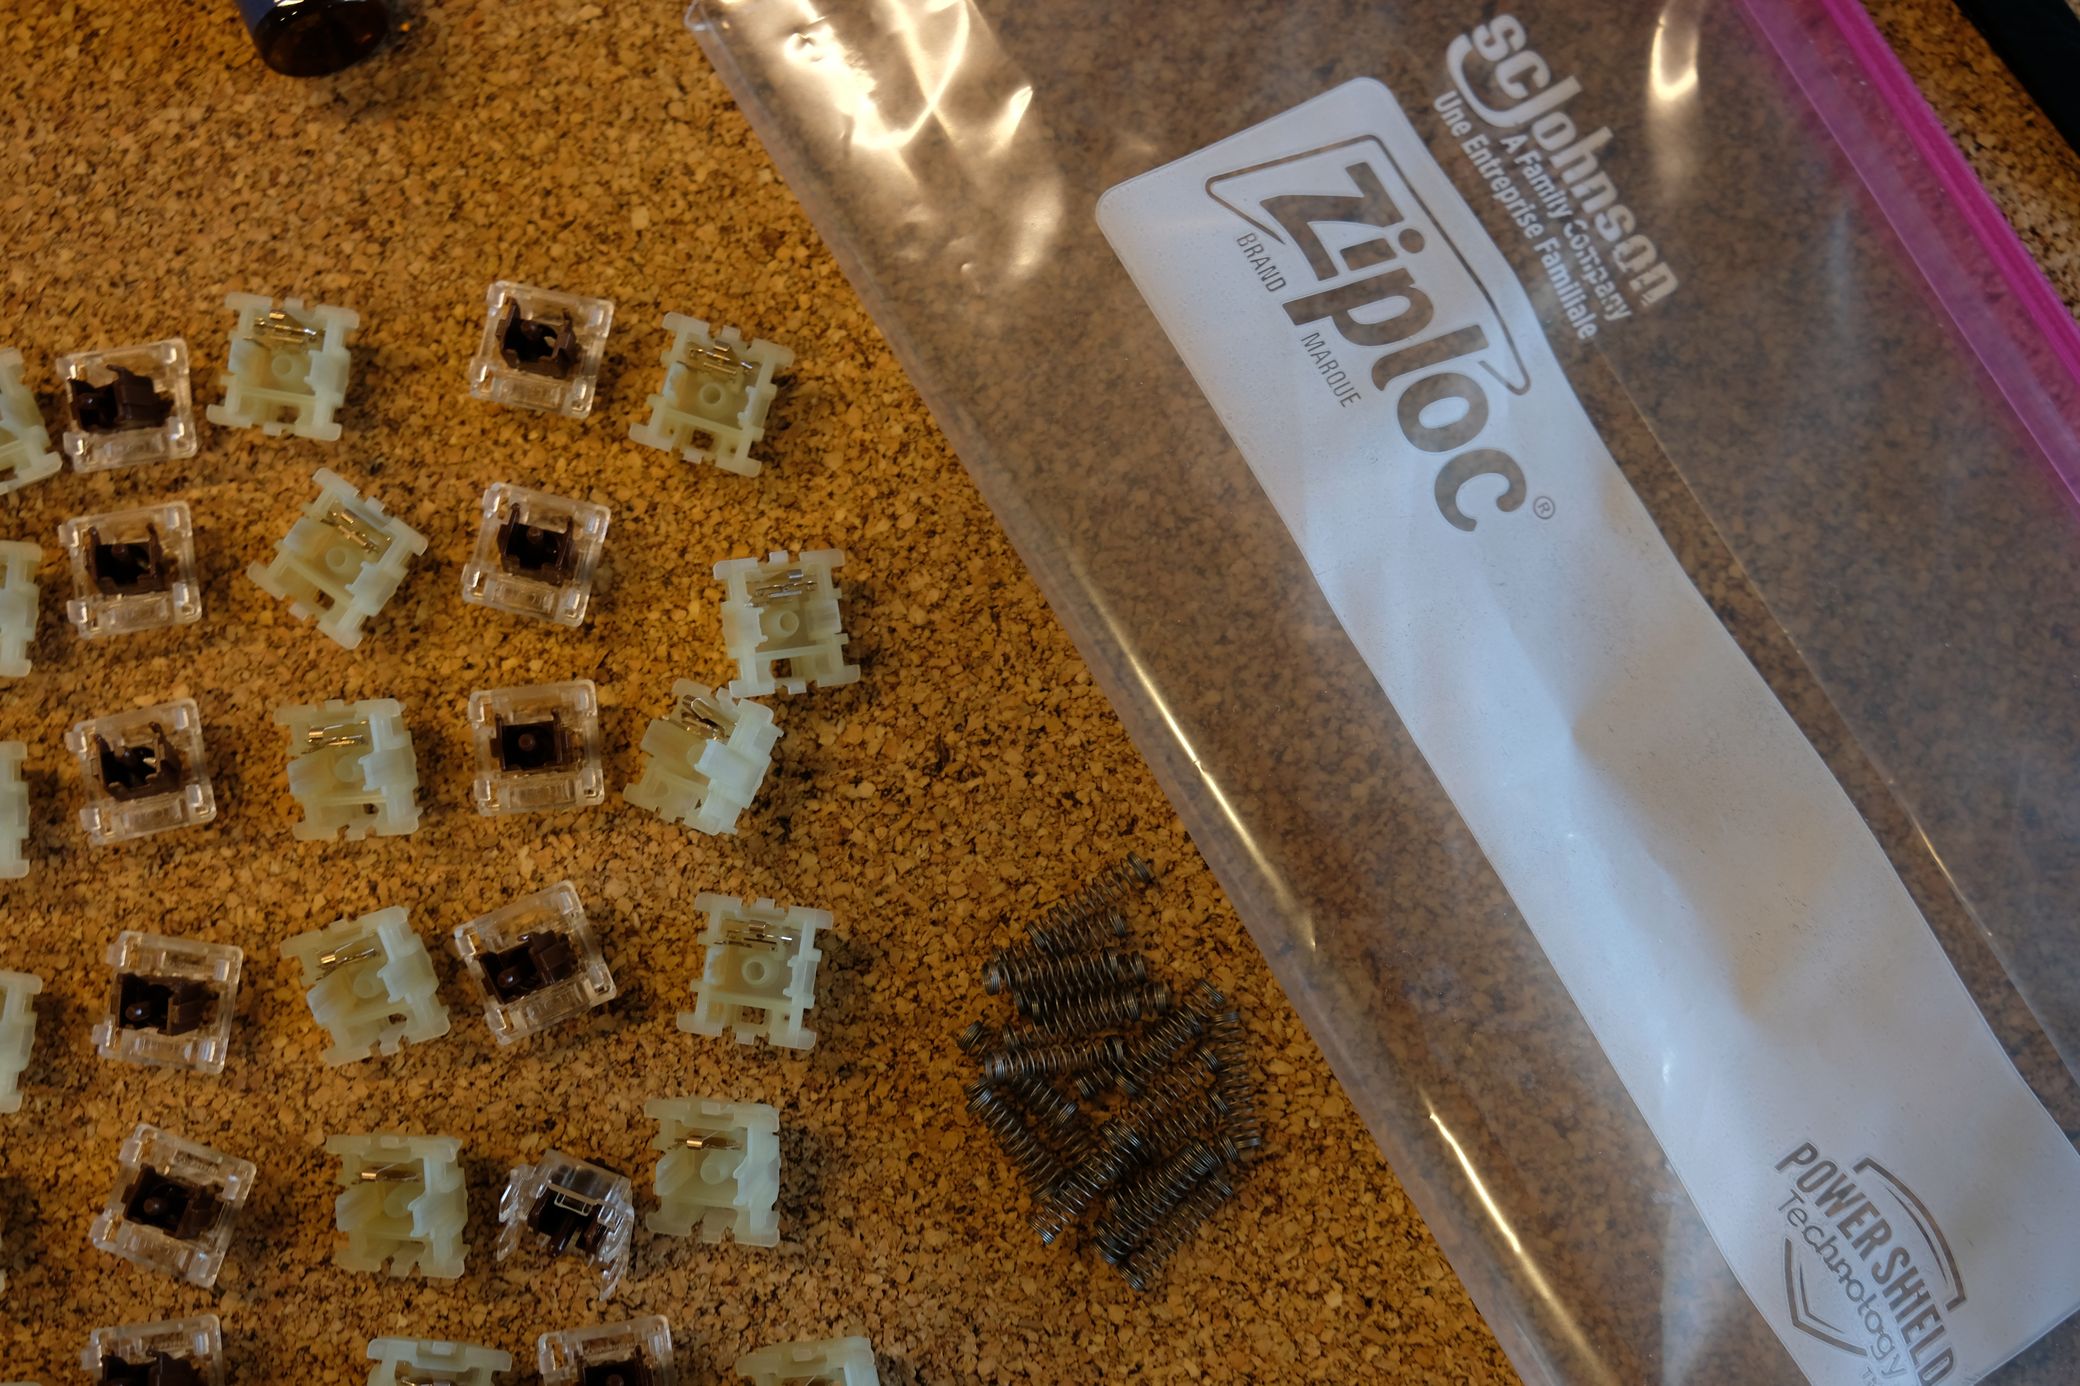
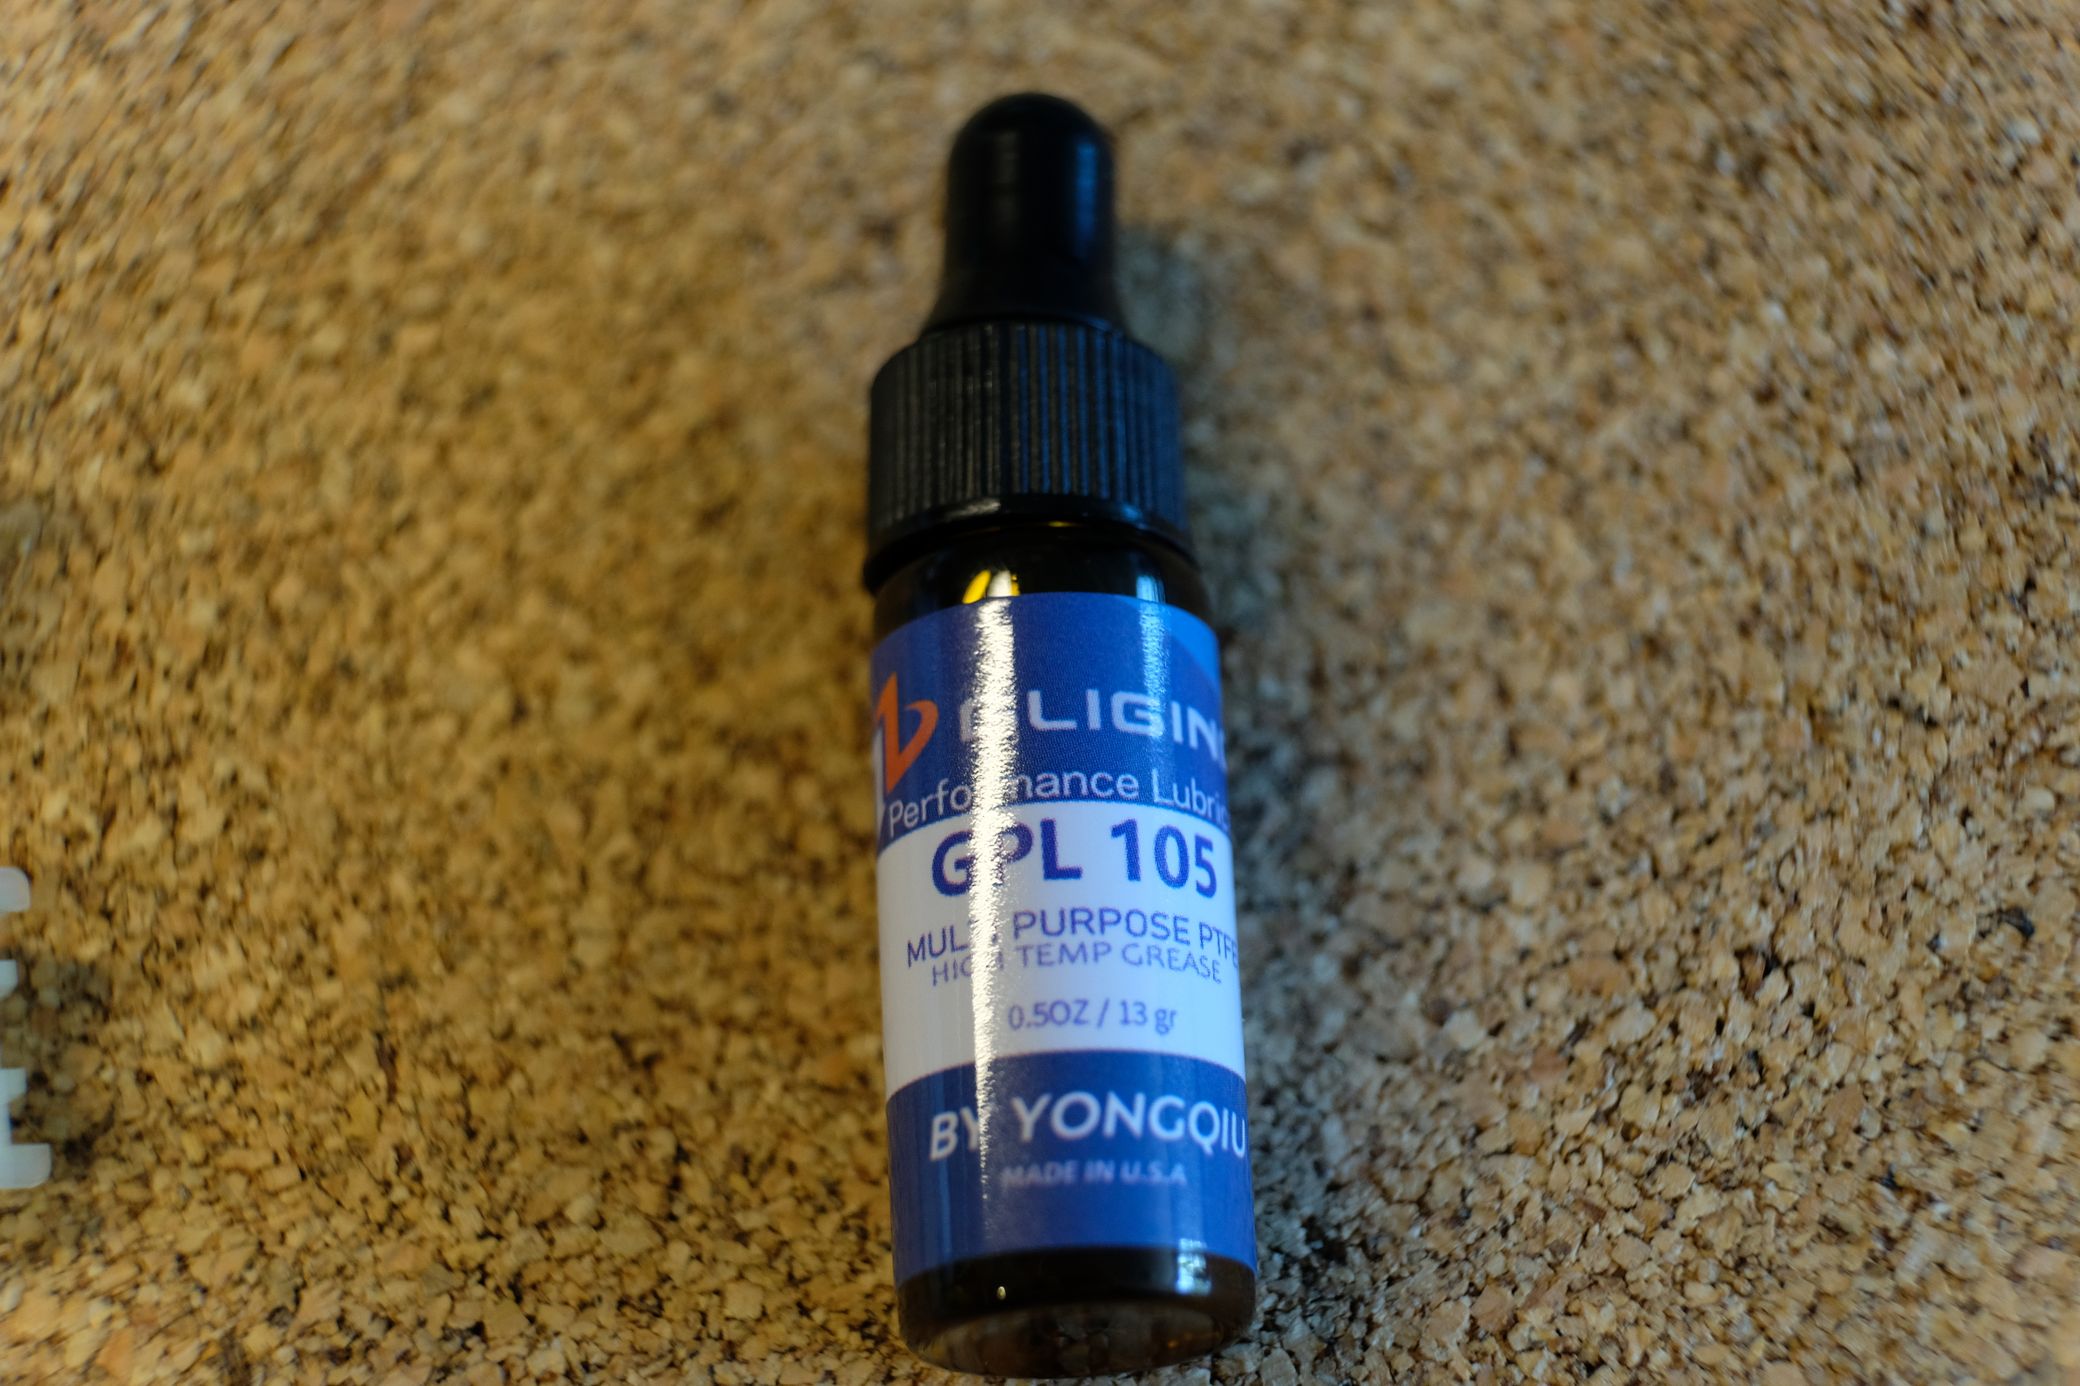
Drop the springs in and get your lube. There are several different kinds of lube that can work, but the most common and easiest to use for bag lubing is Krytox GPL 105. I'm using an off-brand of GPL 105 that works just fine as well.
How much lube to use is also up for debate. Generally, err on less lube since you can always add more, and it's kind of a pain to remove lube once added (if you do add too much, you'll need to rub each spring with isopropyl alcohol to clean it). I started with one drop per five springs, then added a bit more after shaking for a while. It turned out to be more like three drops per ten springs. If you're lubing a whole set of Moonlander or ErgoDox EZ switches, I'd suggest starting with 20 drops and adding a bit more if your springs are still looking dry. I probably wouldn't use more than 30 drops.
Once you add your lube, blow some air into the bag (so the springs have room to bounce around) and shake vigorously for at least a full minute. Some of your springs will get tangled — that's okay.
When you're done shaking, your springs shouldn't look drenched in lube. They should look almost the same as when you started with a slight shine to them. If you feel the springs, they should feel slightly slick. Wash your hands if you do feel them, though. GPL 105 isn't dangerously toxic in these quantities or anything, but still, better to be safe. Keep in mind that if you feel like you used slightly too much lube at this stage, it's probably okay. It will dry out a little and rub off with natural use, but if the springs are dripping with lube, that's too much.
Once your springs are looking good, you can pull them out. Using tweezers for this can make it go more smoothly just to avoid coating your hand in lube from reaching into the bag. If that does happen though, you'll be okay. Again, just be sure to wash your hands.
Put the springs back on the switches and prepare to snap them back together. At this point, you can decide if you want to do one other step to eliminate even more potential switch noise: filming.
Filming switches
Your switches will unfortunately not be starring in a movie. Filming switches is an optional step to take your switch mod to the next level. If you're lubing switches anyway, filming doesn't add much more time to the process, and it can improve the sound of switches a little bit further.
The upper and lower housings of switches are not perfectly tight. It is again an issue of small tolerances that can cause the upper housing to shift and vibrate slightly against the lower housing when you type. Adding film to switches dampens this vibration. You can buy switch films from lots of different places. I'm using Durok 0.3mm films here.
Installing switch films is easy. Just line up the film on the lower housing, and gently push the corners and sides down so it lays flat. Be a little bit careful since the sides of films in particular are very thin and can rip.
Then, snap the top of the switch back on. Try to be nice and stable and insert the top housing straight down when you do this. If you come in at an angle, the film can get kind of bunched up.

If this happens though, just open the switch again and realign. If your film is ripped, just use another.
Once you've got your switches lubed and (optionally) filmed, you can reinstall them as normal.
If you have a switch you love and want to push its sound to the next level, give lubing and filming it a try.