A couple months back, Kirill wrote in to show us the silicone wrist rests they had made for their Moonlander, and to share the 3D printable files. It's been a little while since we had a DIY blog post, so when Erez asked if we should give making these a try, I was happy to volunteer.
I've never worked with silicone before, and I definitely don't have all the equipment needed to get the best results possible - but even with the basics I'm quite happy with how these turned out.

What I had:
- Two part casting silicone
- The 3D molds
- Demolding spray
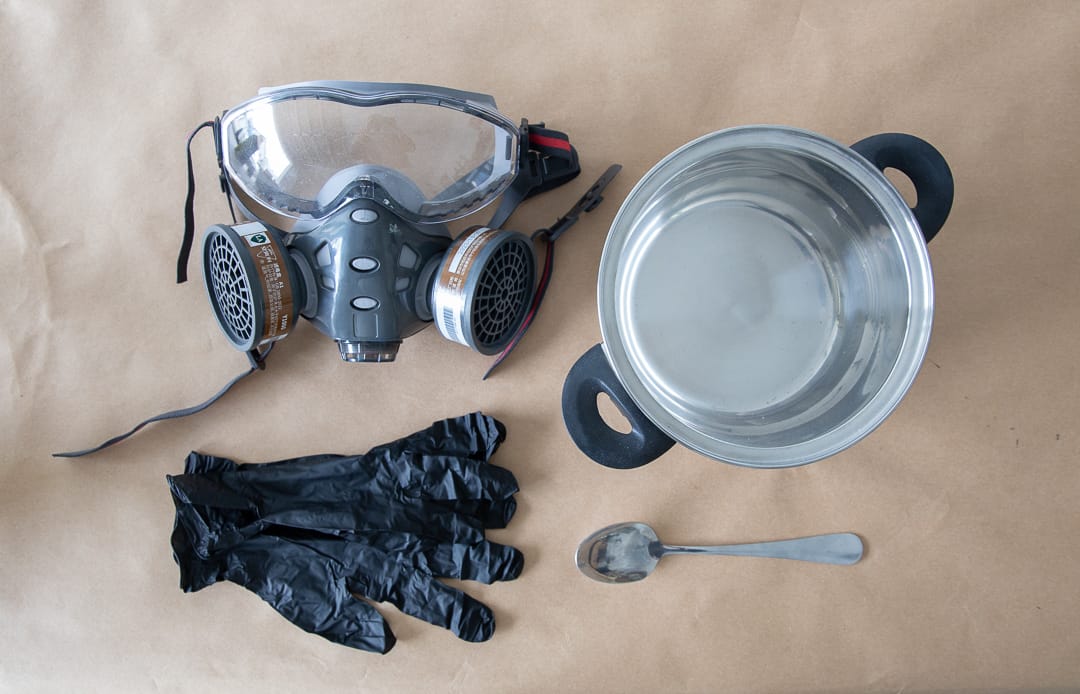
Be prepared for a bit of mess, and wear PPE. I put down paper, wore a spray painting mask and nitrile gloves, and worked in a well ventilated area.

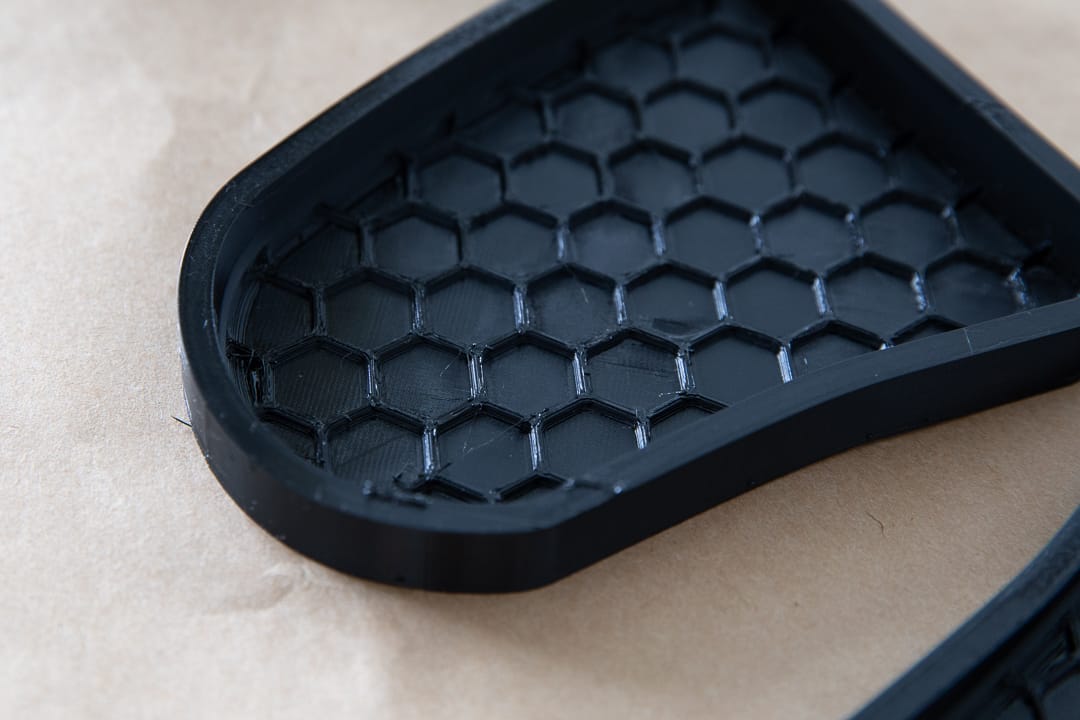
The 3D molds I had printed at a local printer - I just asked for the inside to be as smooth as possible. The printer used TPU 95, with a 5% infill so that the print would be quite flexible - enough to bend and flex when demolding.

Because these were printed on a regular printer, there were little plastic artefacts on the inside. I was worried these would stick into the silicone, so I just carefully trimmed them away with some nail clippers. It wasn't perfect, so if this is going to bother you I'd look to get the molds printed in an SLA printer.
I used a demolding spray to be safe, but you probably could skip this and still be fine, the silicone didn't stick to anything once it was dry.
The silicone was standard, two-part casting silicone. I eyeballed the amount needed and made 300g base to 9g catalyst. Stir to combine, and pour into the molds.
In an ideal scenario you'd de-air the mixture in a vacuum chamber, or place the mold on a sander to shake out any bubbles. I don't have either of those things. So I just smacked the molds on the table a few times and then went over the bubbles on top with a toothpick.
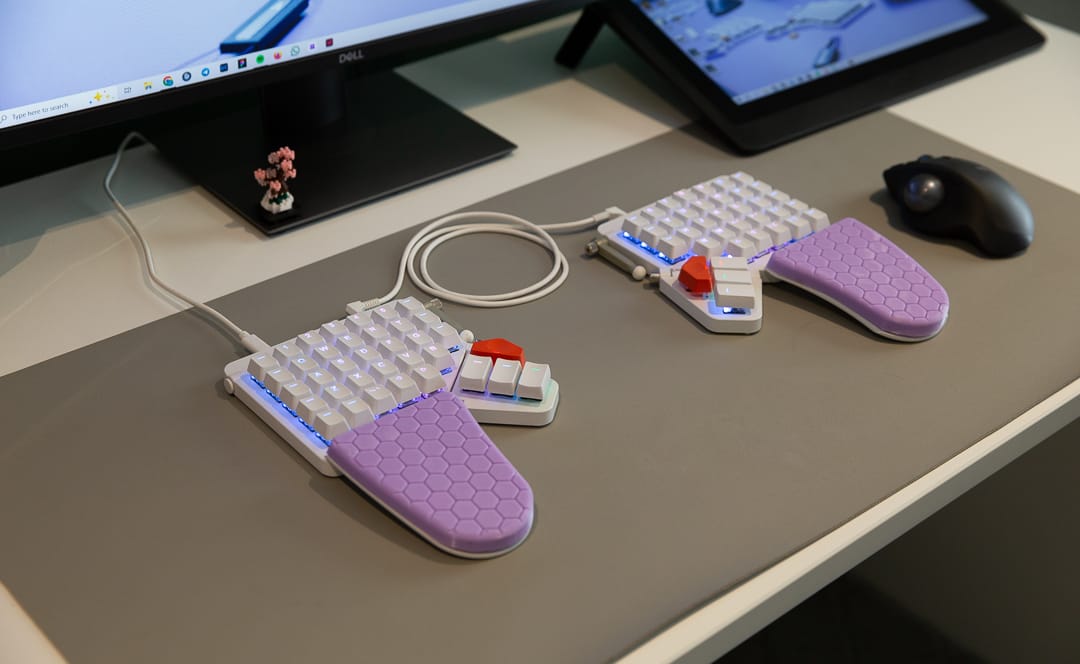
Left the silicone to cure overnight, and gently pulled them out of the molds the next morning. Trimmed away some of the excess with scissors, wiped them down with some soap and water, on popped them on top of my Moonlander's wrist rests.
Here's the final result.

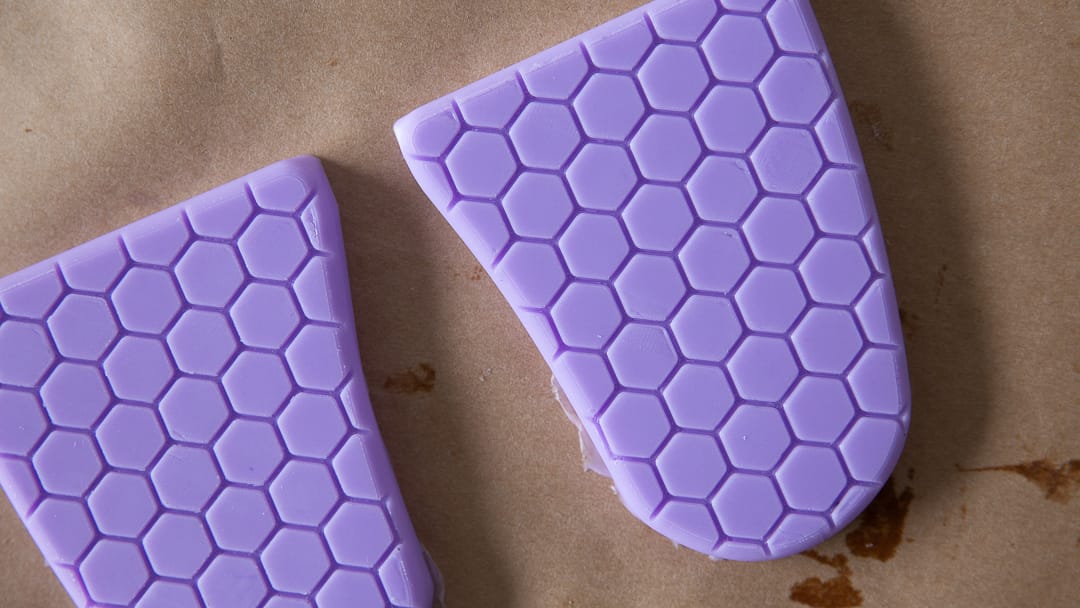
Closeup there are some small imperfections, but overall it was a pretty easy and fun project that turned out well with very minimal equipment and space.

If you give this a try, please send us an email at [email protected], and let us know how it went!
