I have been toying with the concept of a keyboard and mouse platform since I originally got my Ergodox EZ. I used dish stands at first and then tried some 3D printed stands. But those weren't sufficient because the boards were not attached to anything and moved around.

I also wanted to put something in the middle, like a mouse (or a cat!), so I needed to fit more peripherals while managing all of their cables.
So I got a 3D printer and slowly learned CAD to build something that would solve those problems: a platform that combined a way to attach the Moonlander and a large middle space enough to store whatever you might want. It took many hours of measuring, months of breaks in between prototyping, and tons of real-world testing.
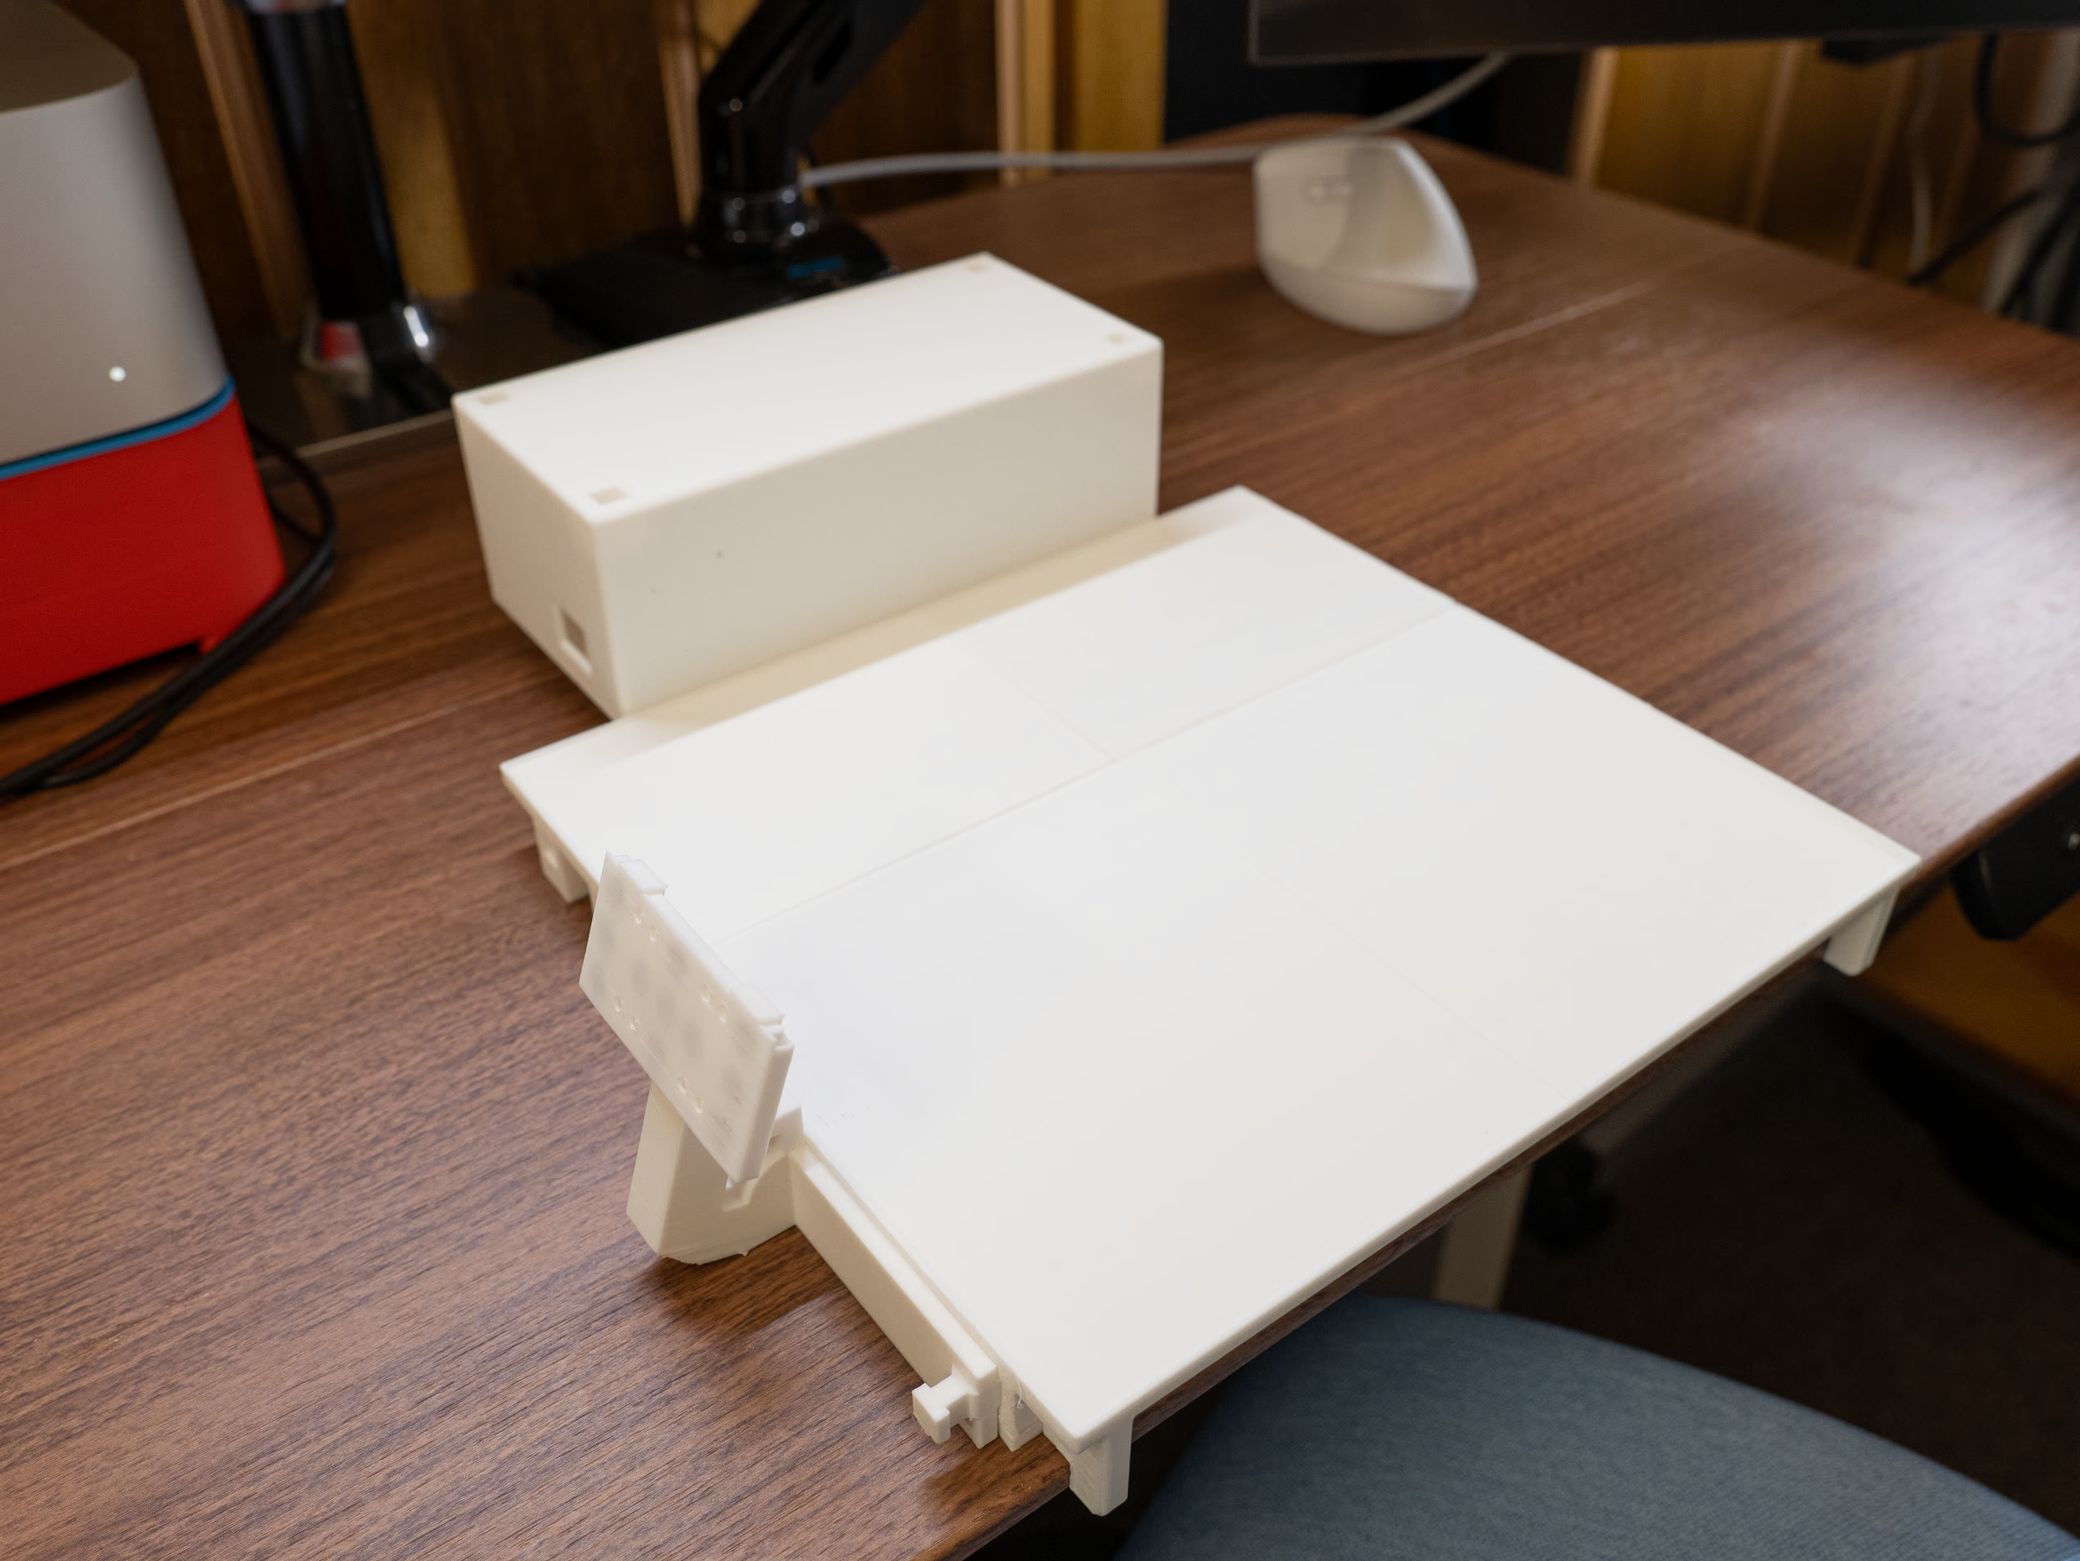
Enter the Ultimate Keyboard and Mouse Platform 2.2. It's a modular platform that connects your Moonlander keyboard, has built-in cable management and leaves room to expand additional modules for things like more keyboard, a tablet stand and more.
Putting the Platform is kind of like putting together LEGO. The most difficult part is probably the printing process.
Recommended printing orientations
Print the cover with supports, but just at the bottom.

No supports are needed here. This is probably the simplest part to print out all of them.

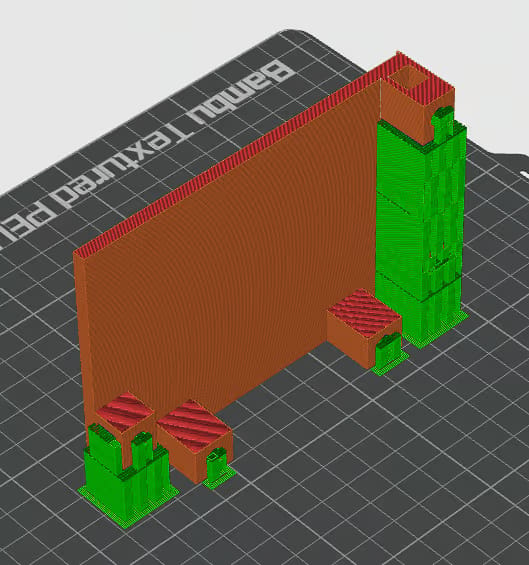
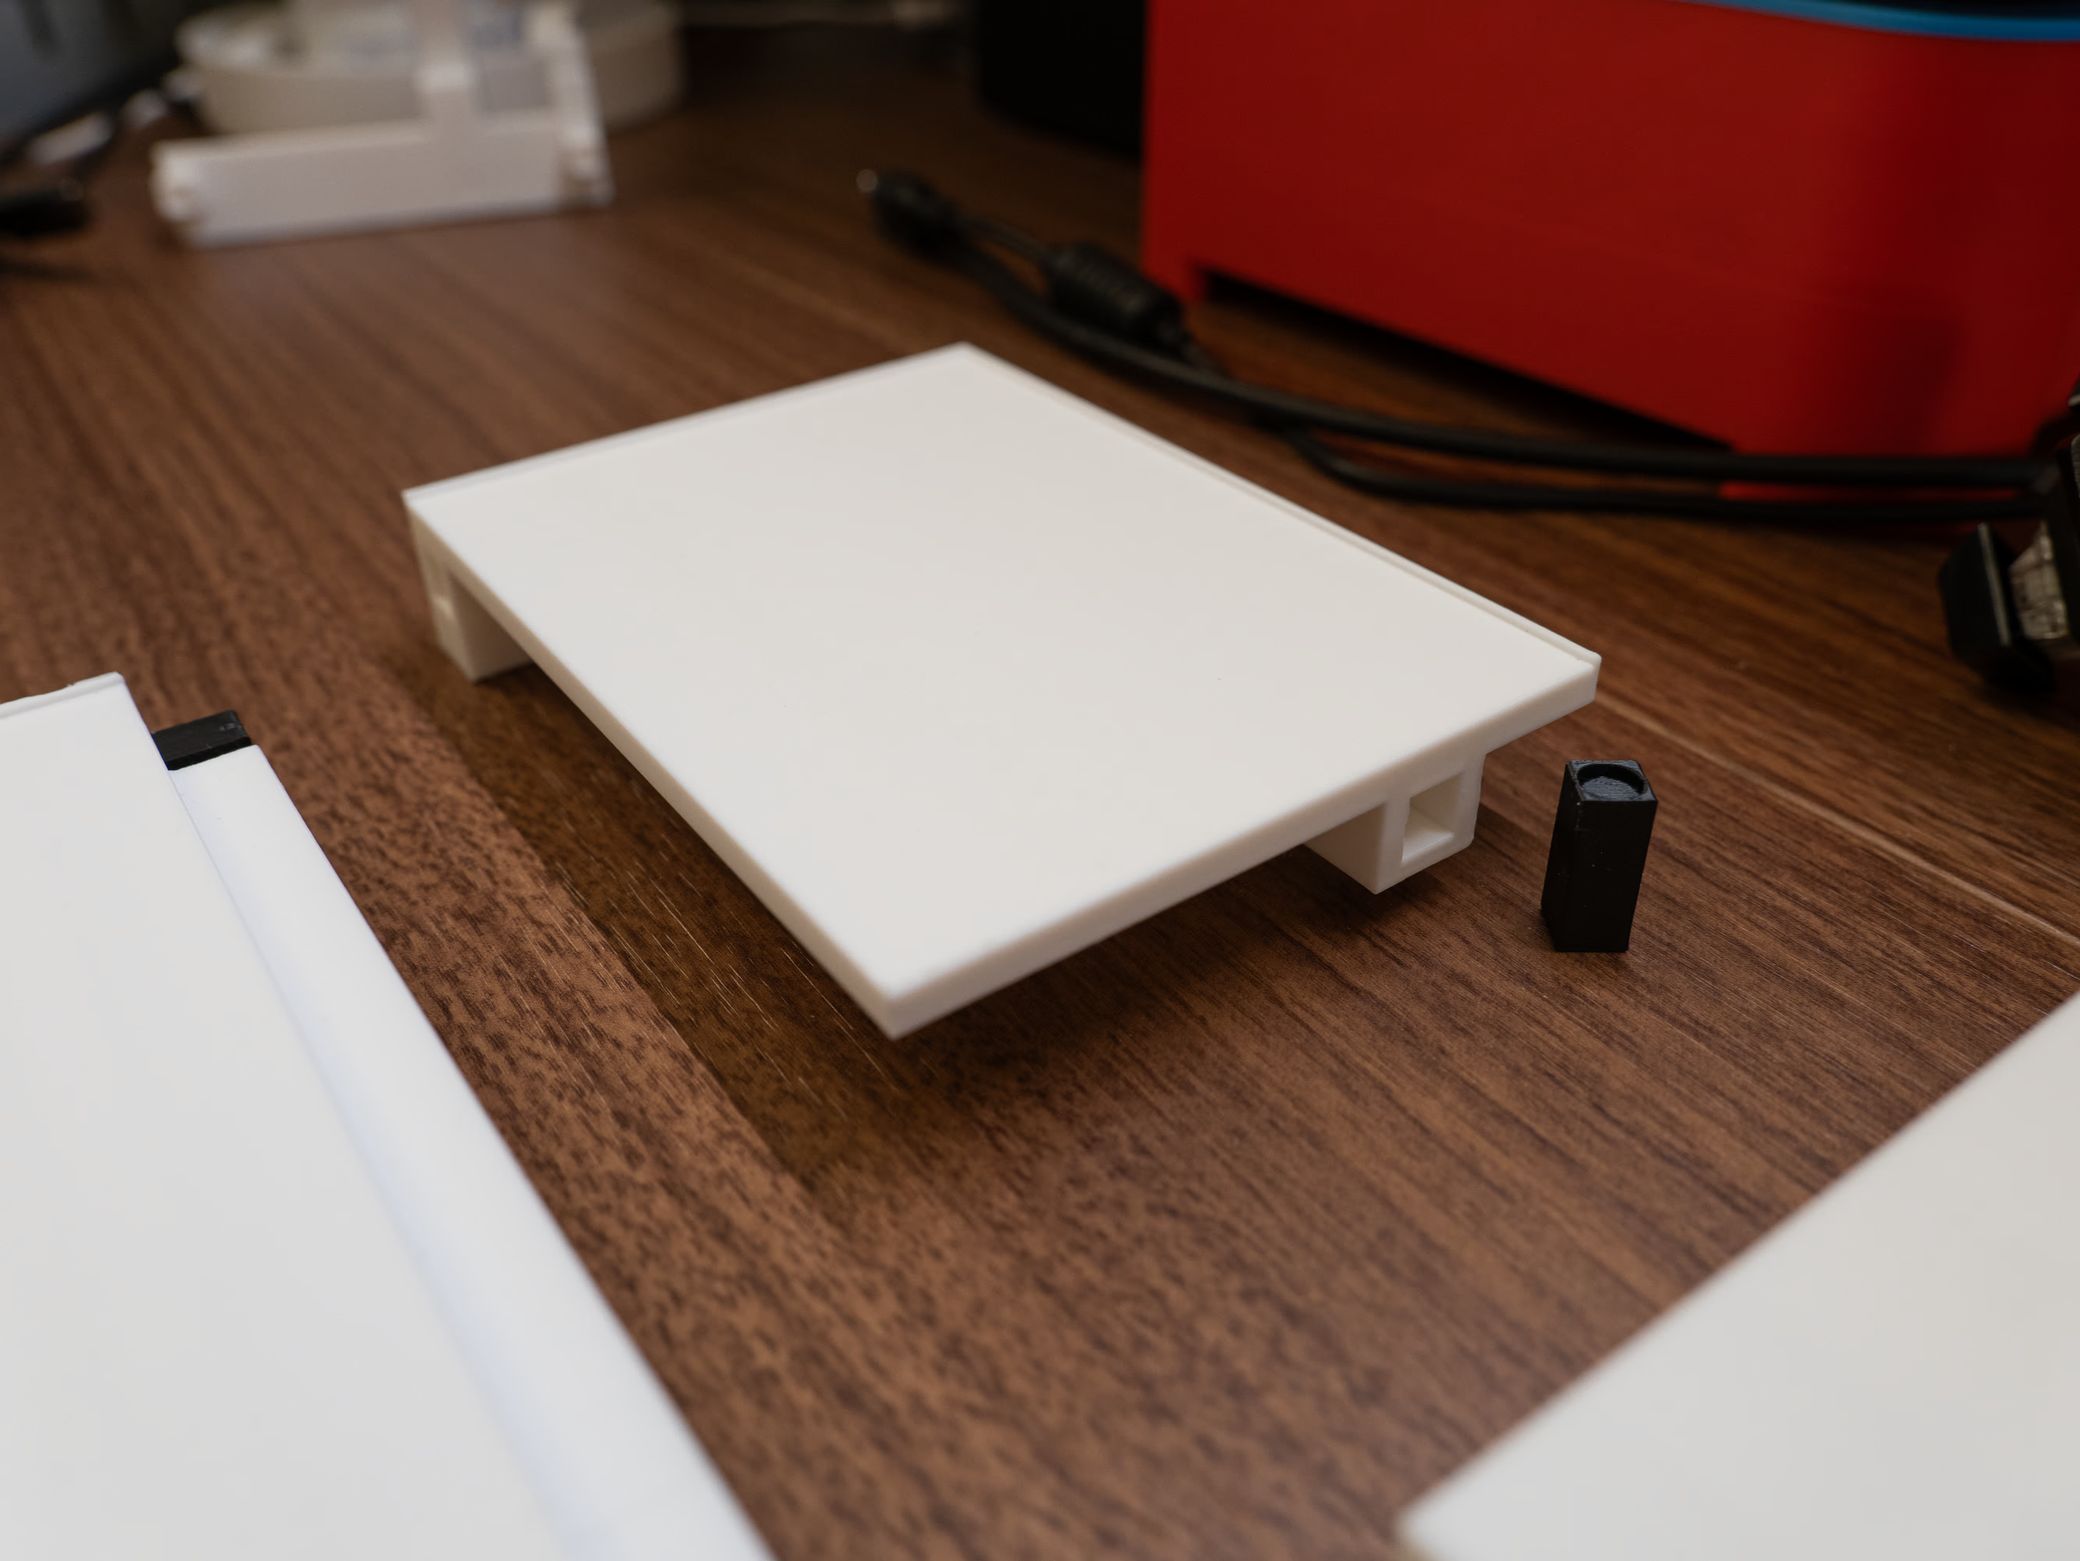
Print the back platforms on their sides in this orientation.

The supports should look similar to this.
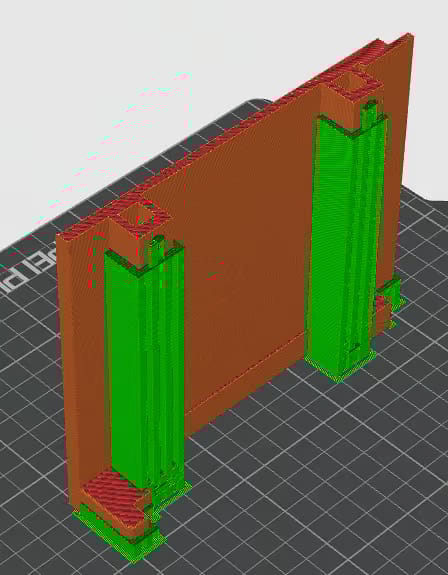
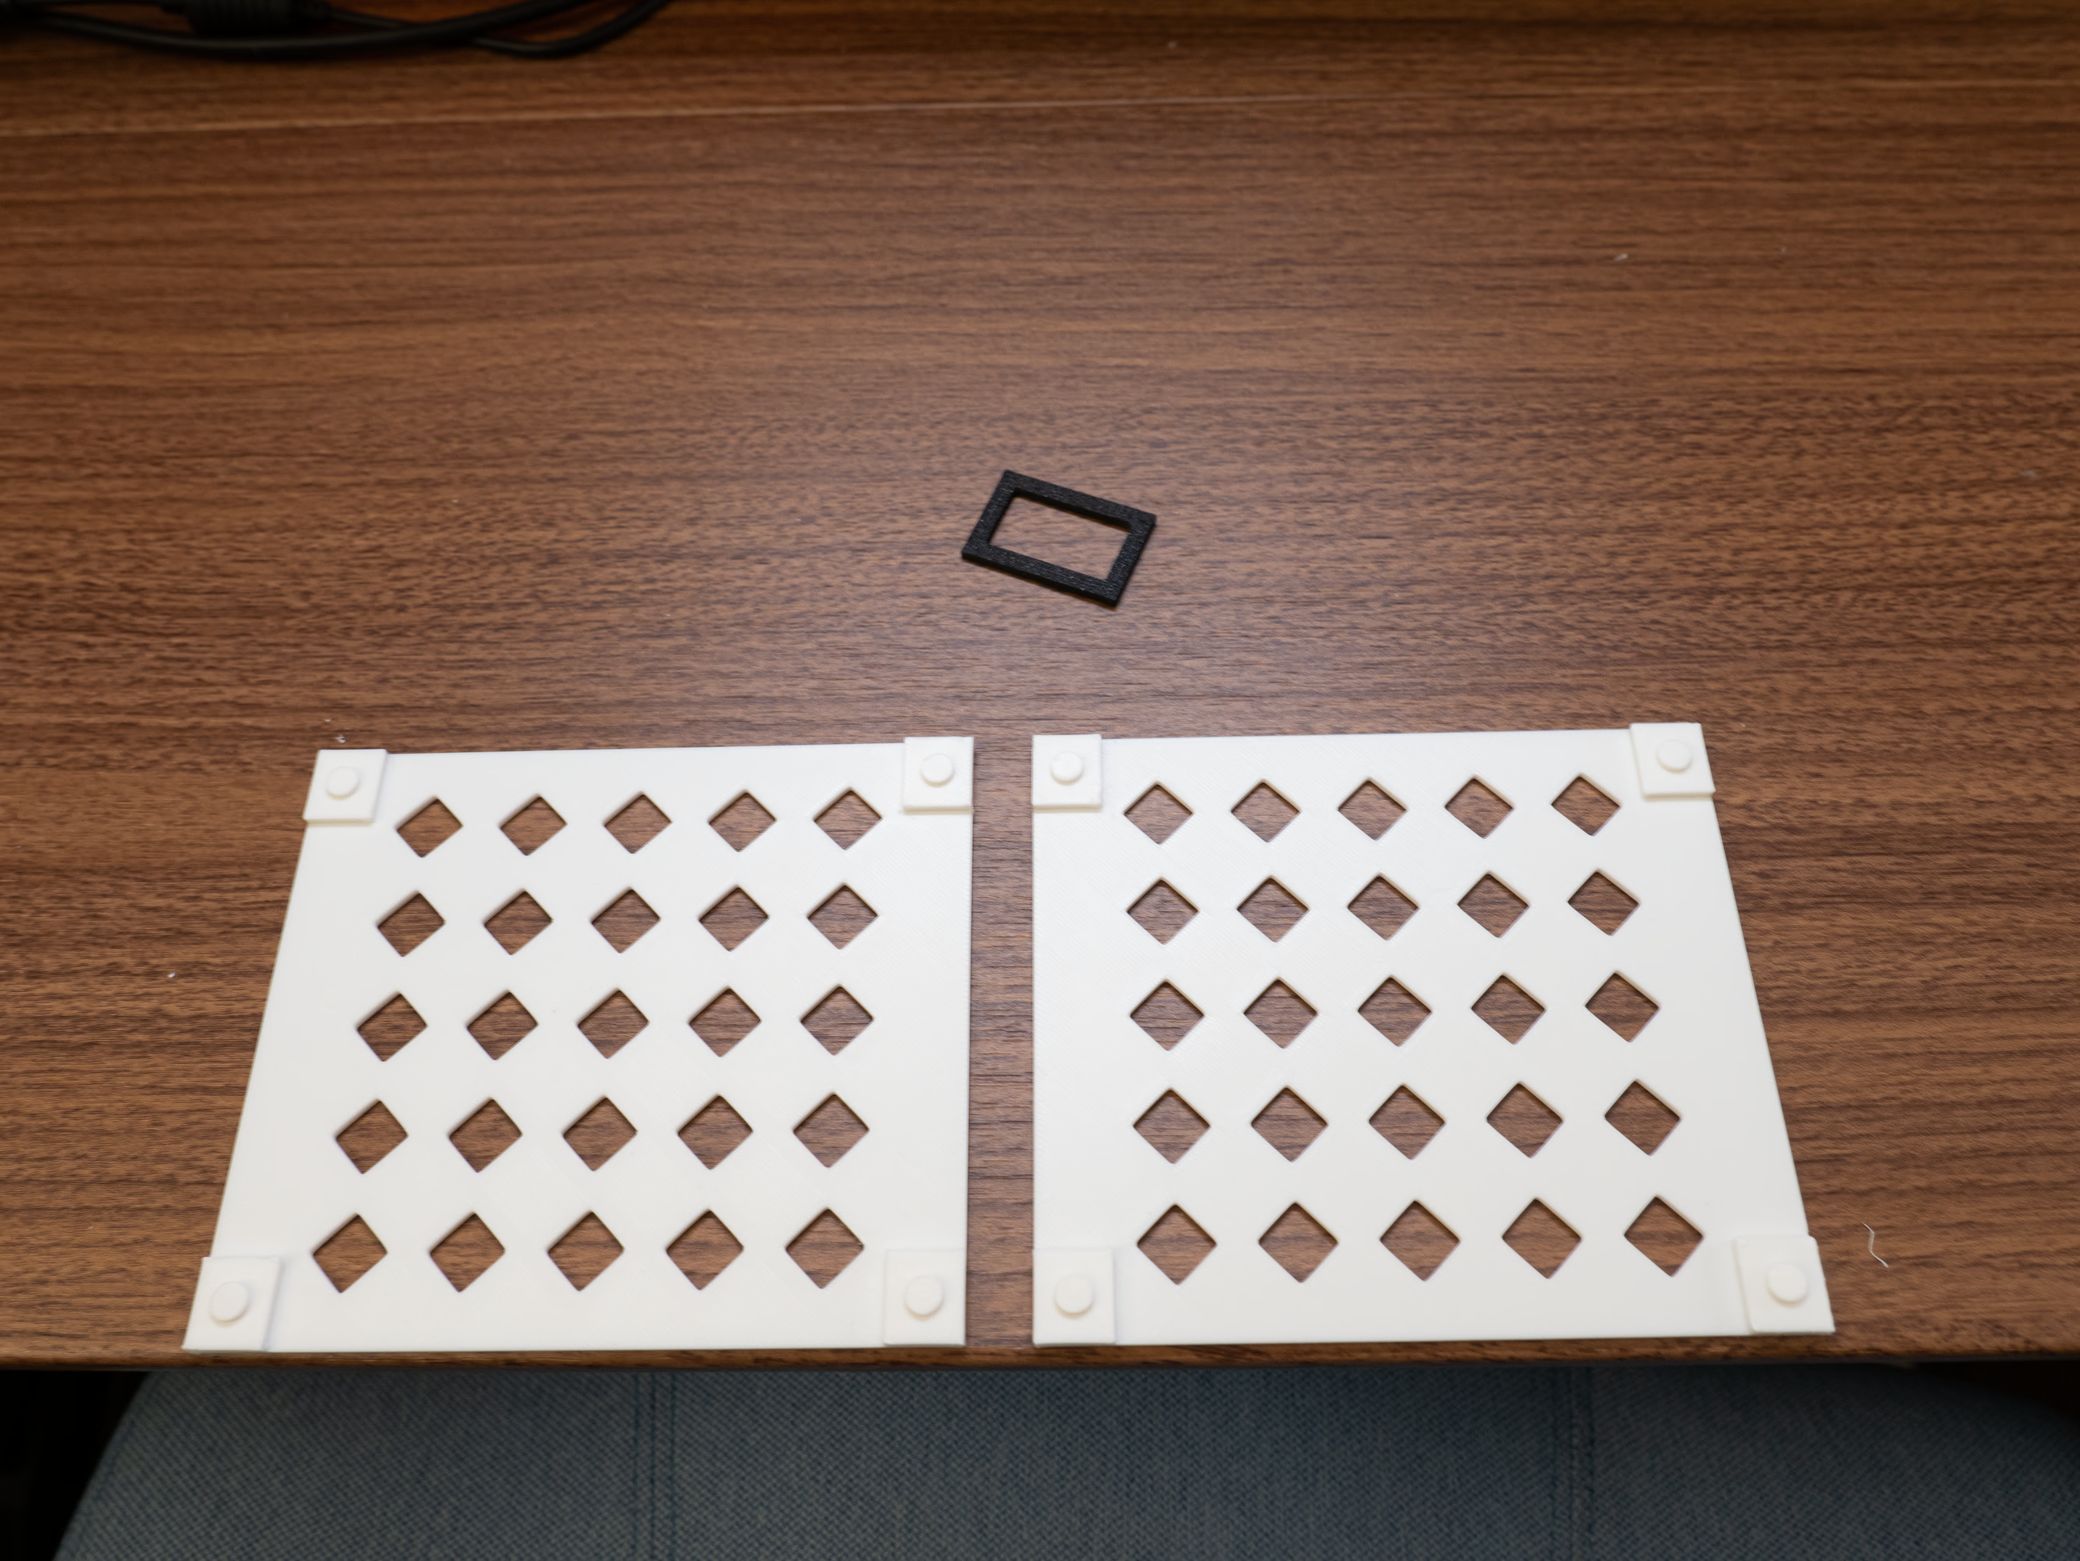
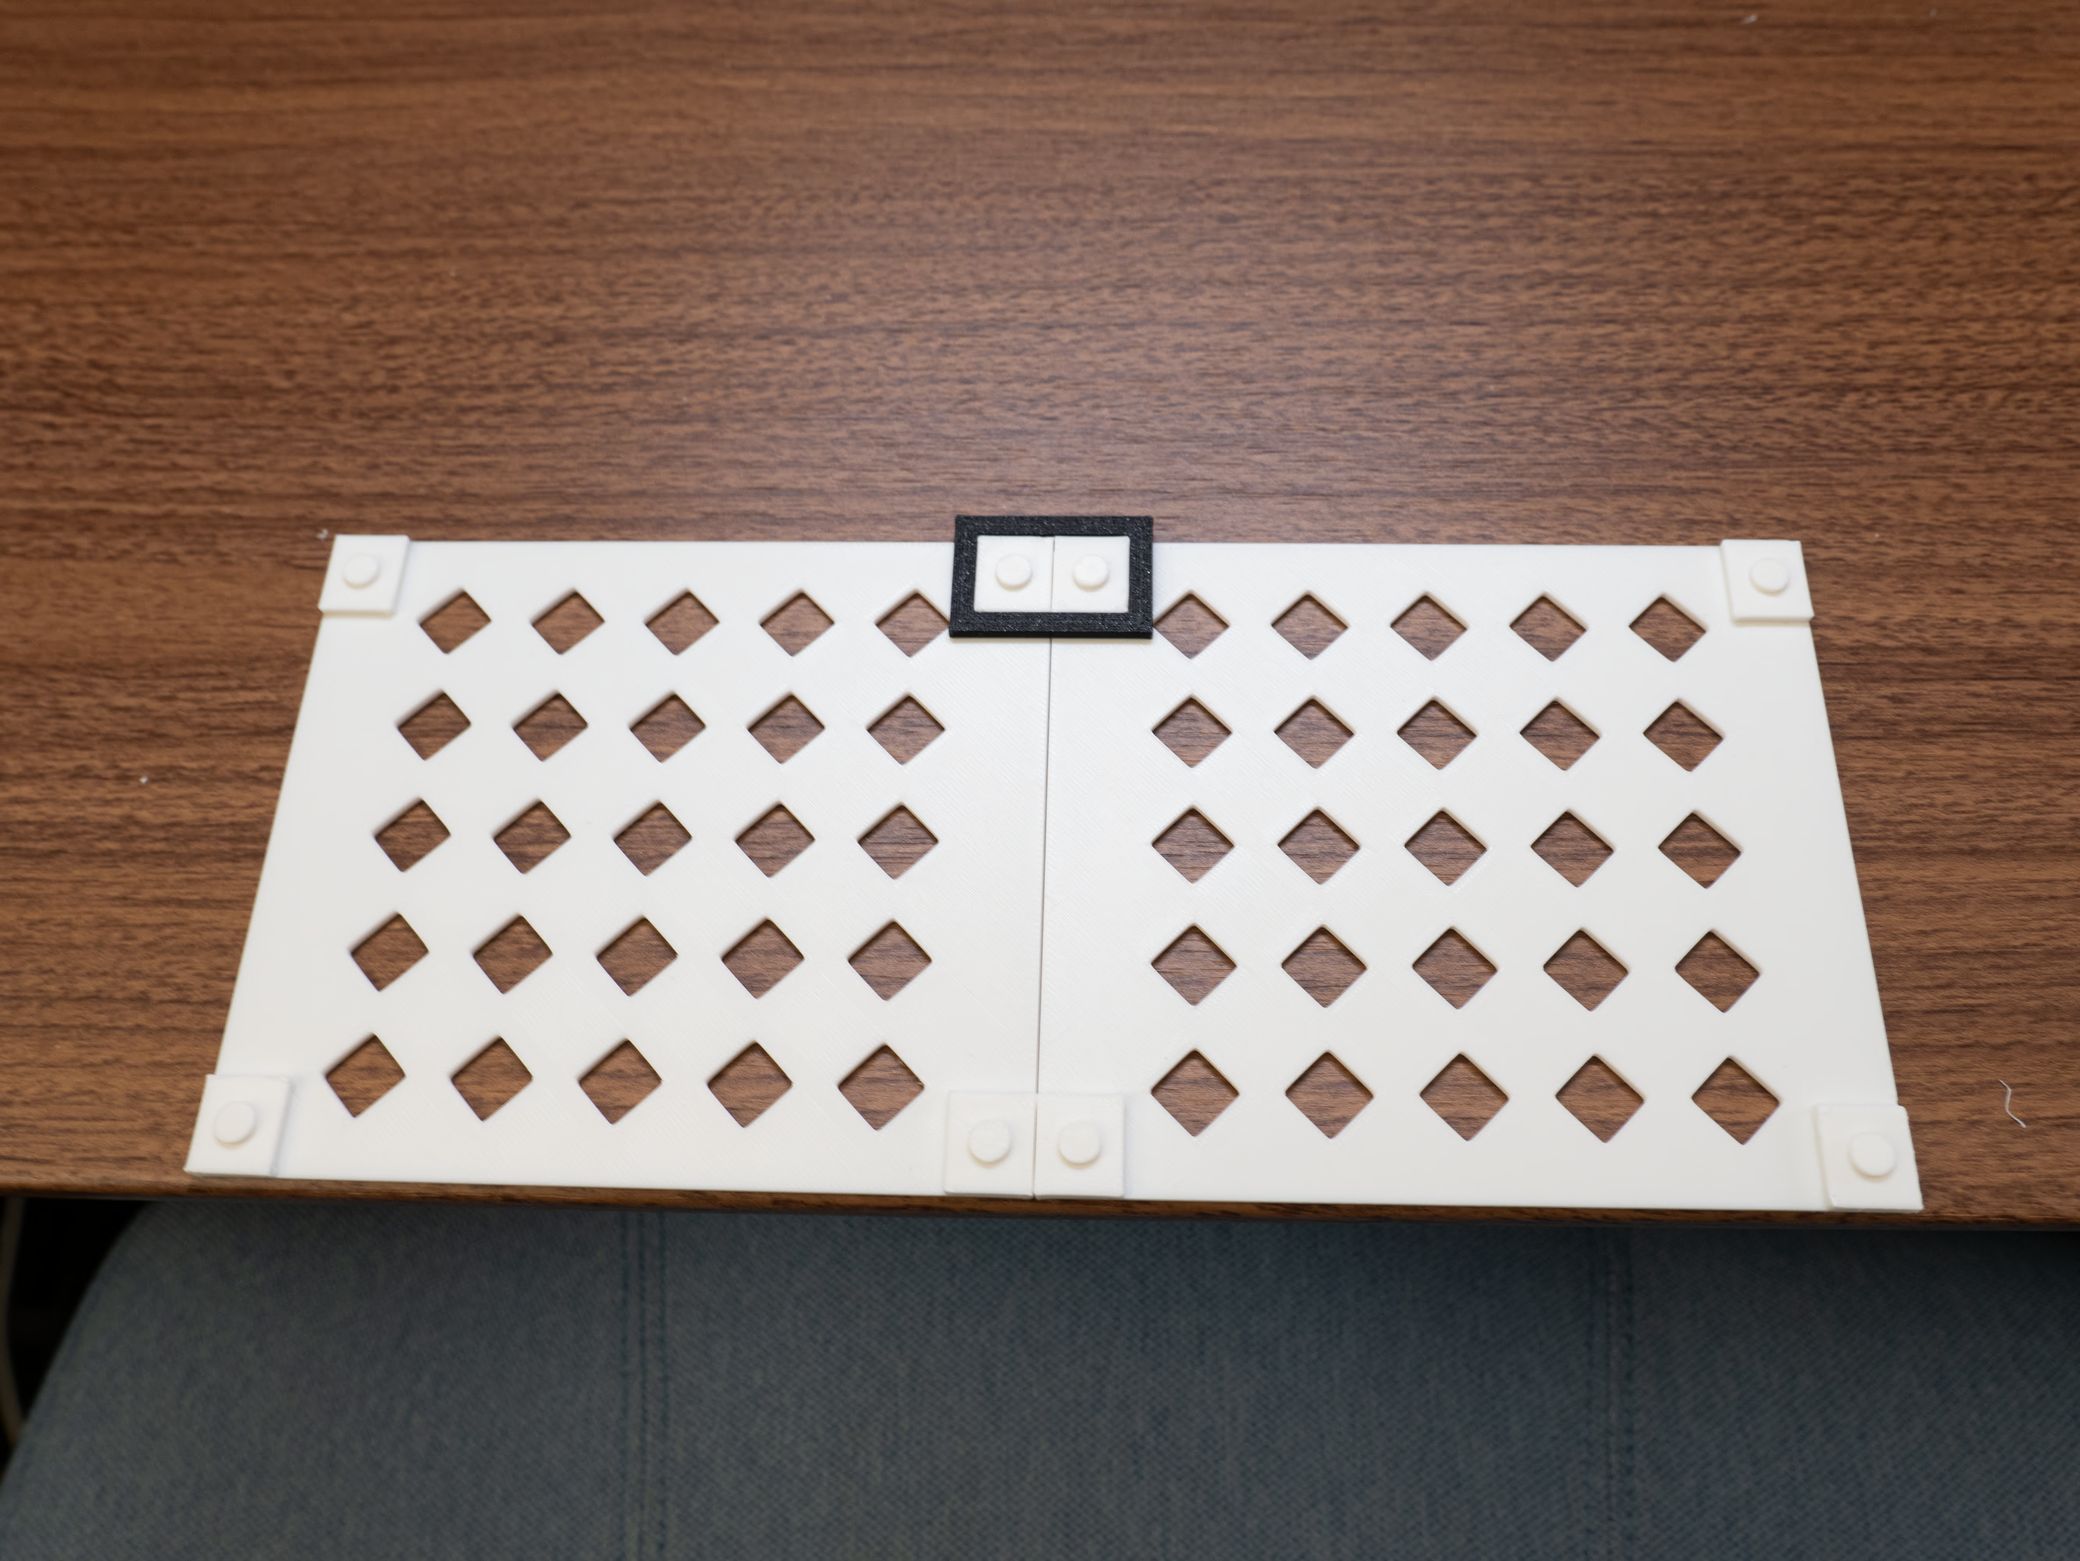
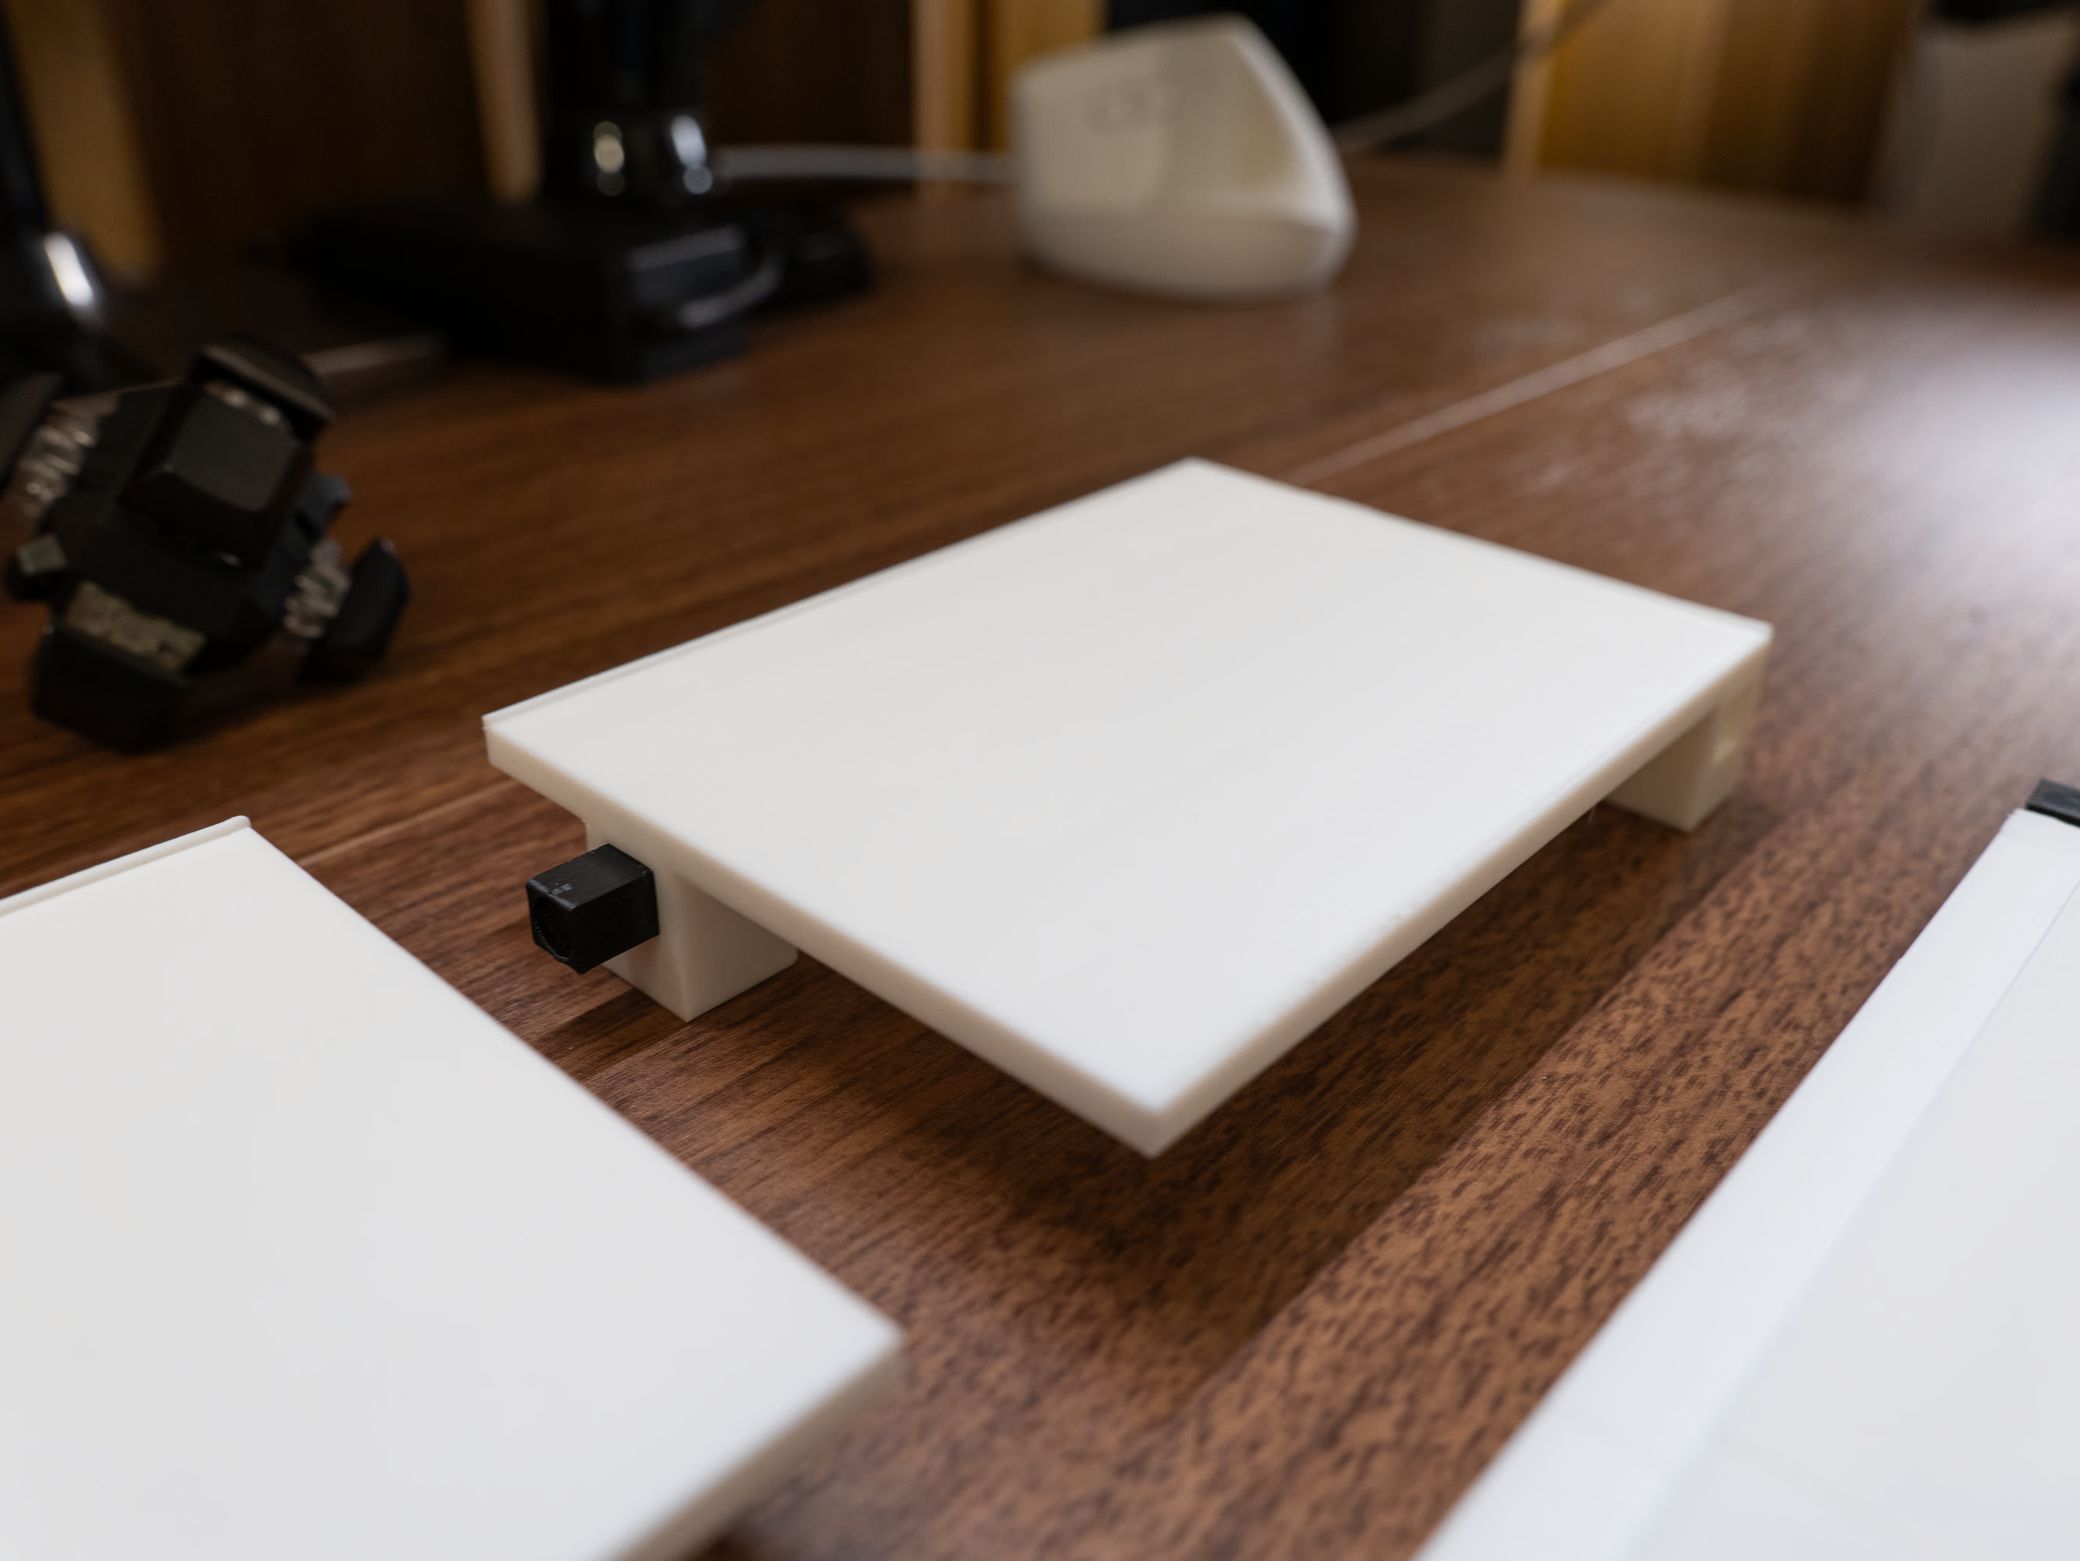
Print the front platforms on their sides as well. Picture is the left half and the right half should mirror this half.

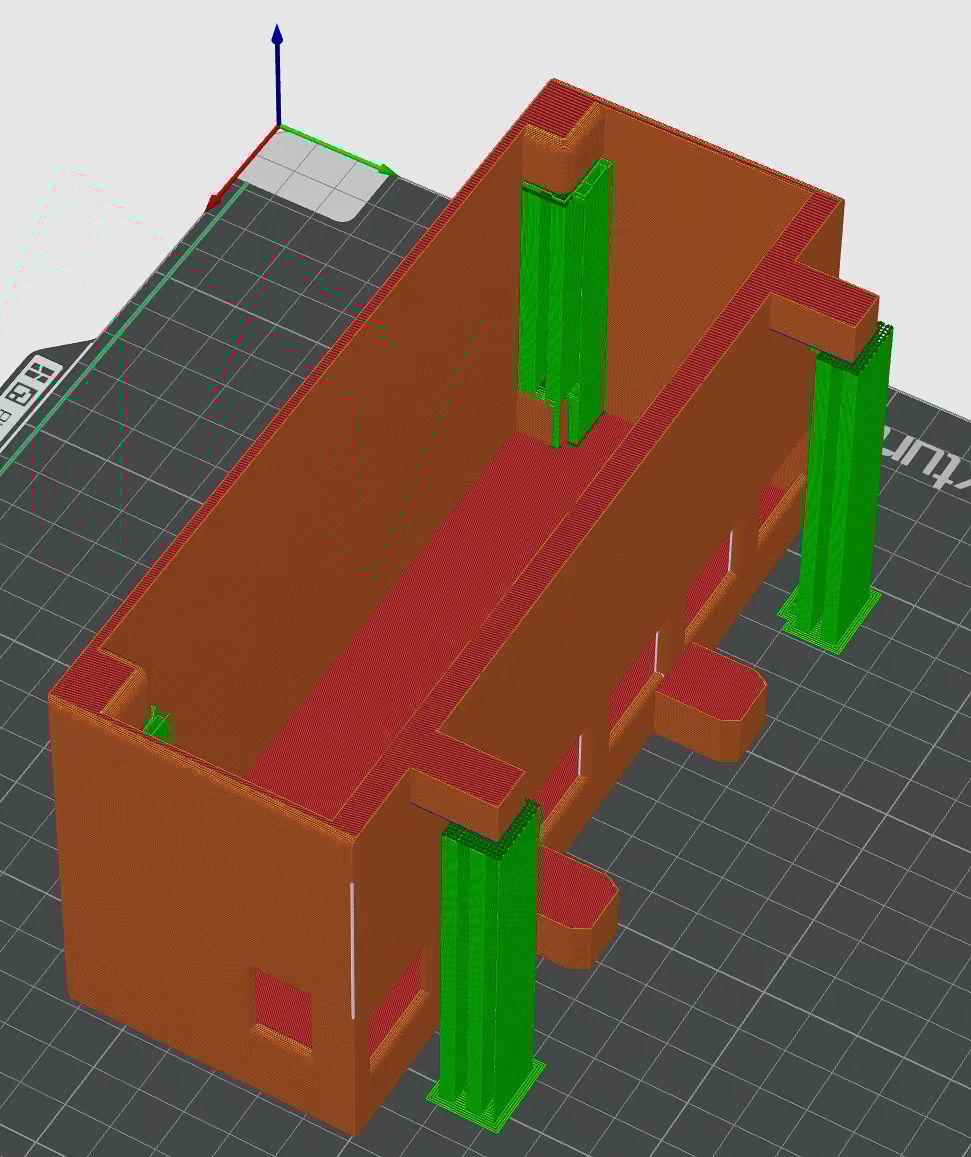
Print in the picture orientation. I recommend printing with manual supports and just painting where the supports should go. Don't forget to add supports to the bottom connection holes for the highest quality connections.

I recommend printing with manual support, otherwise it adds way too much material.

Print with the magnet holes facing upwards. You can print this with automatic supports.

Putting together the platform
Getting the magnets in is a little tricky. Basically, one at a time put a magnet in going from left to right or vice versa. As you go move the magnet cover over the newly installed magnets until all the slots are filled.


Assembling the magnetic plate for the board
Flip your Moonlander with the keys facing down.
Place the magnet plate holder over the screw holes.
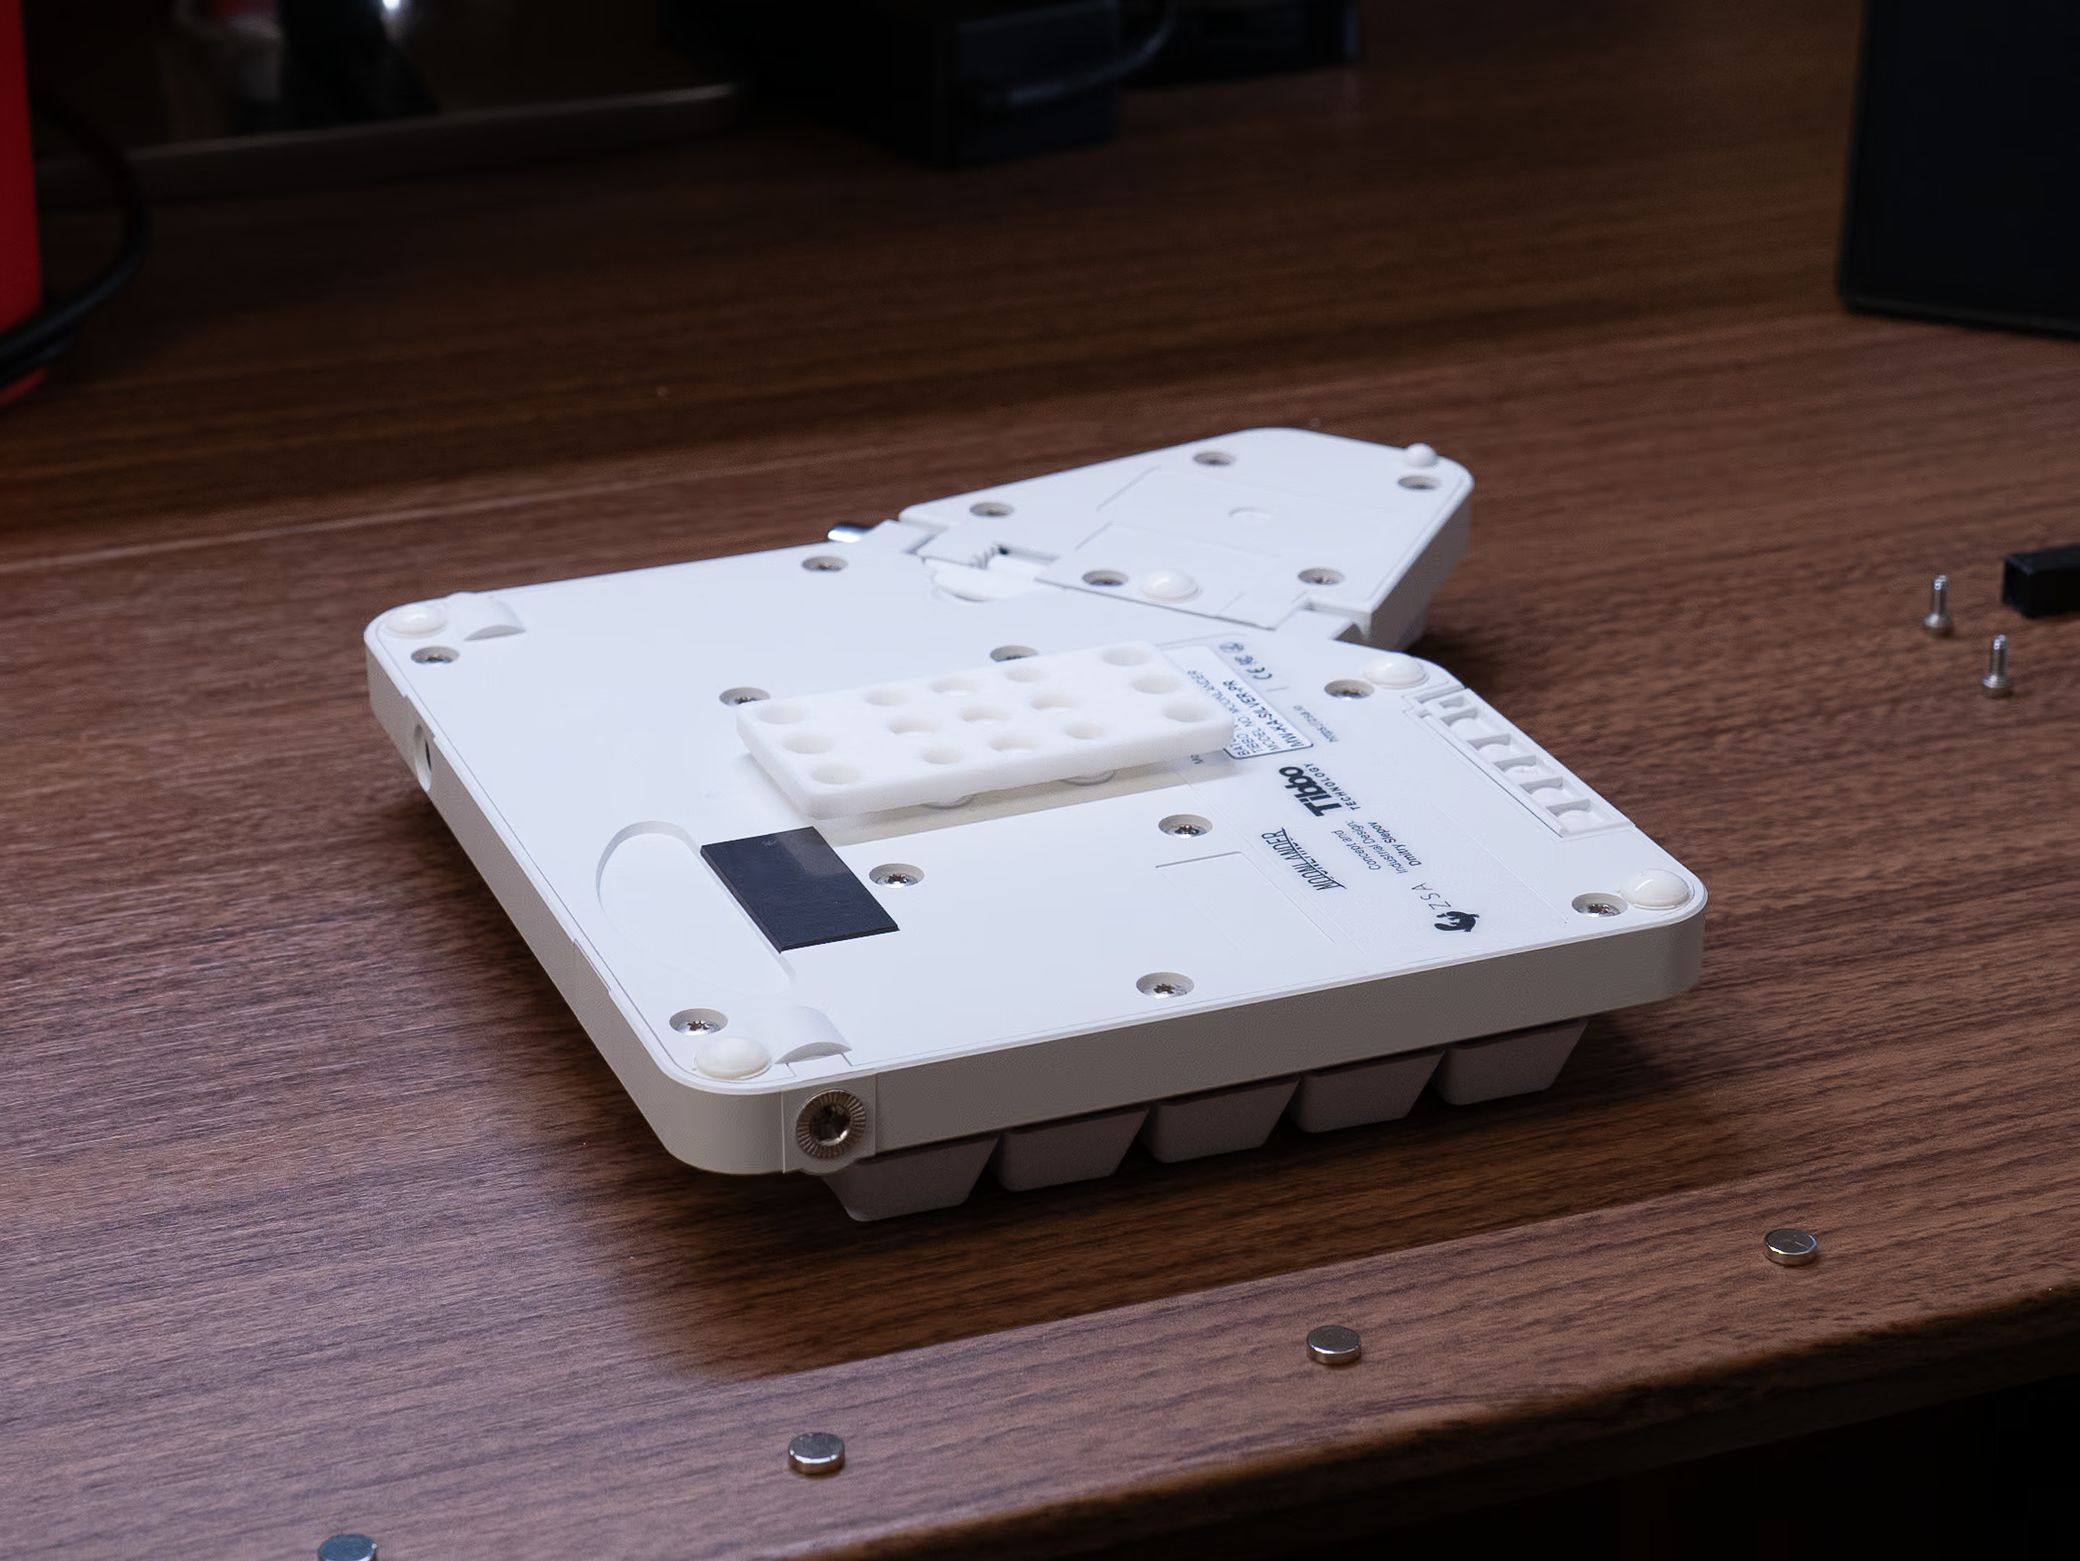
Place the M2 screws loosely into position and then screw them into place, going diagonally. Only tighten them very gently.
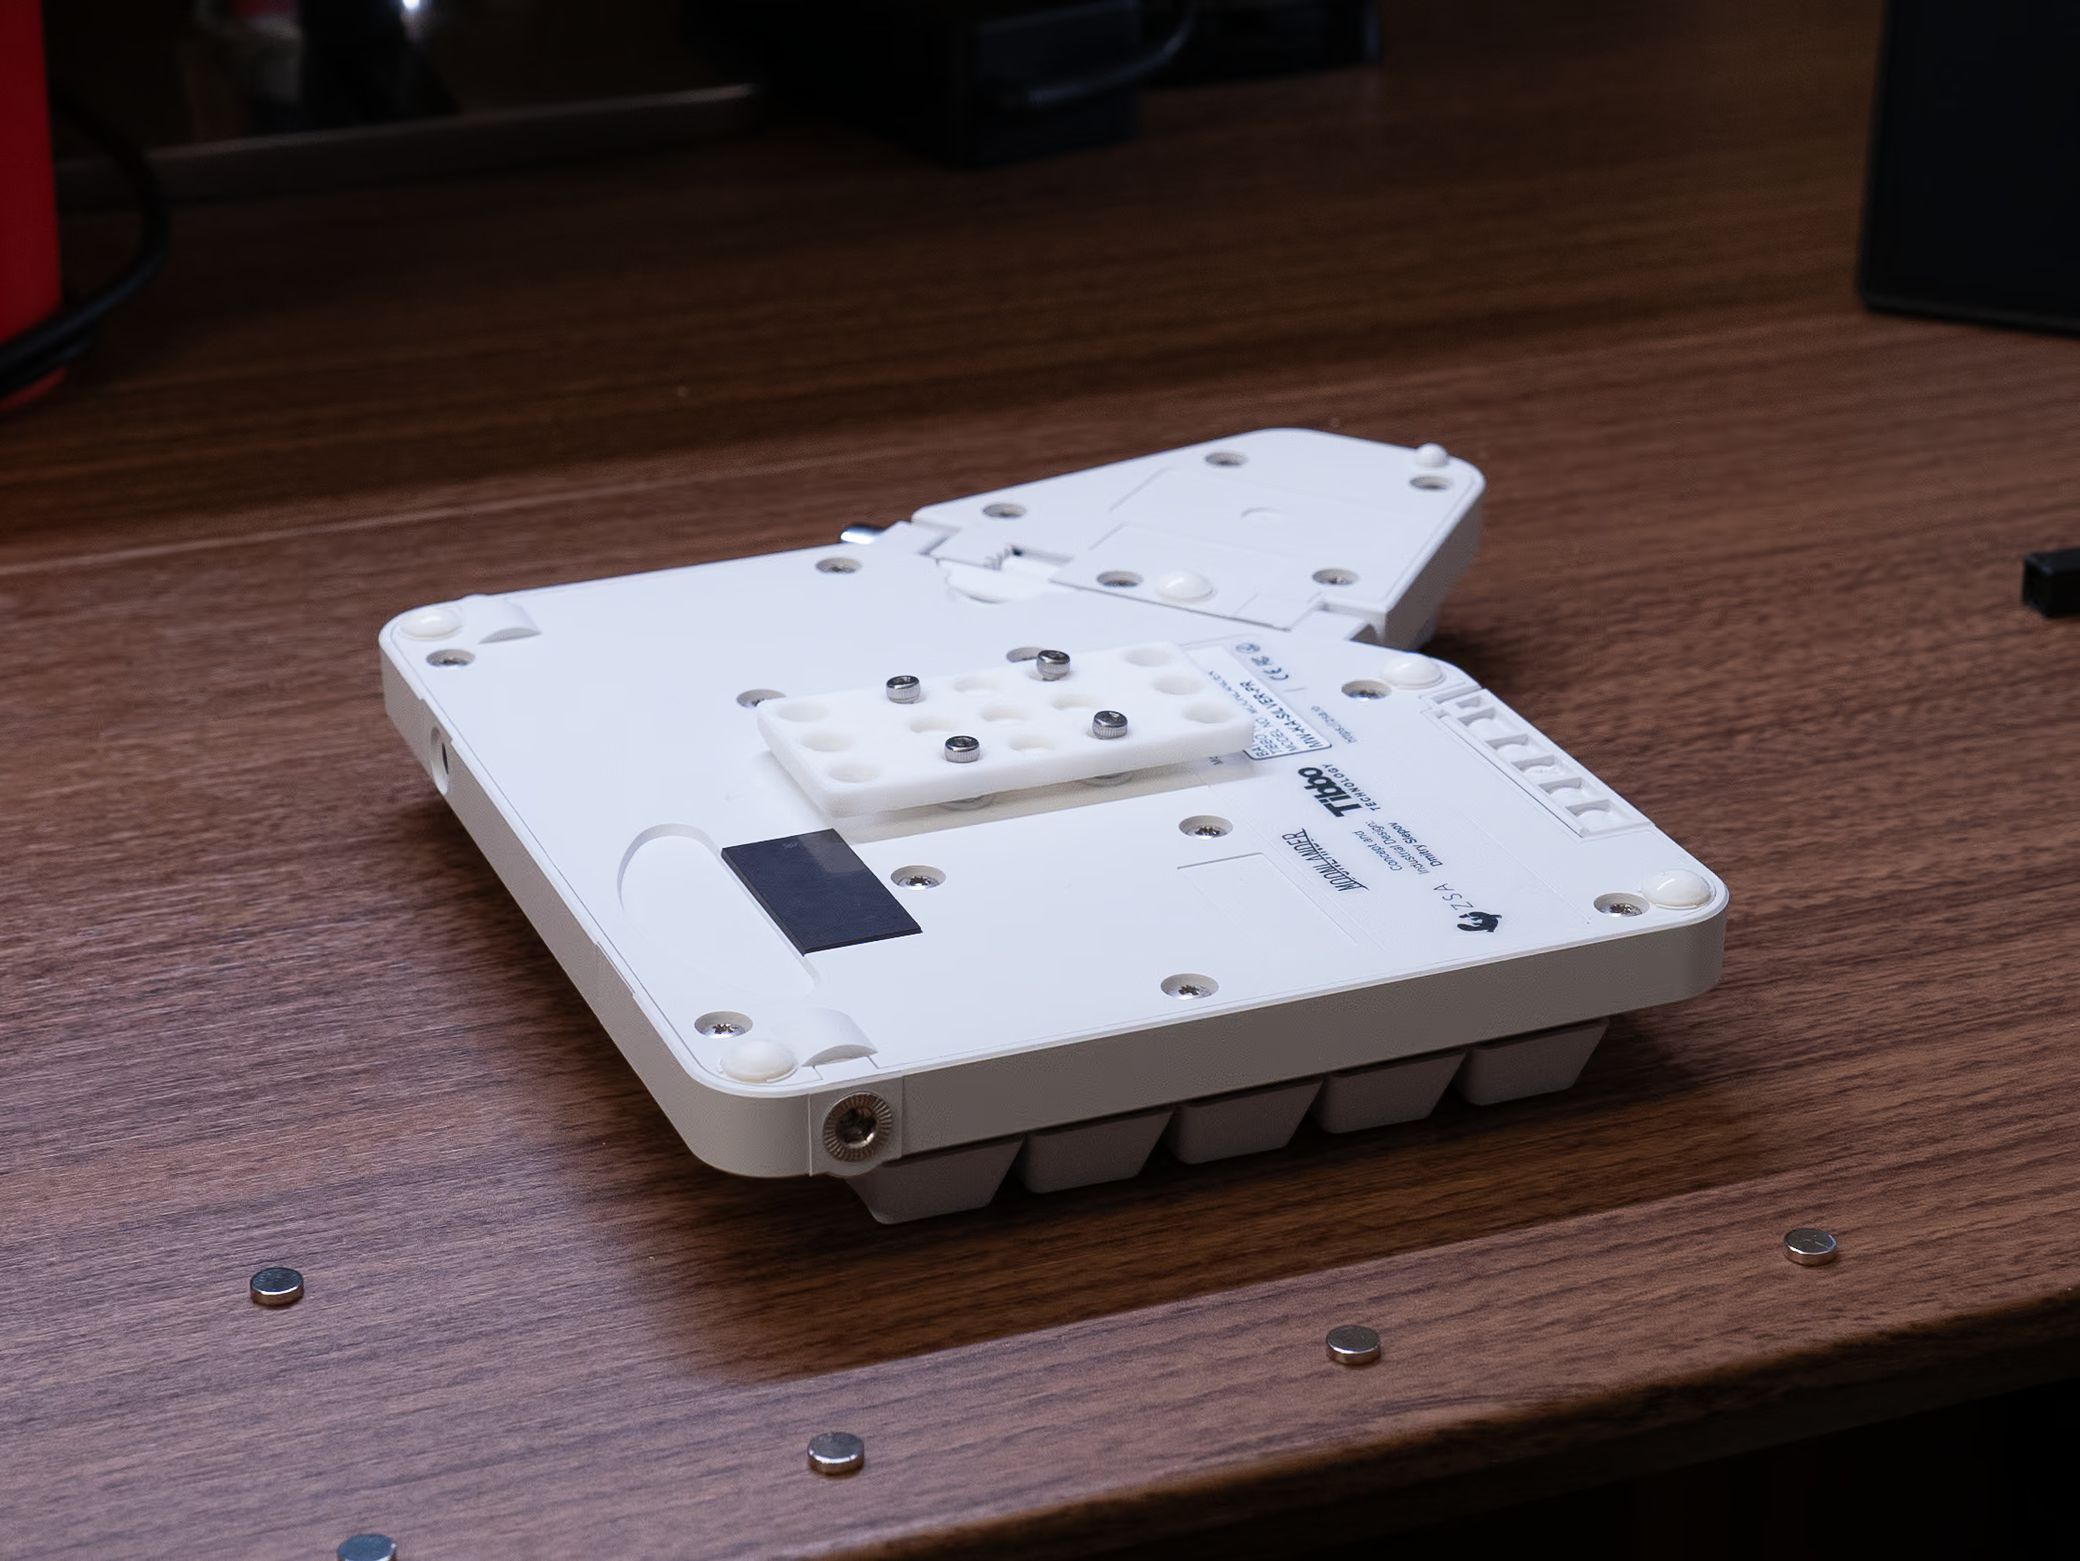
Now you can begin putting magnets into place following the same process as the keyboard holder.


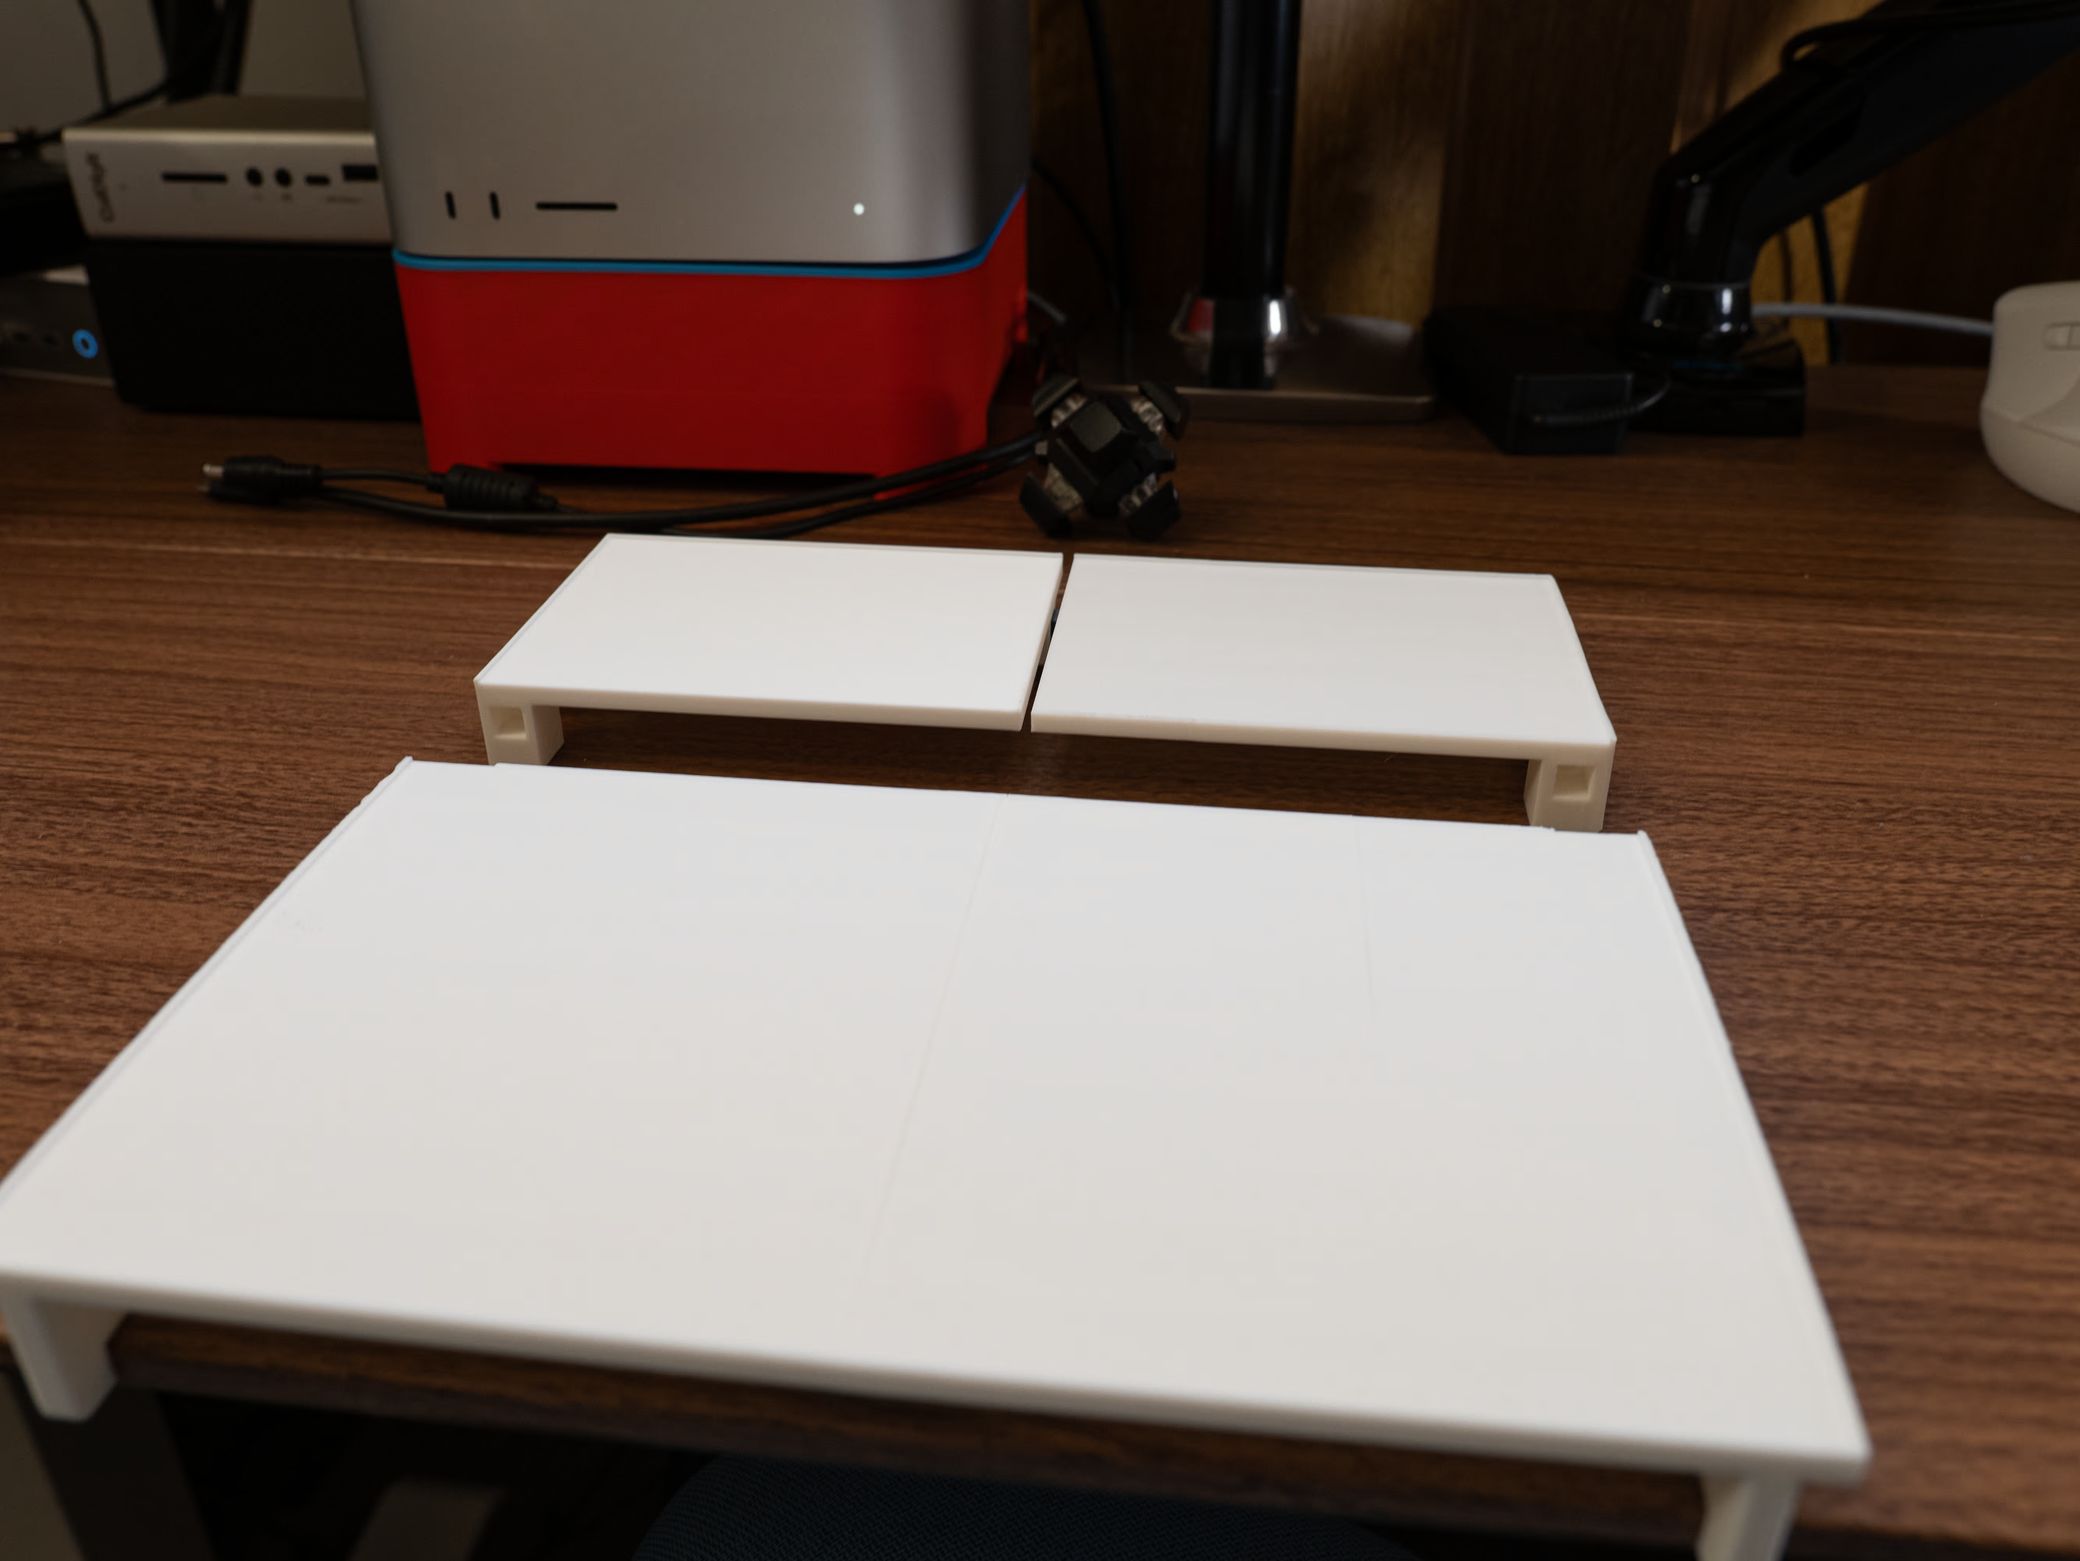
Putting the body together
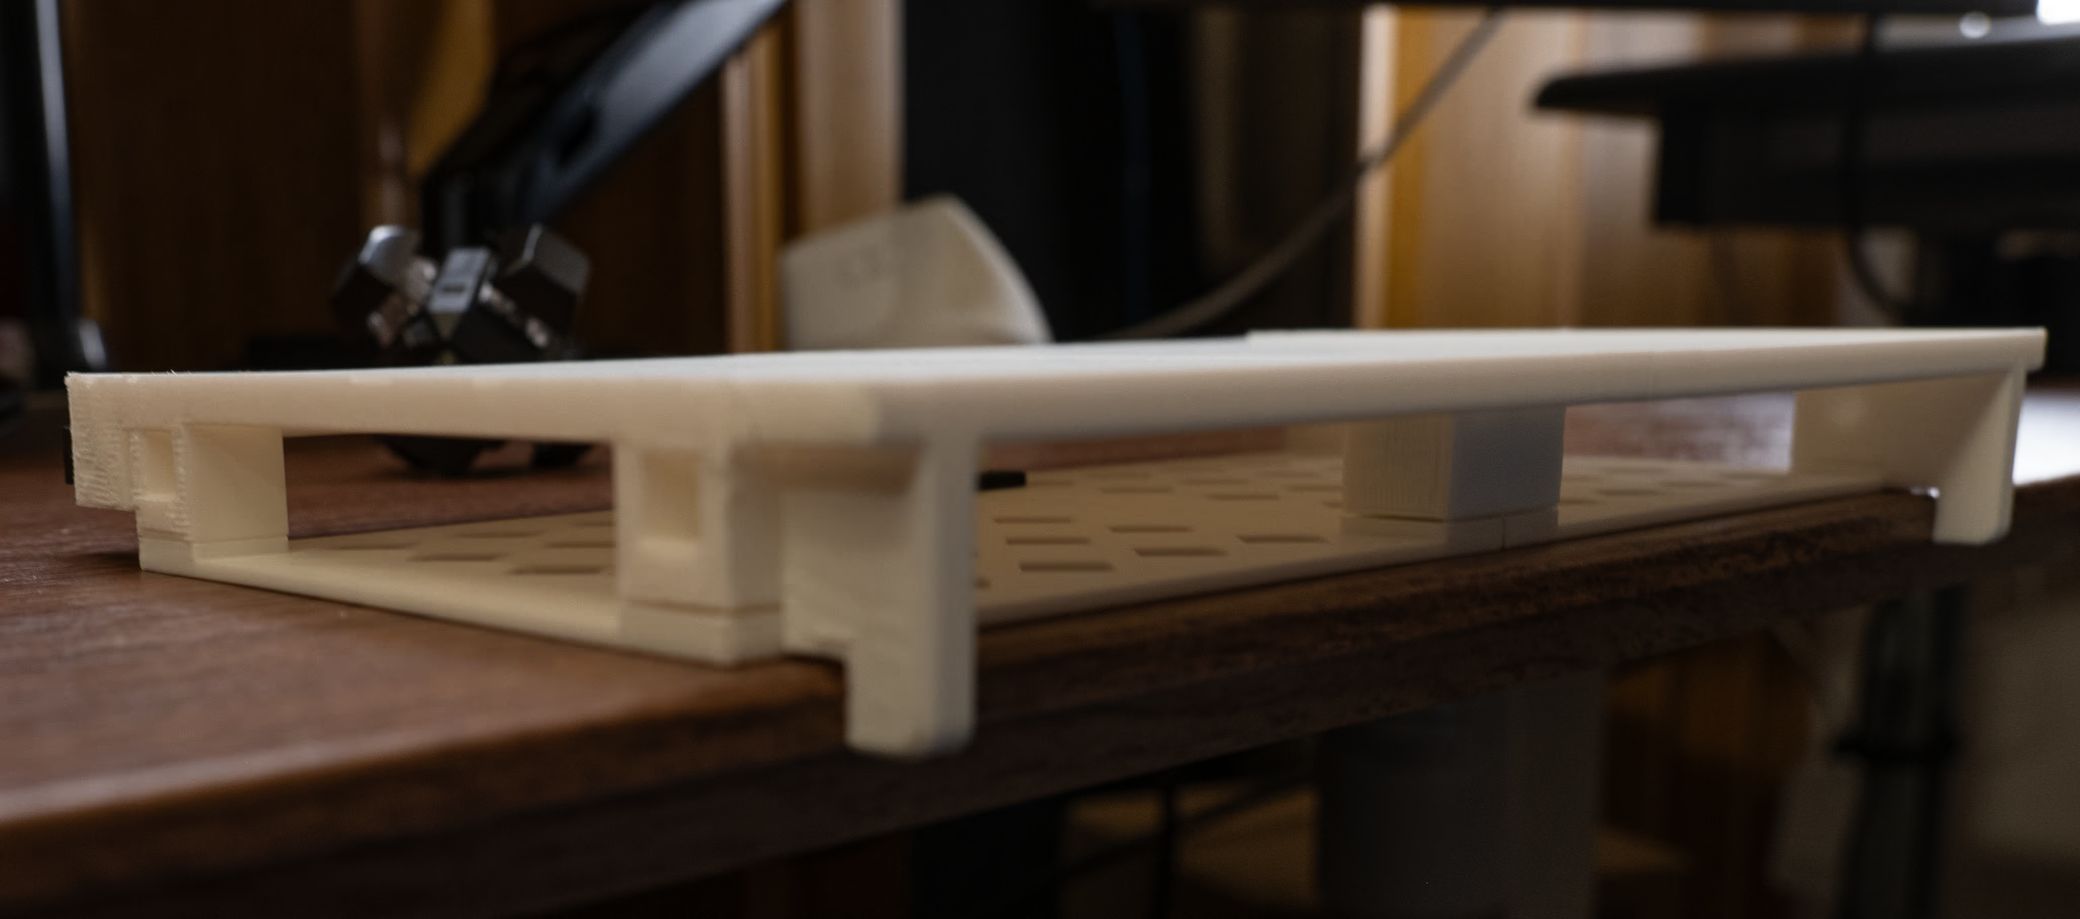
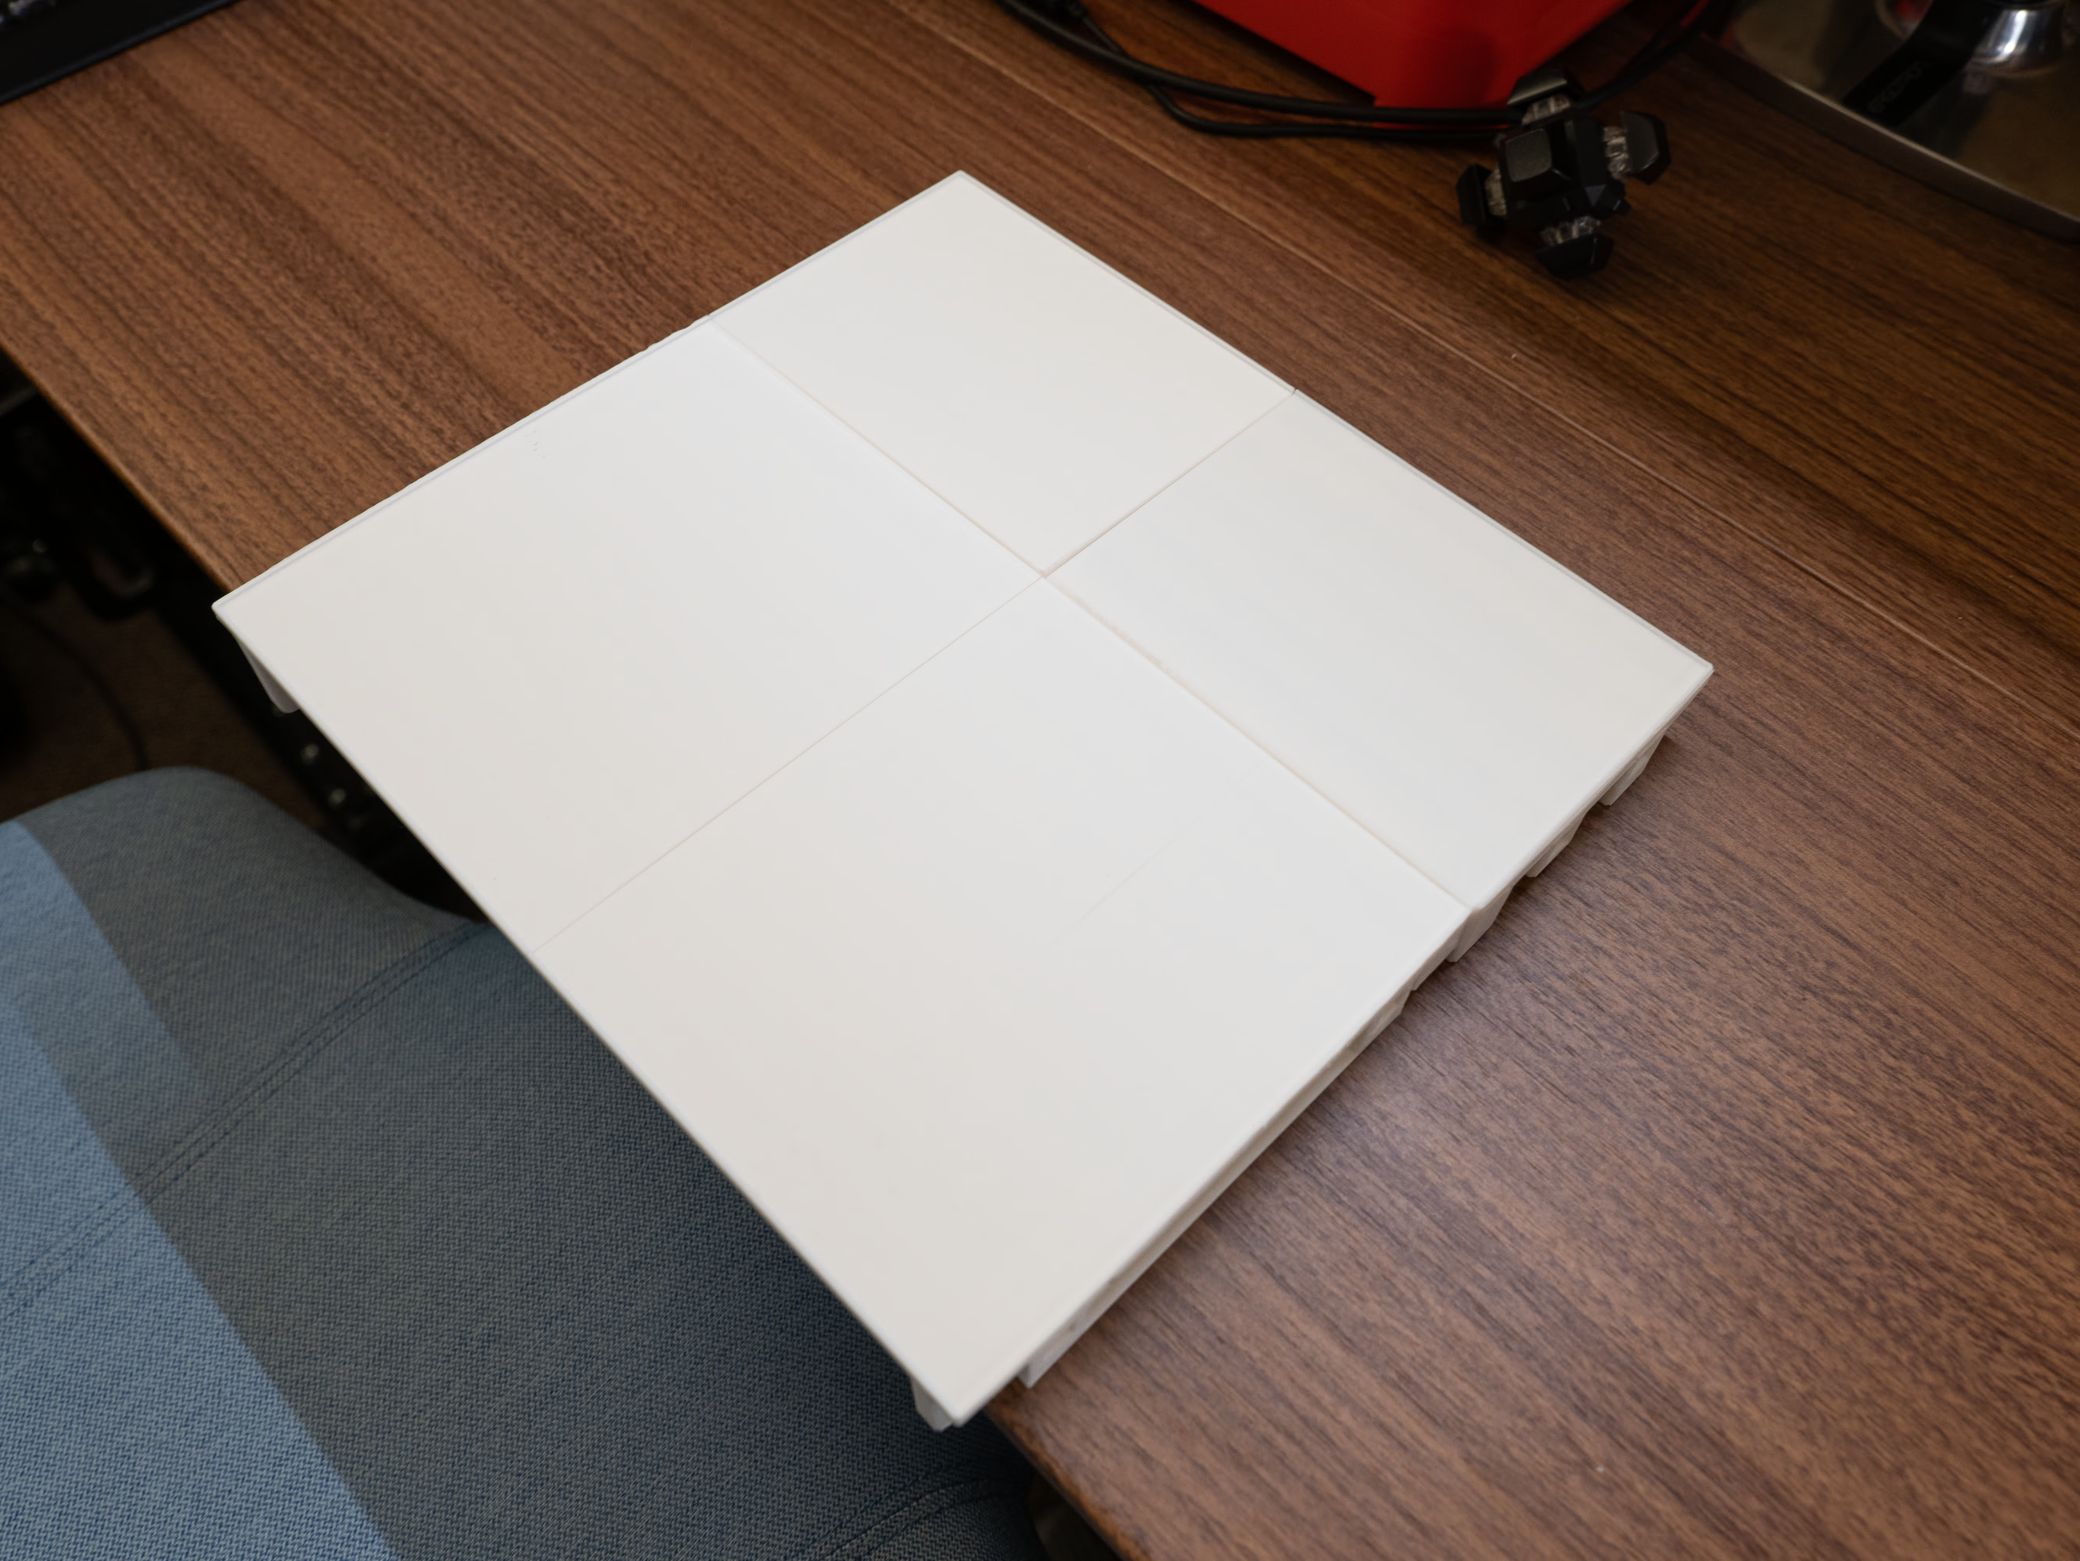
First put together the bottom platform.
Now grab the front left platform and insert 2 bottom connectors in the middle two connection points (at the far left and right you will see there are two points that prevent the whole platform from sliding forward).
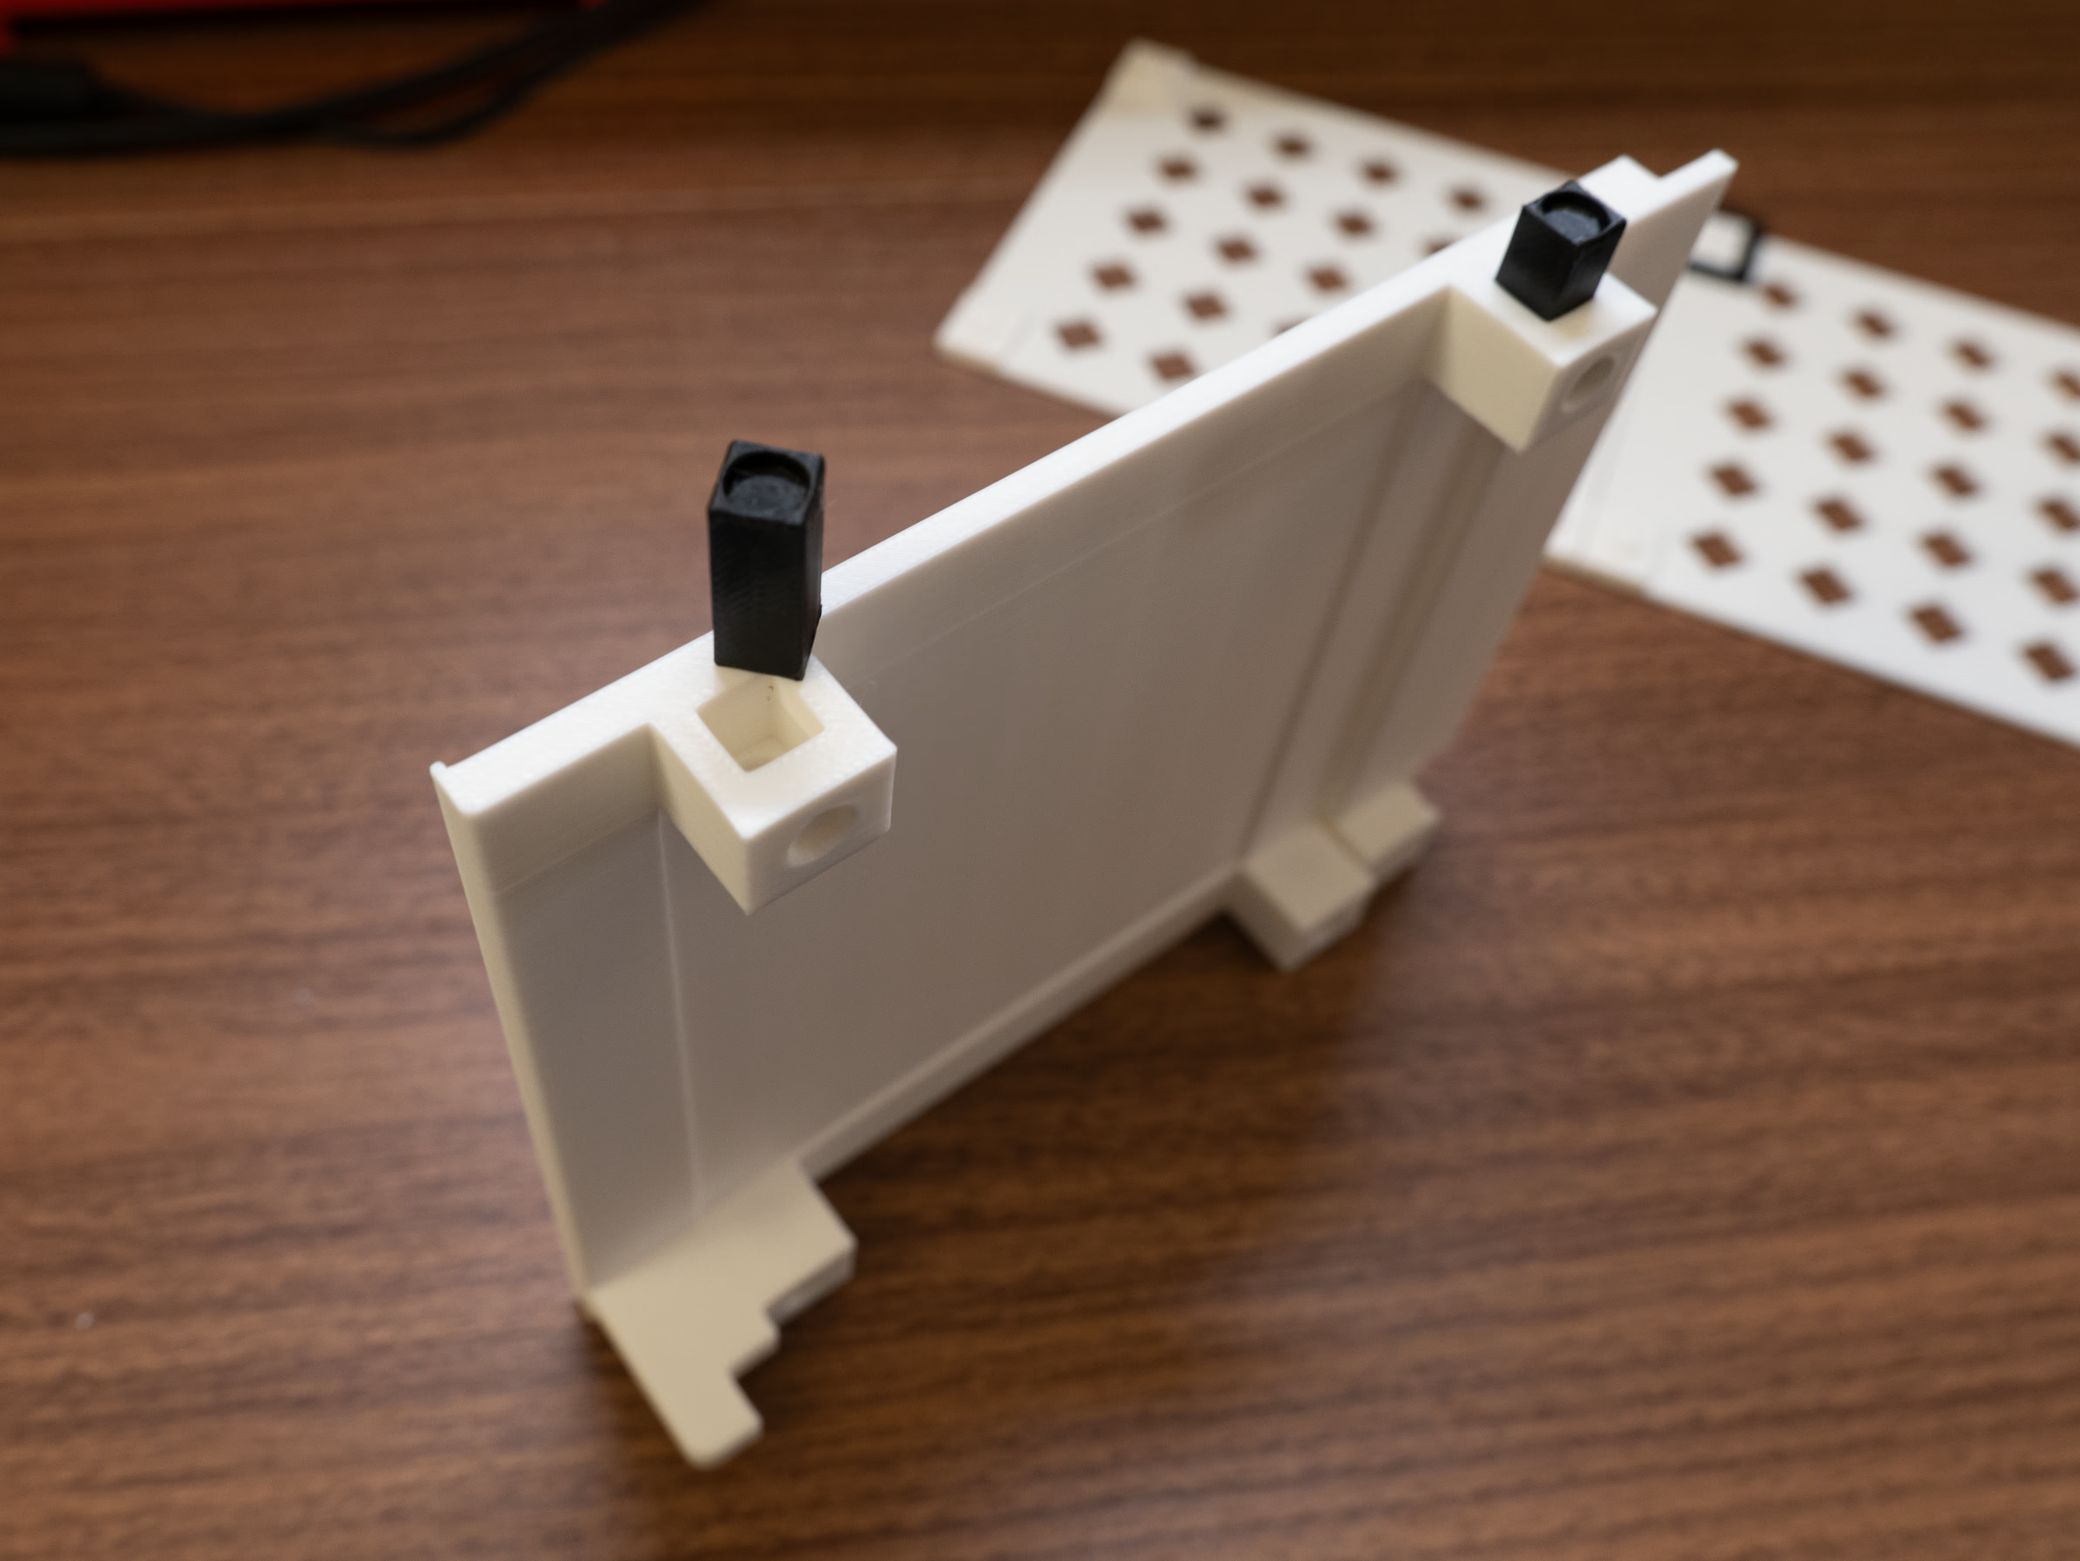
At the top left you will find a third connection point which you should also put a connector in.
Now add a connector at the top right of the right front platform.
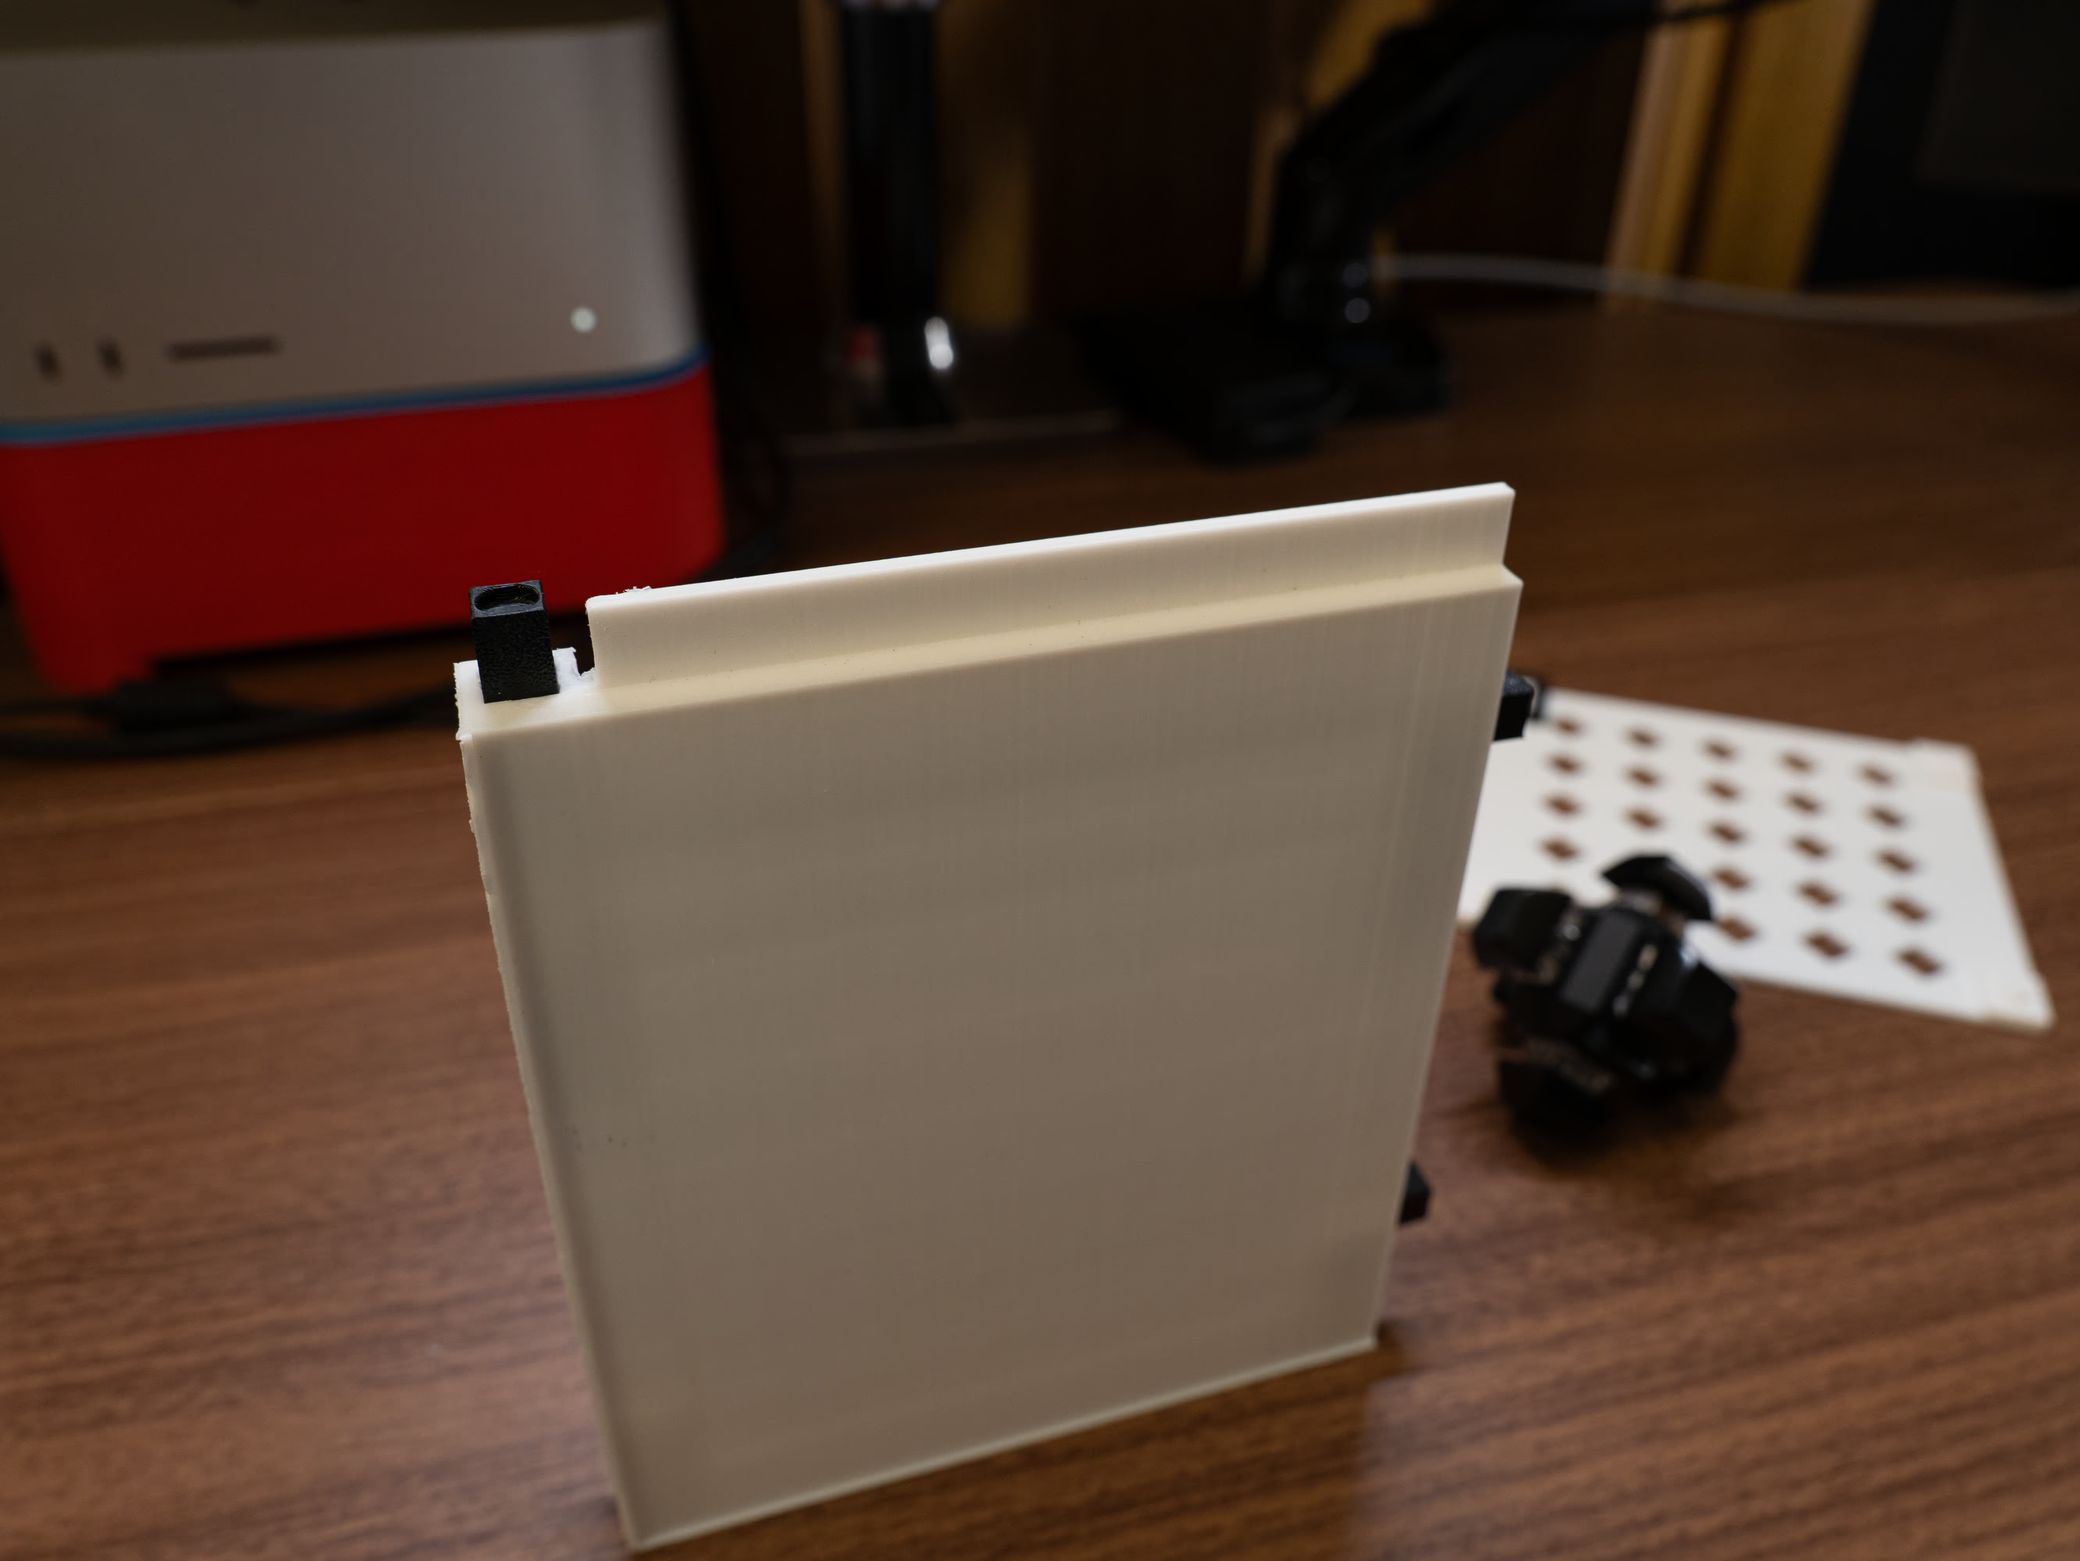
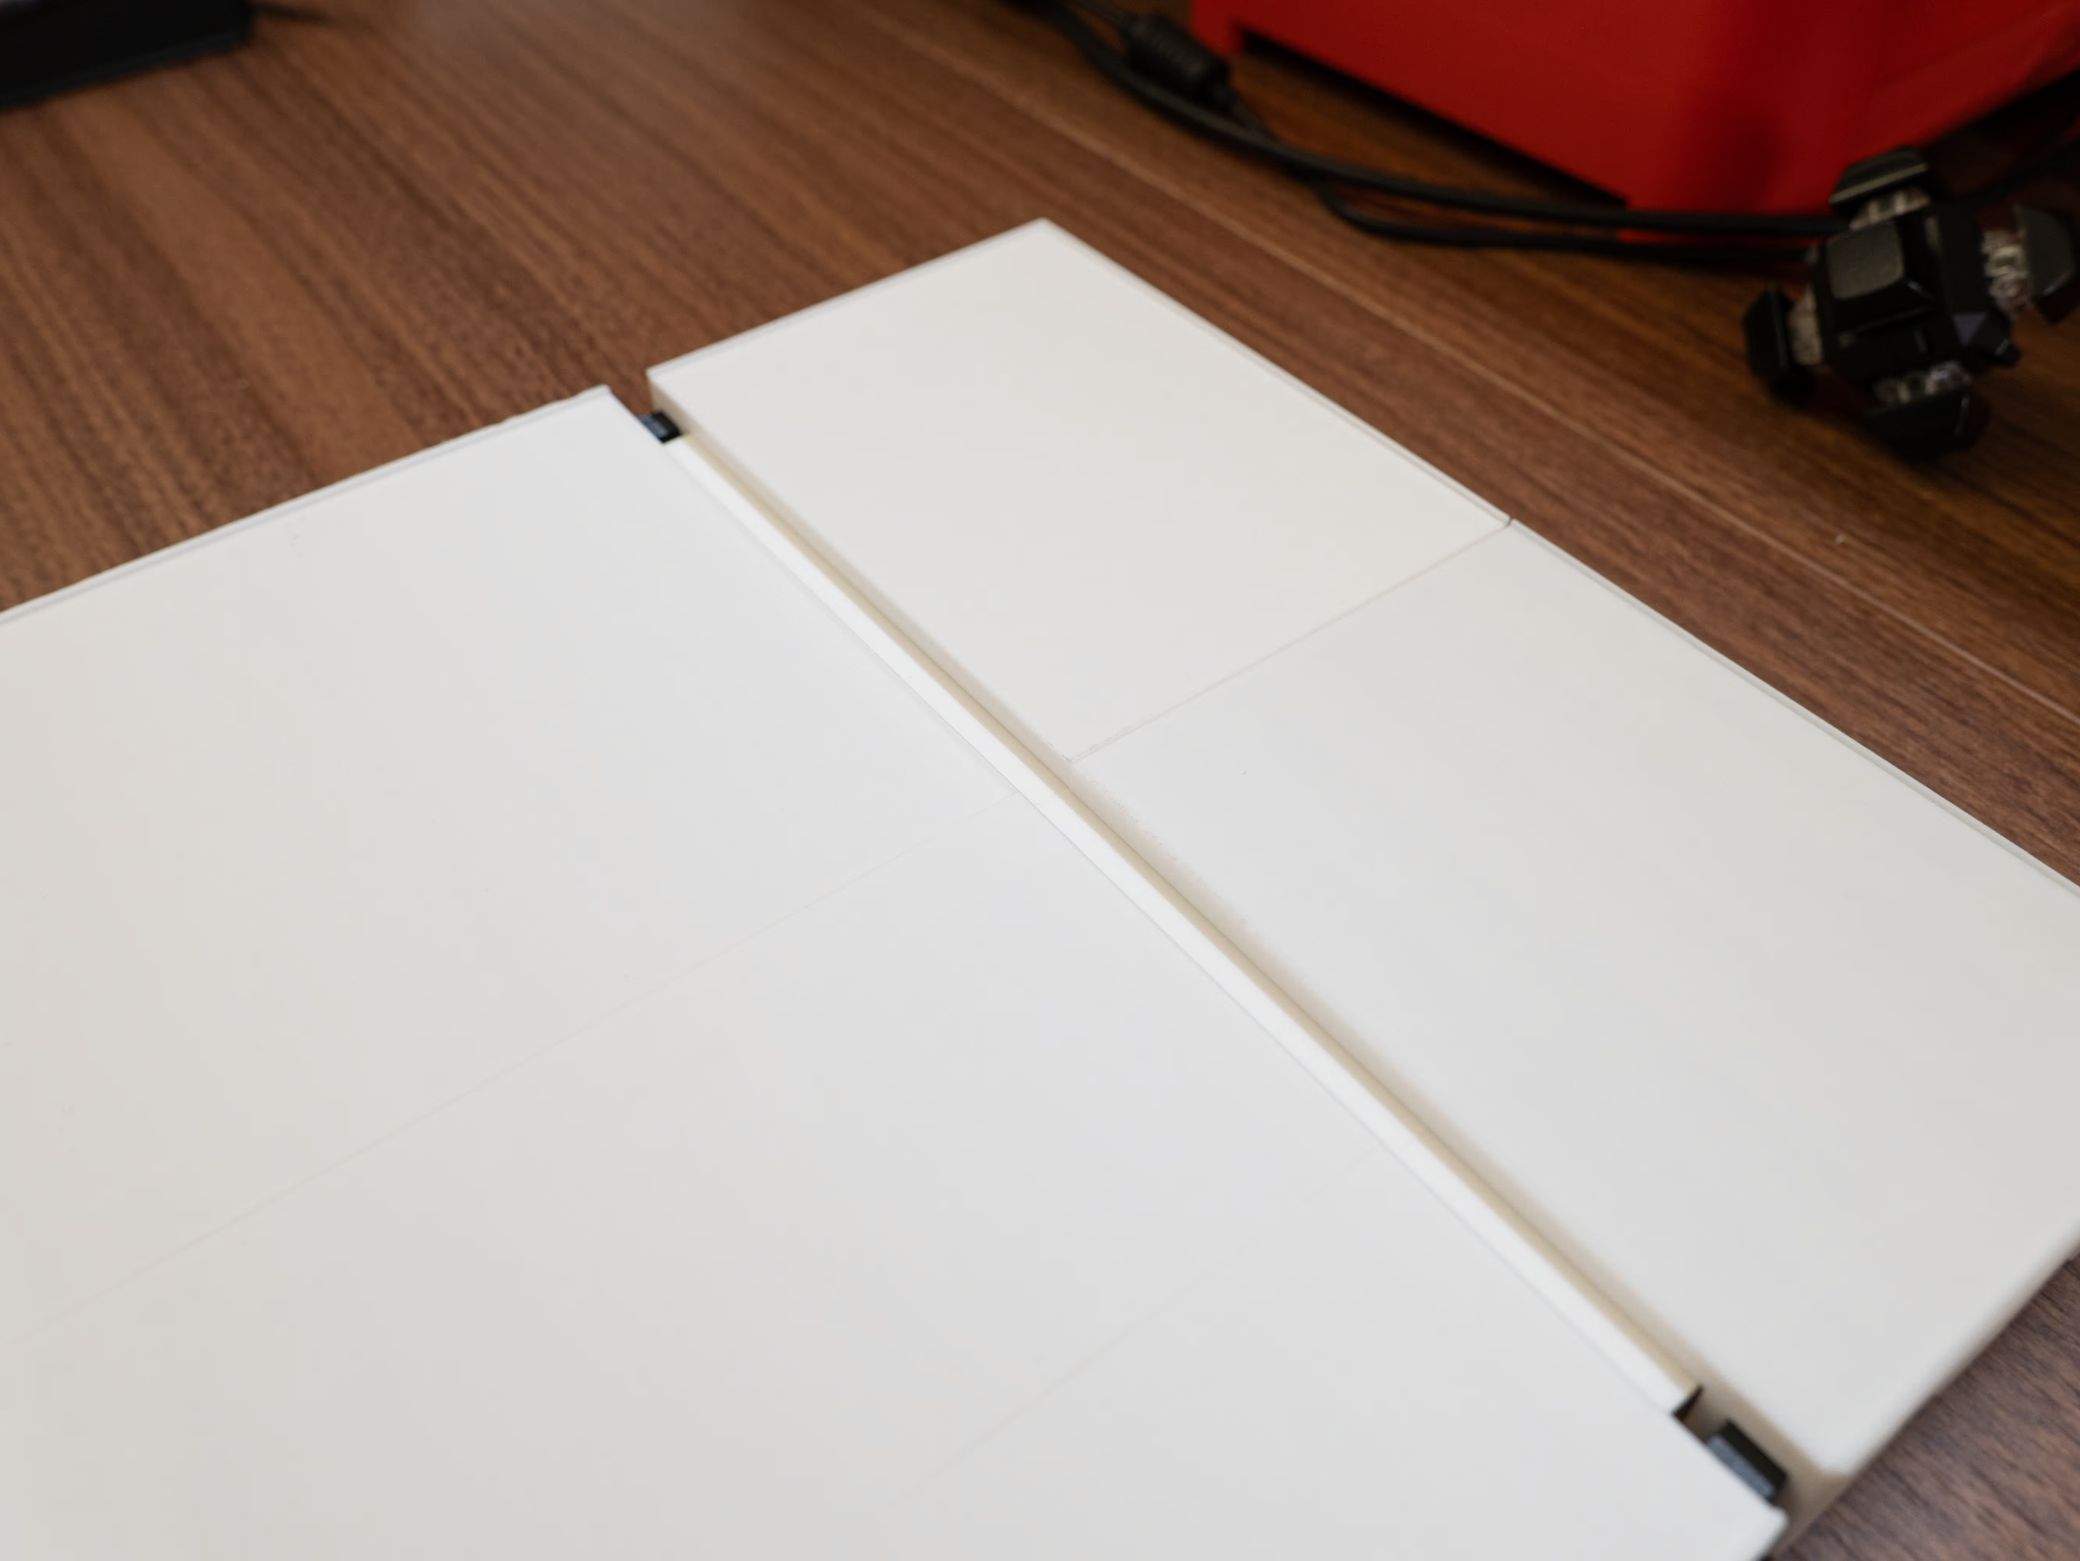
Now you can connect the two sides together.
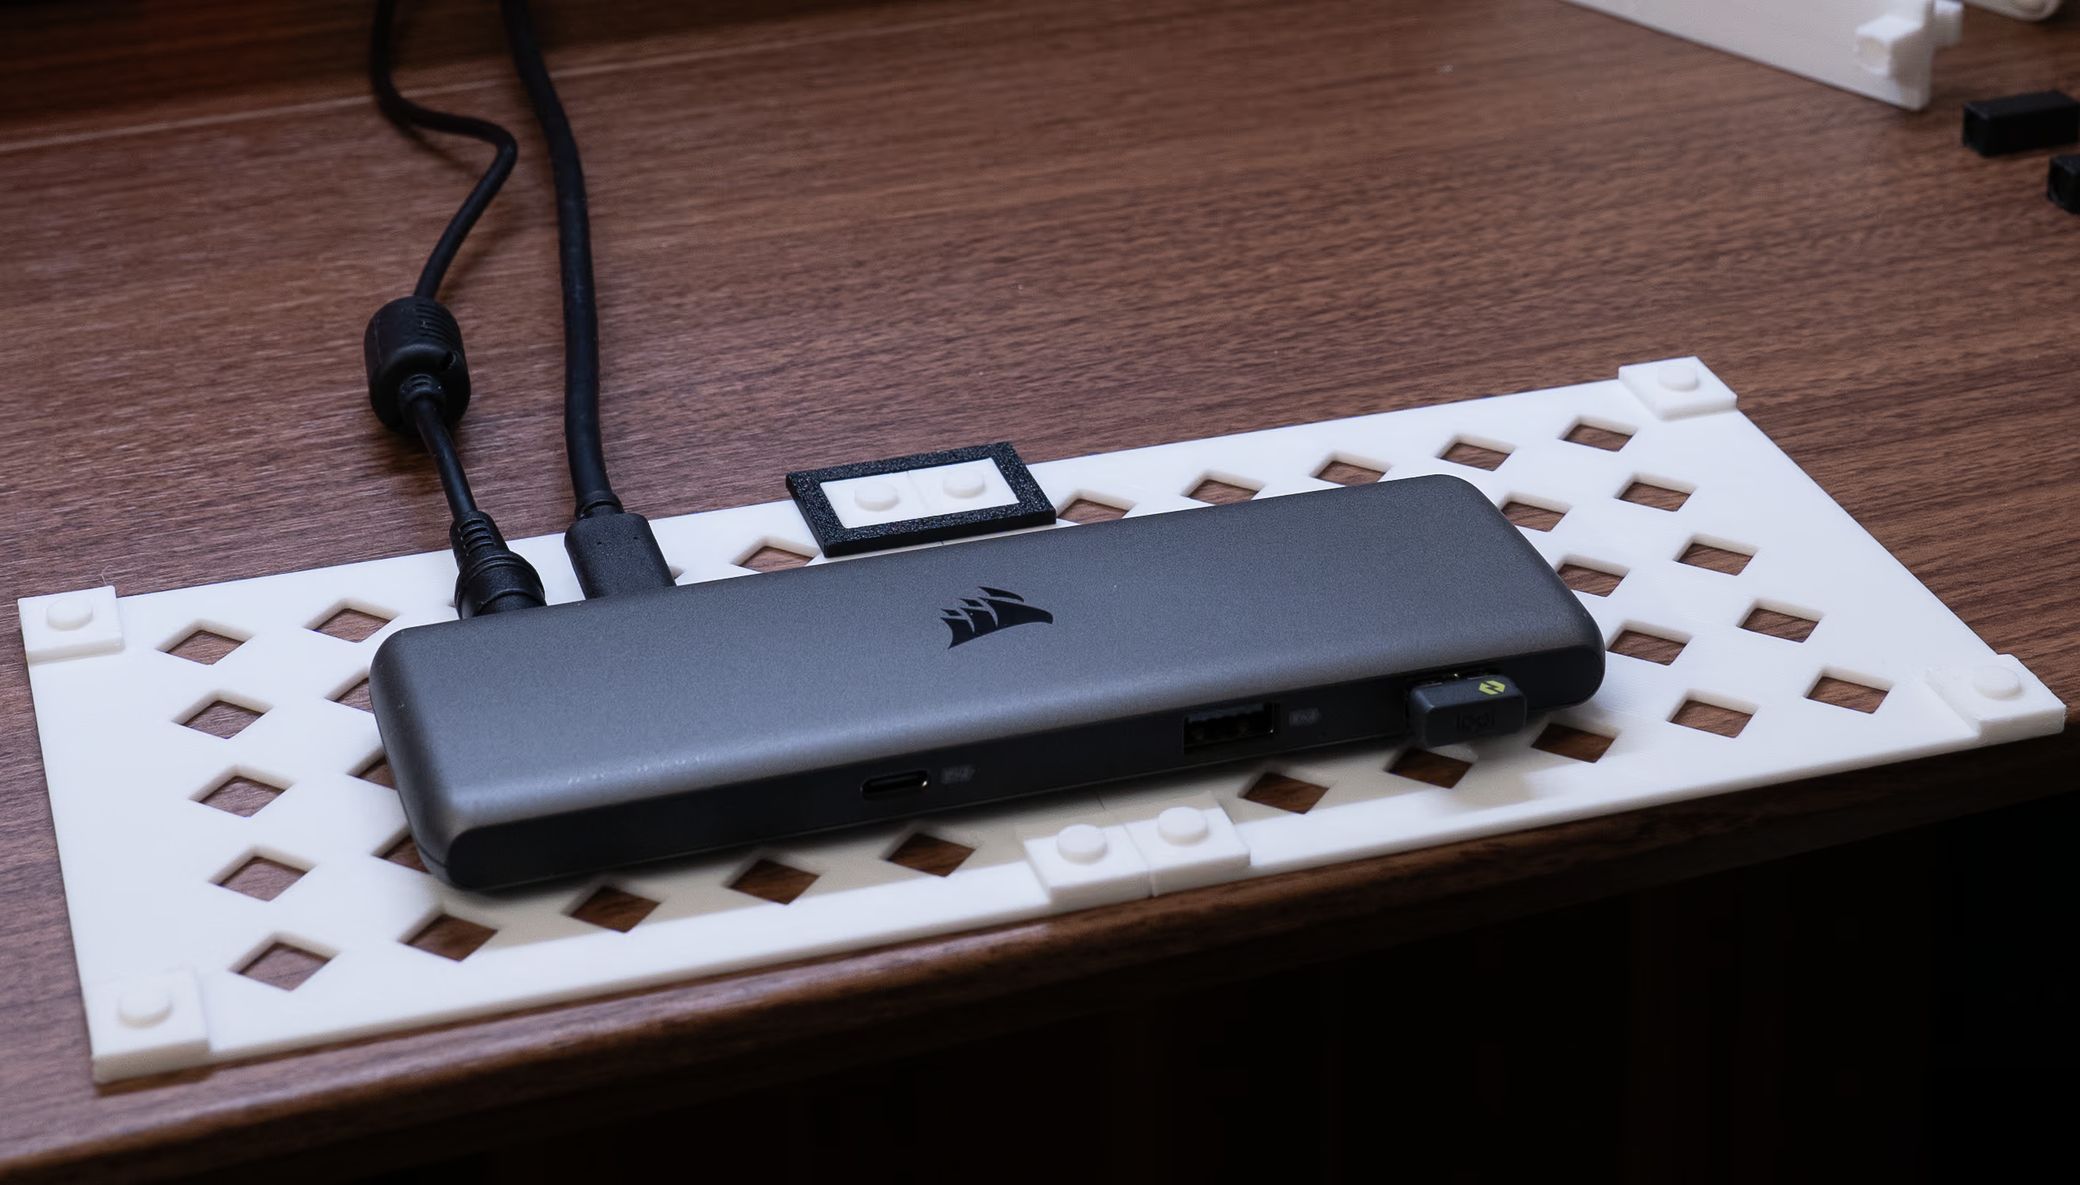
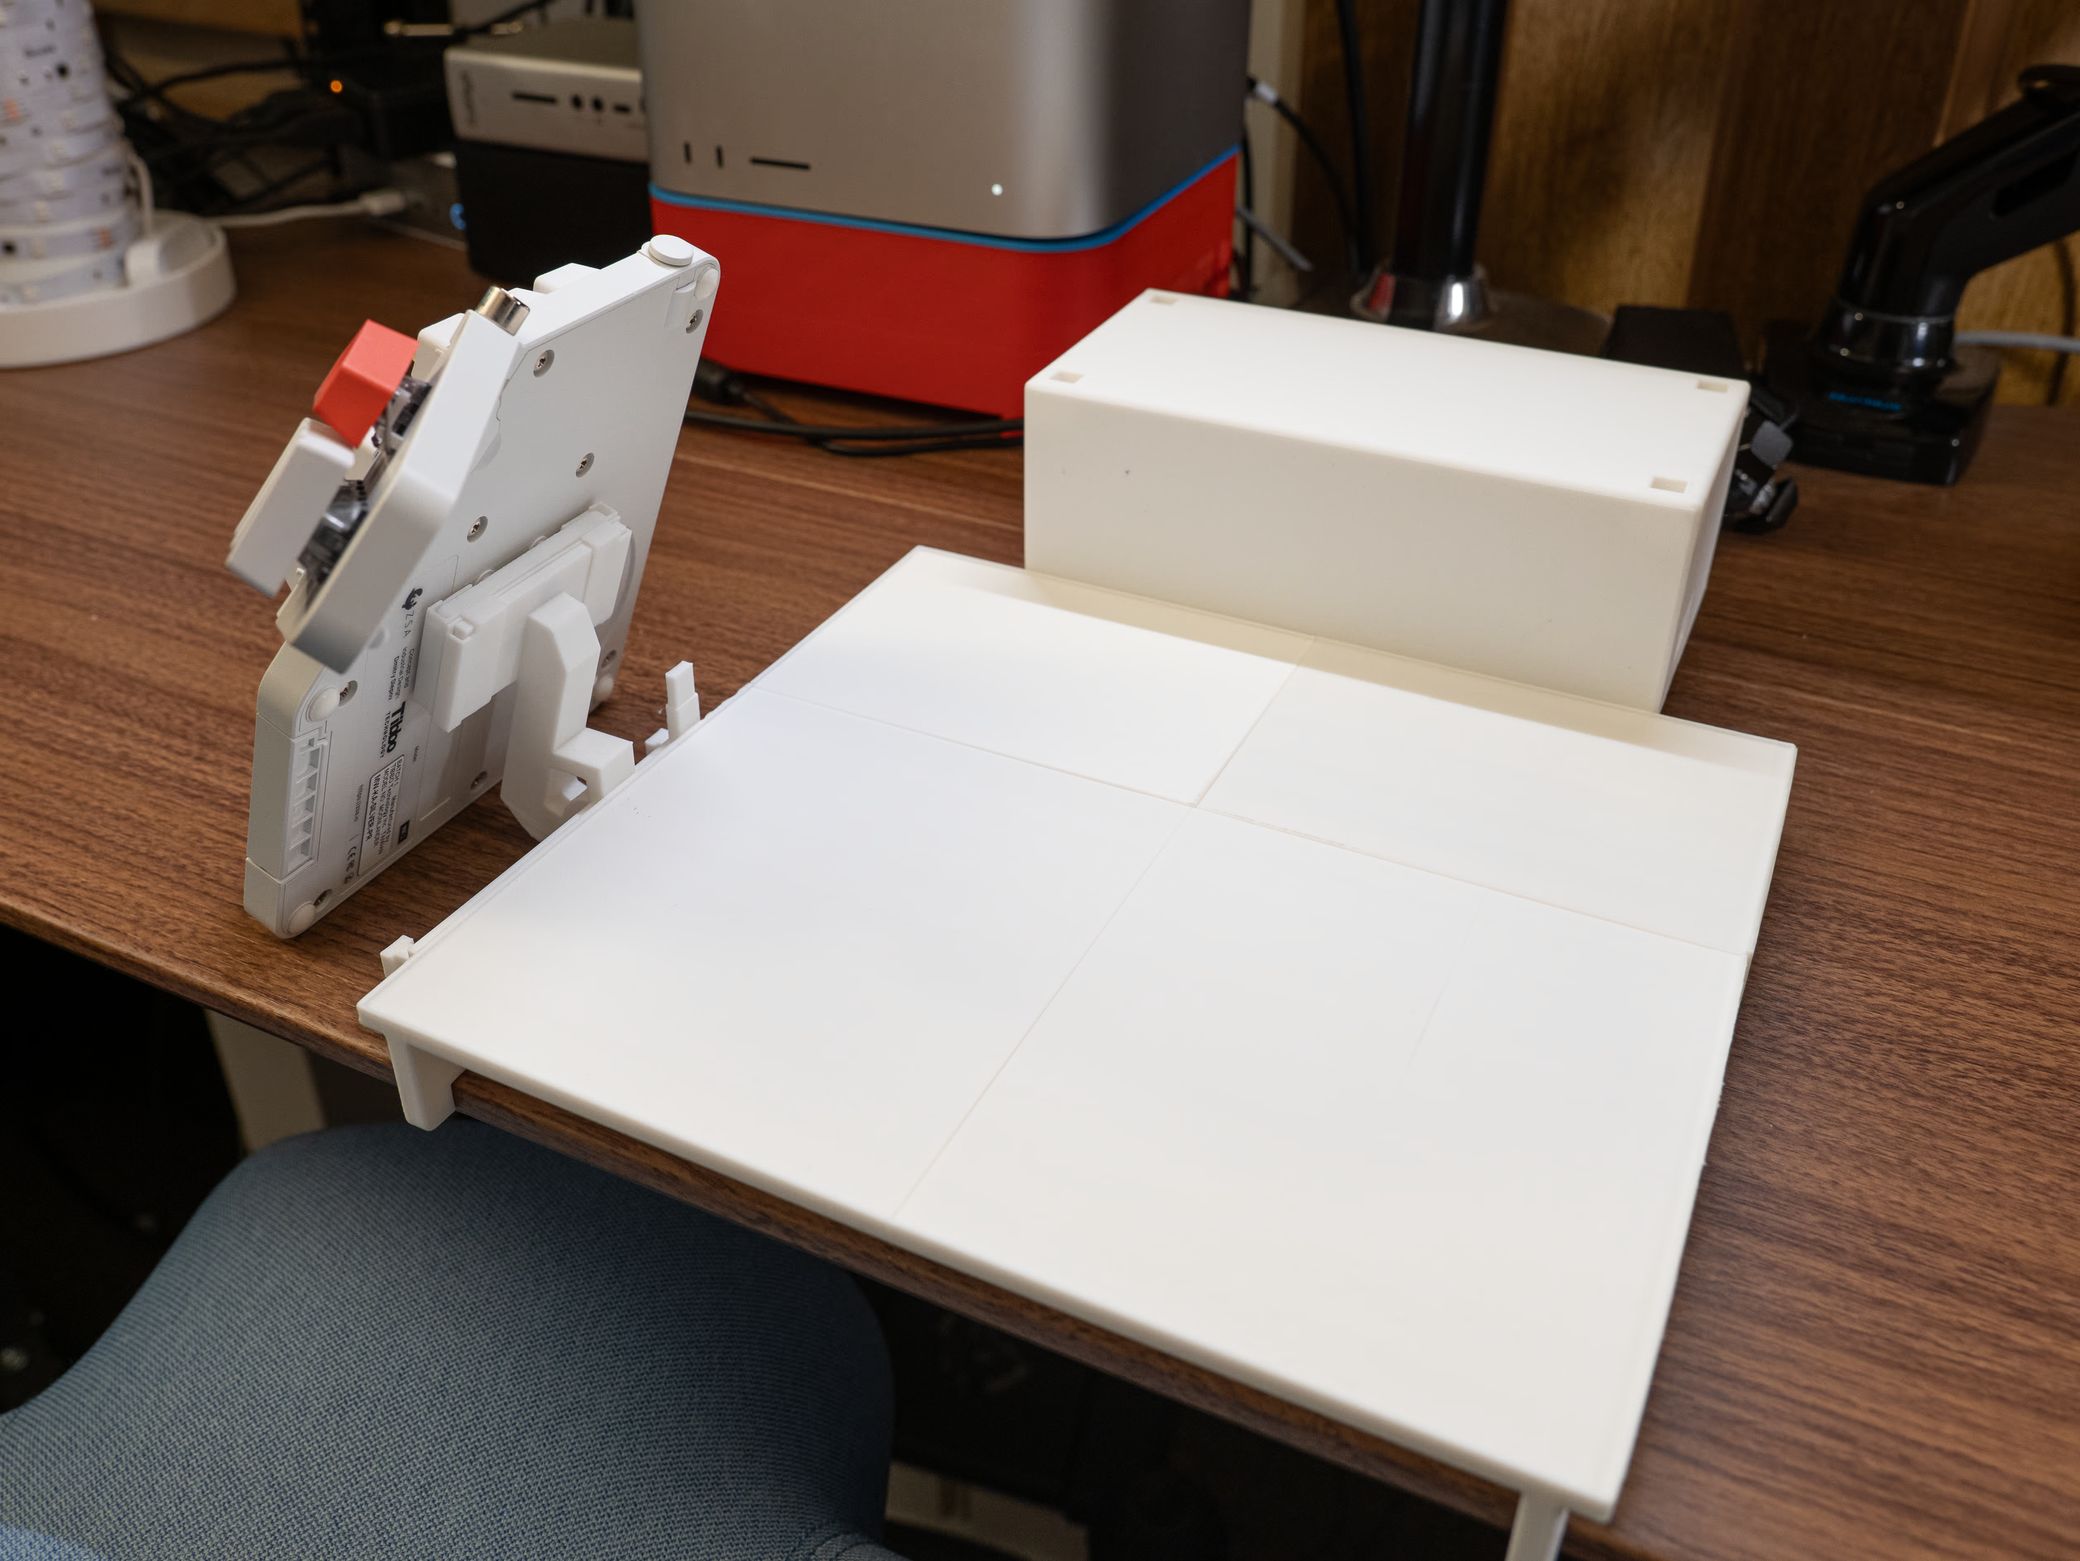
Now on top of the bottom cables platform area you can set down any sort of USB hub.
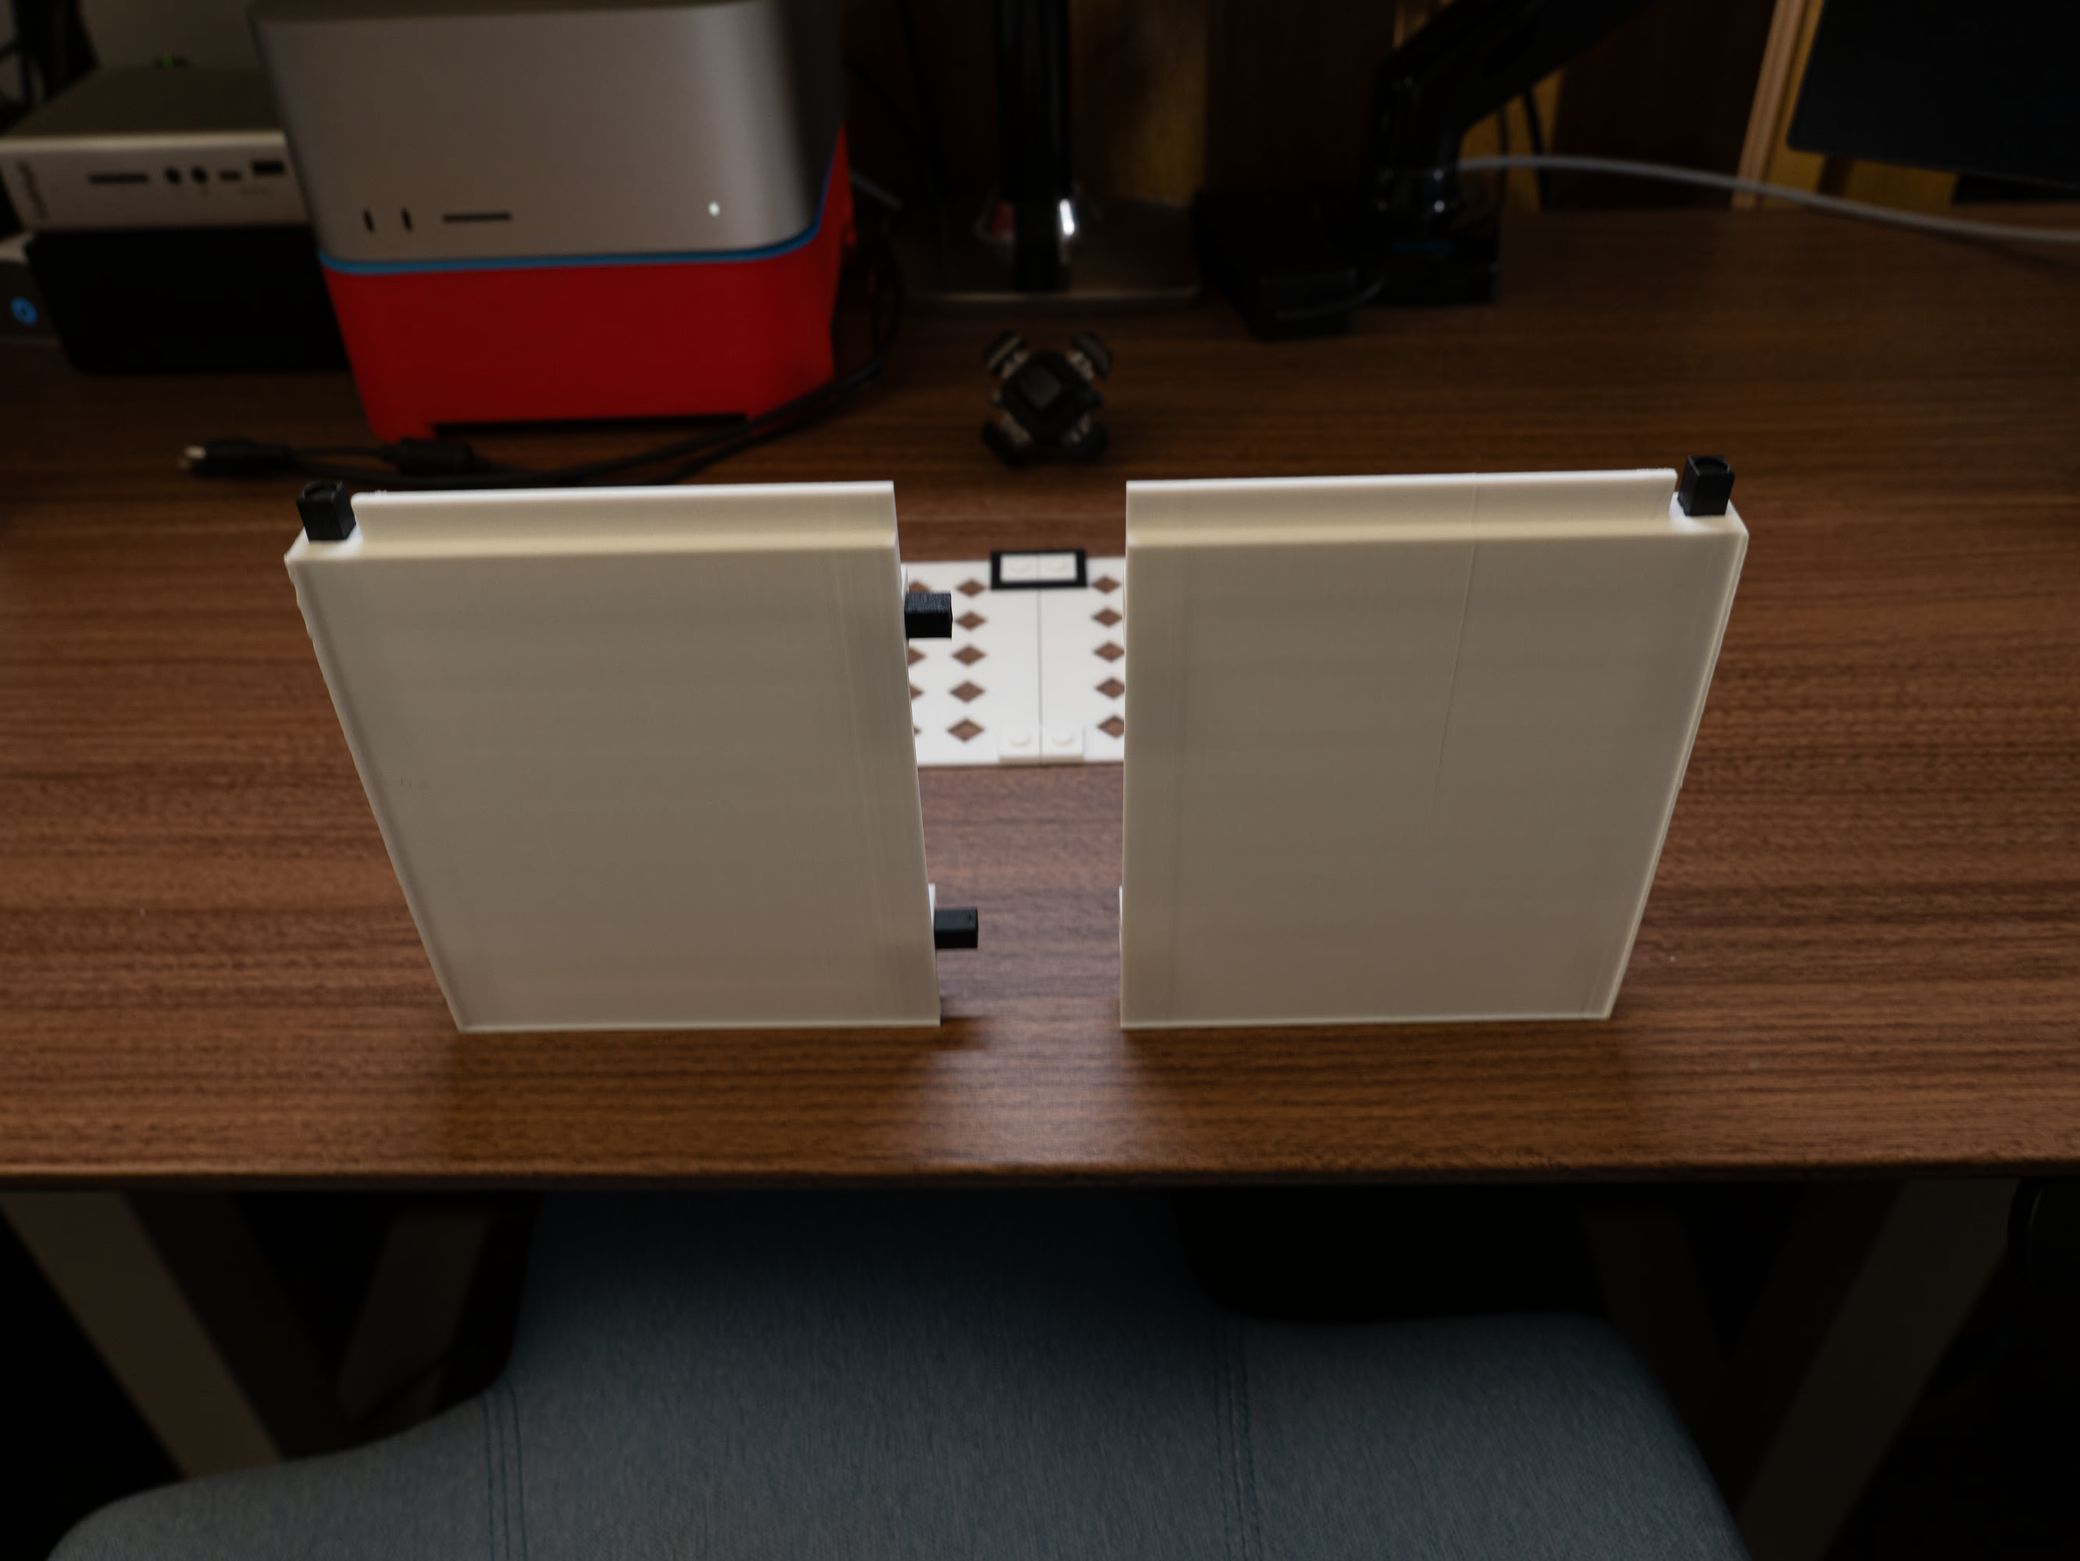
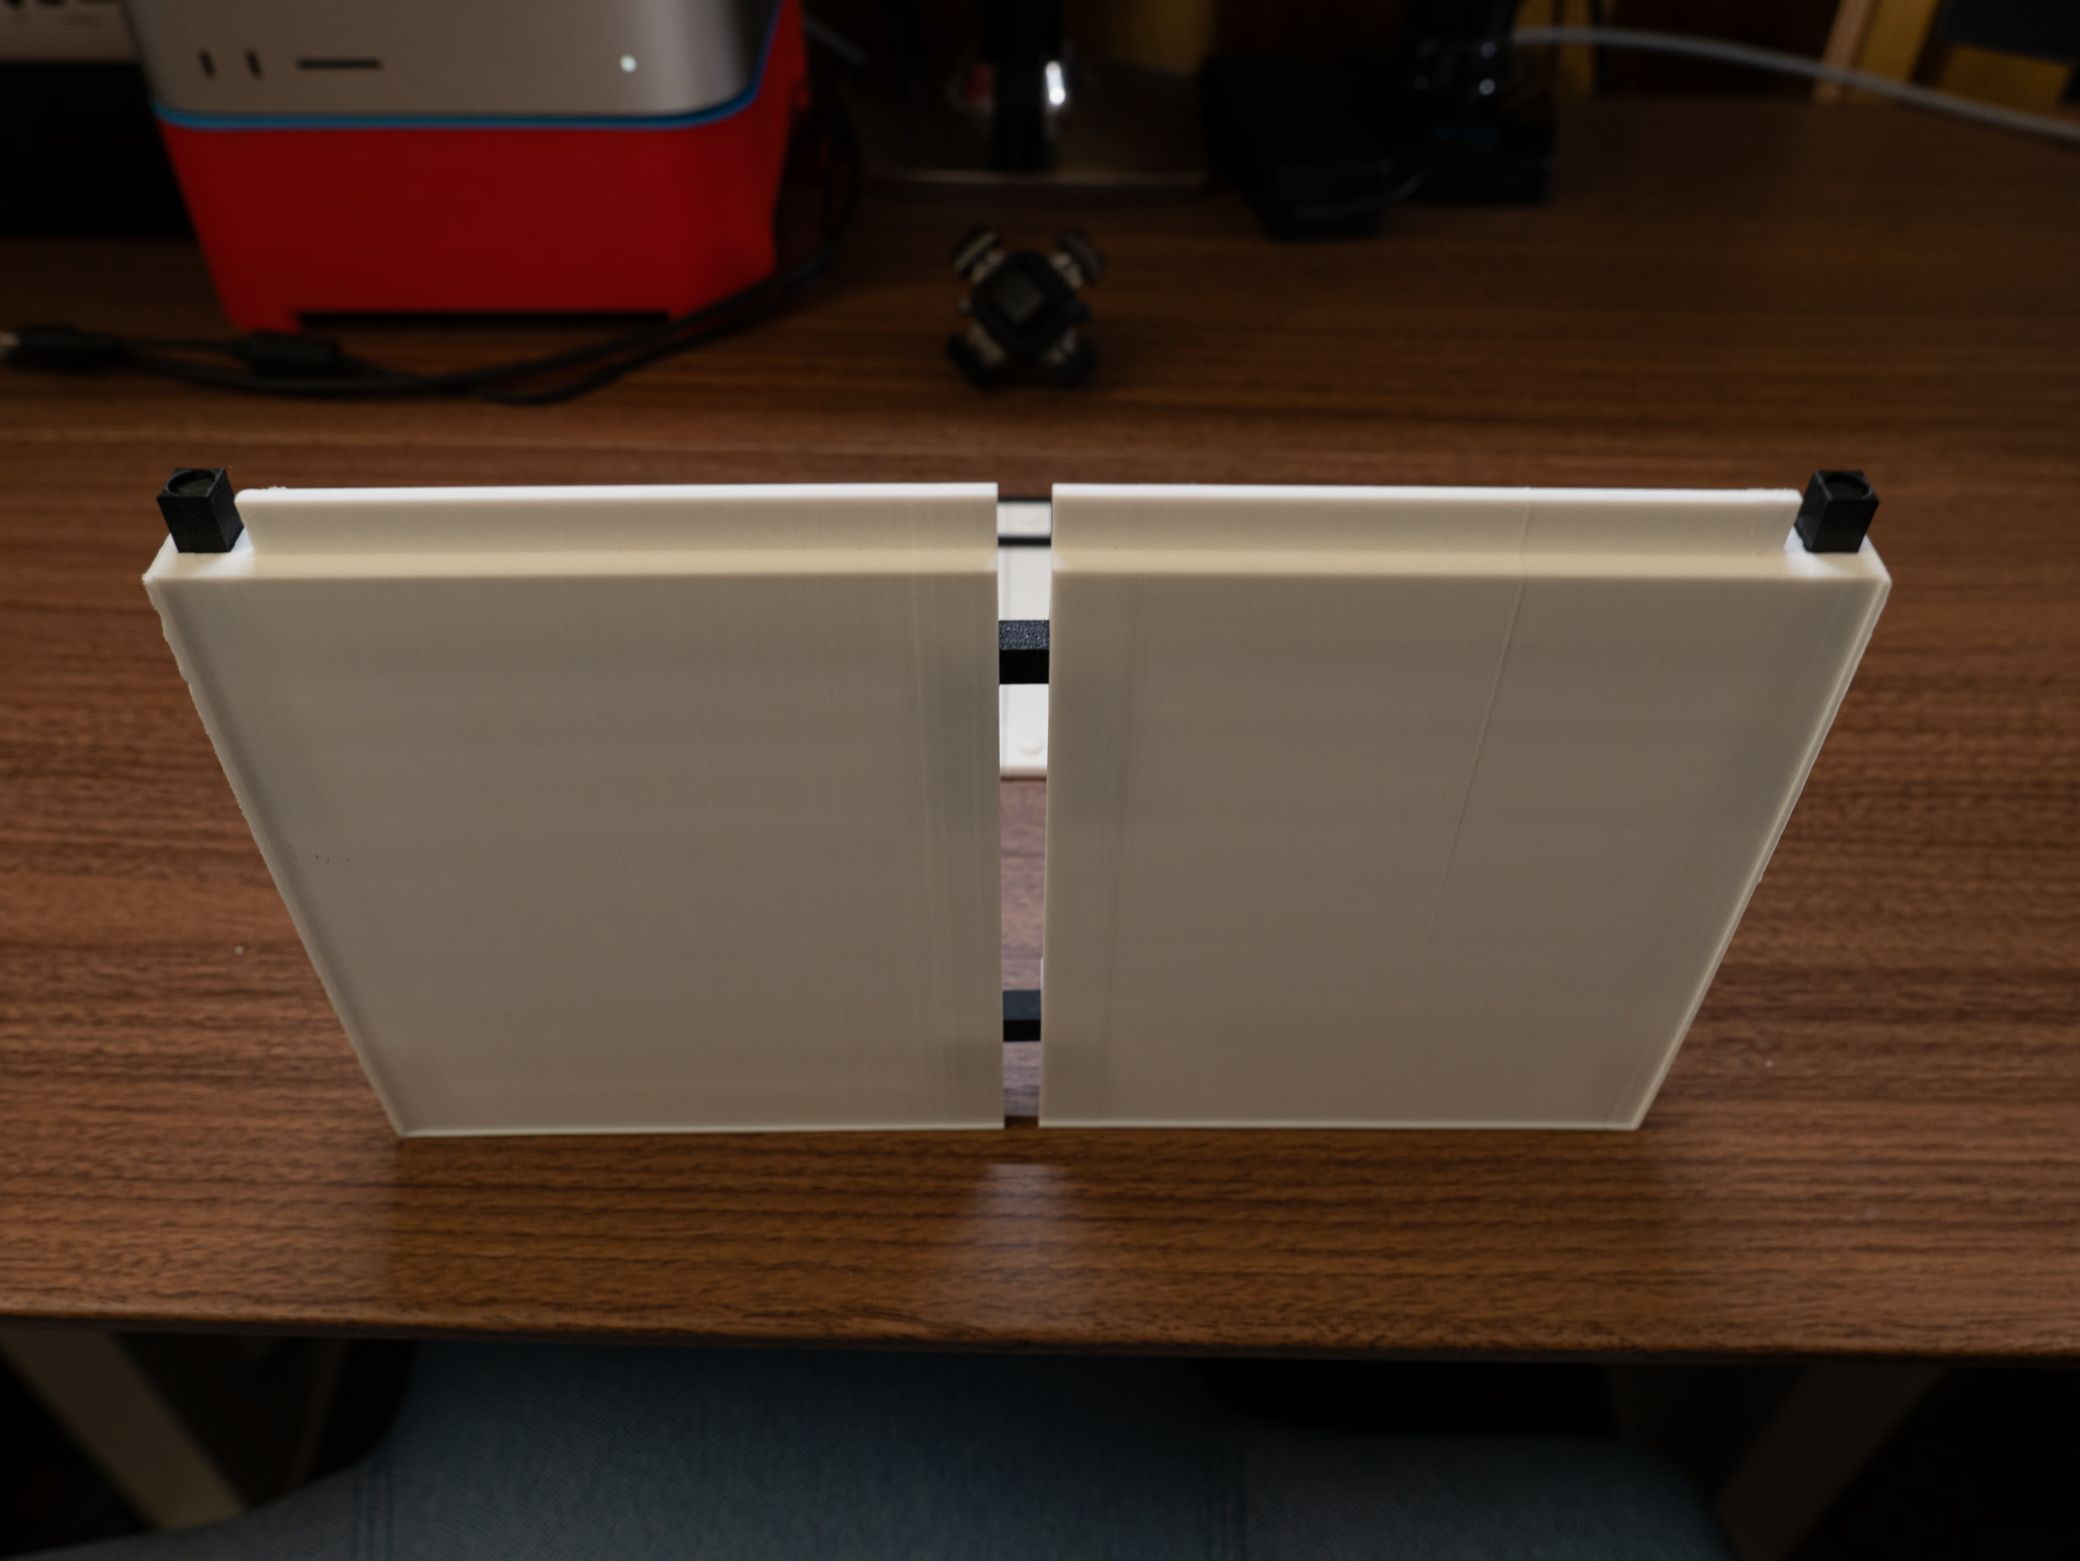
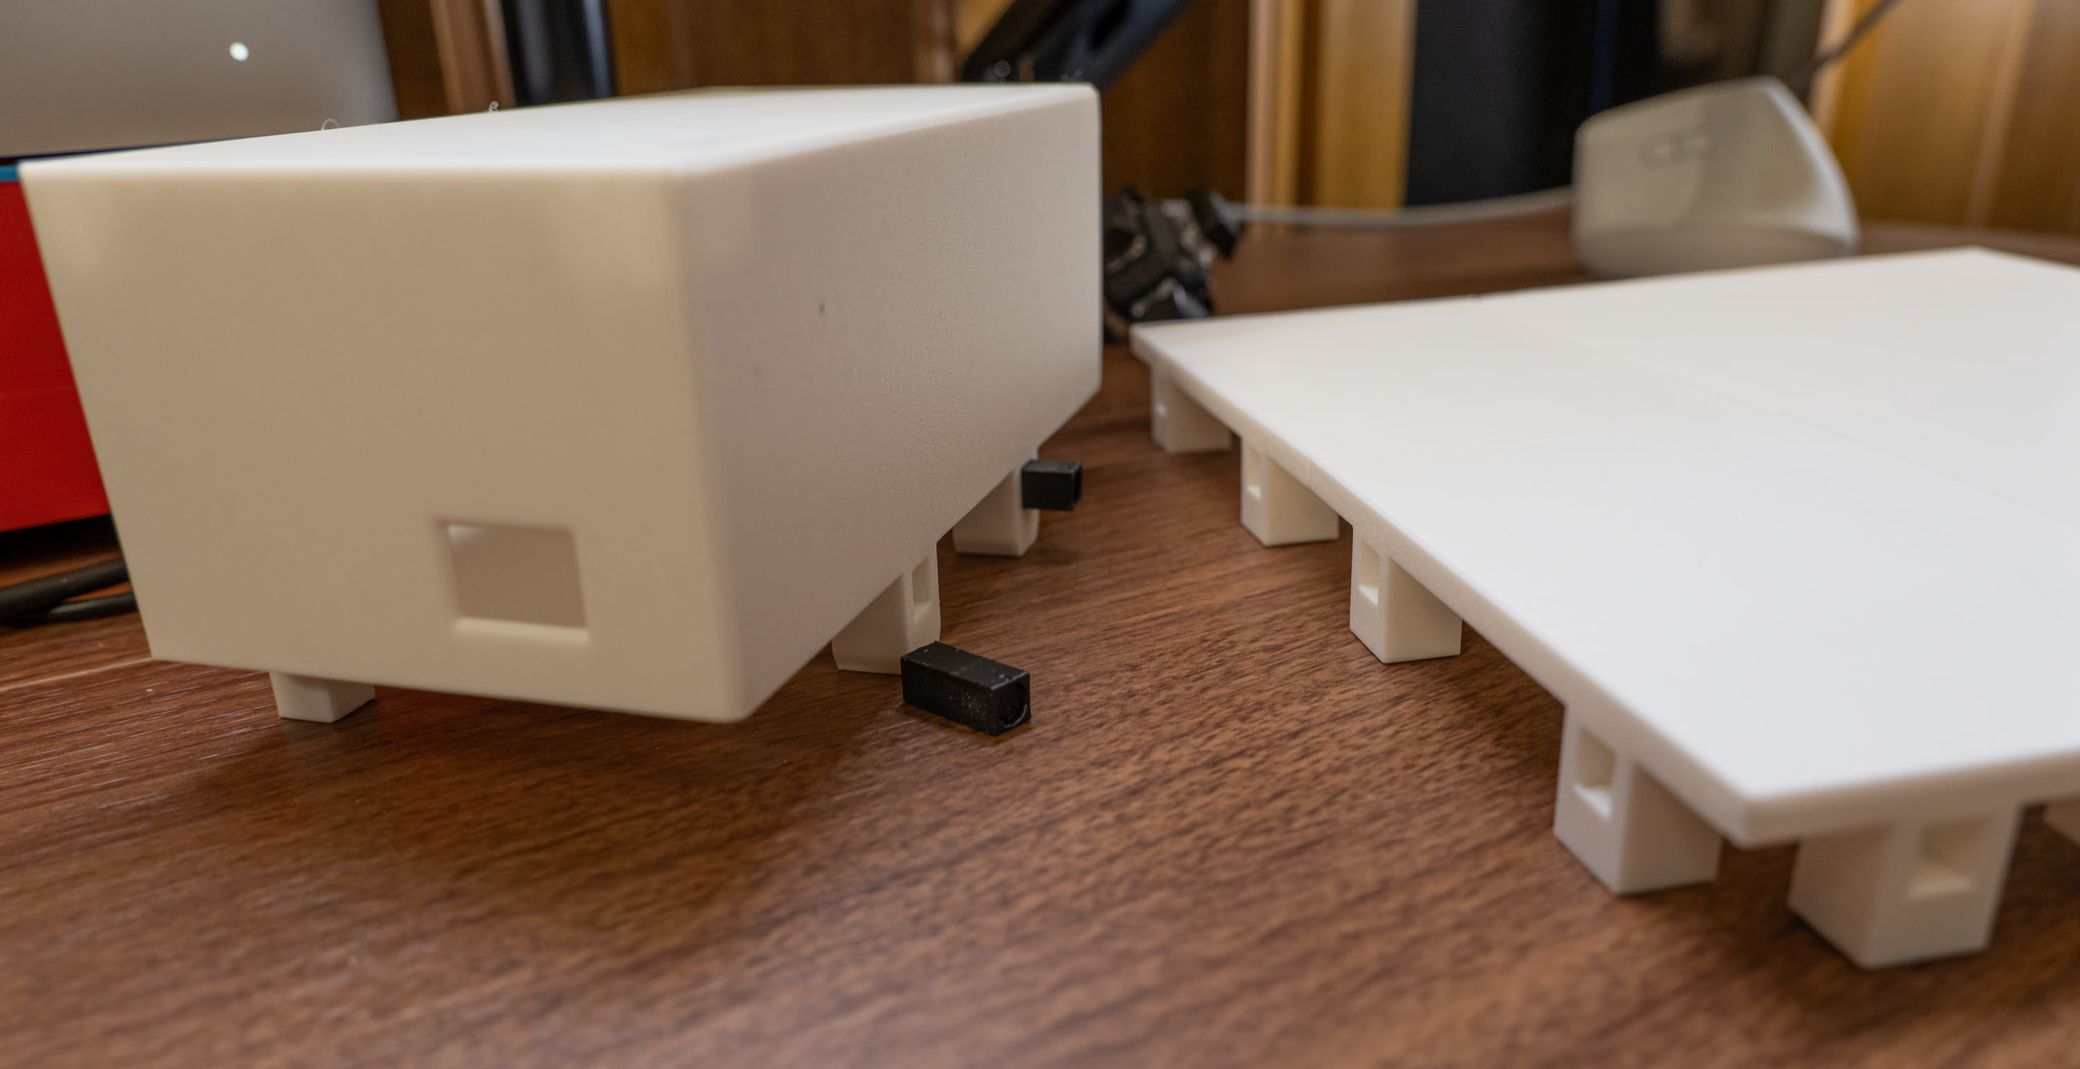
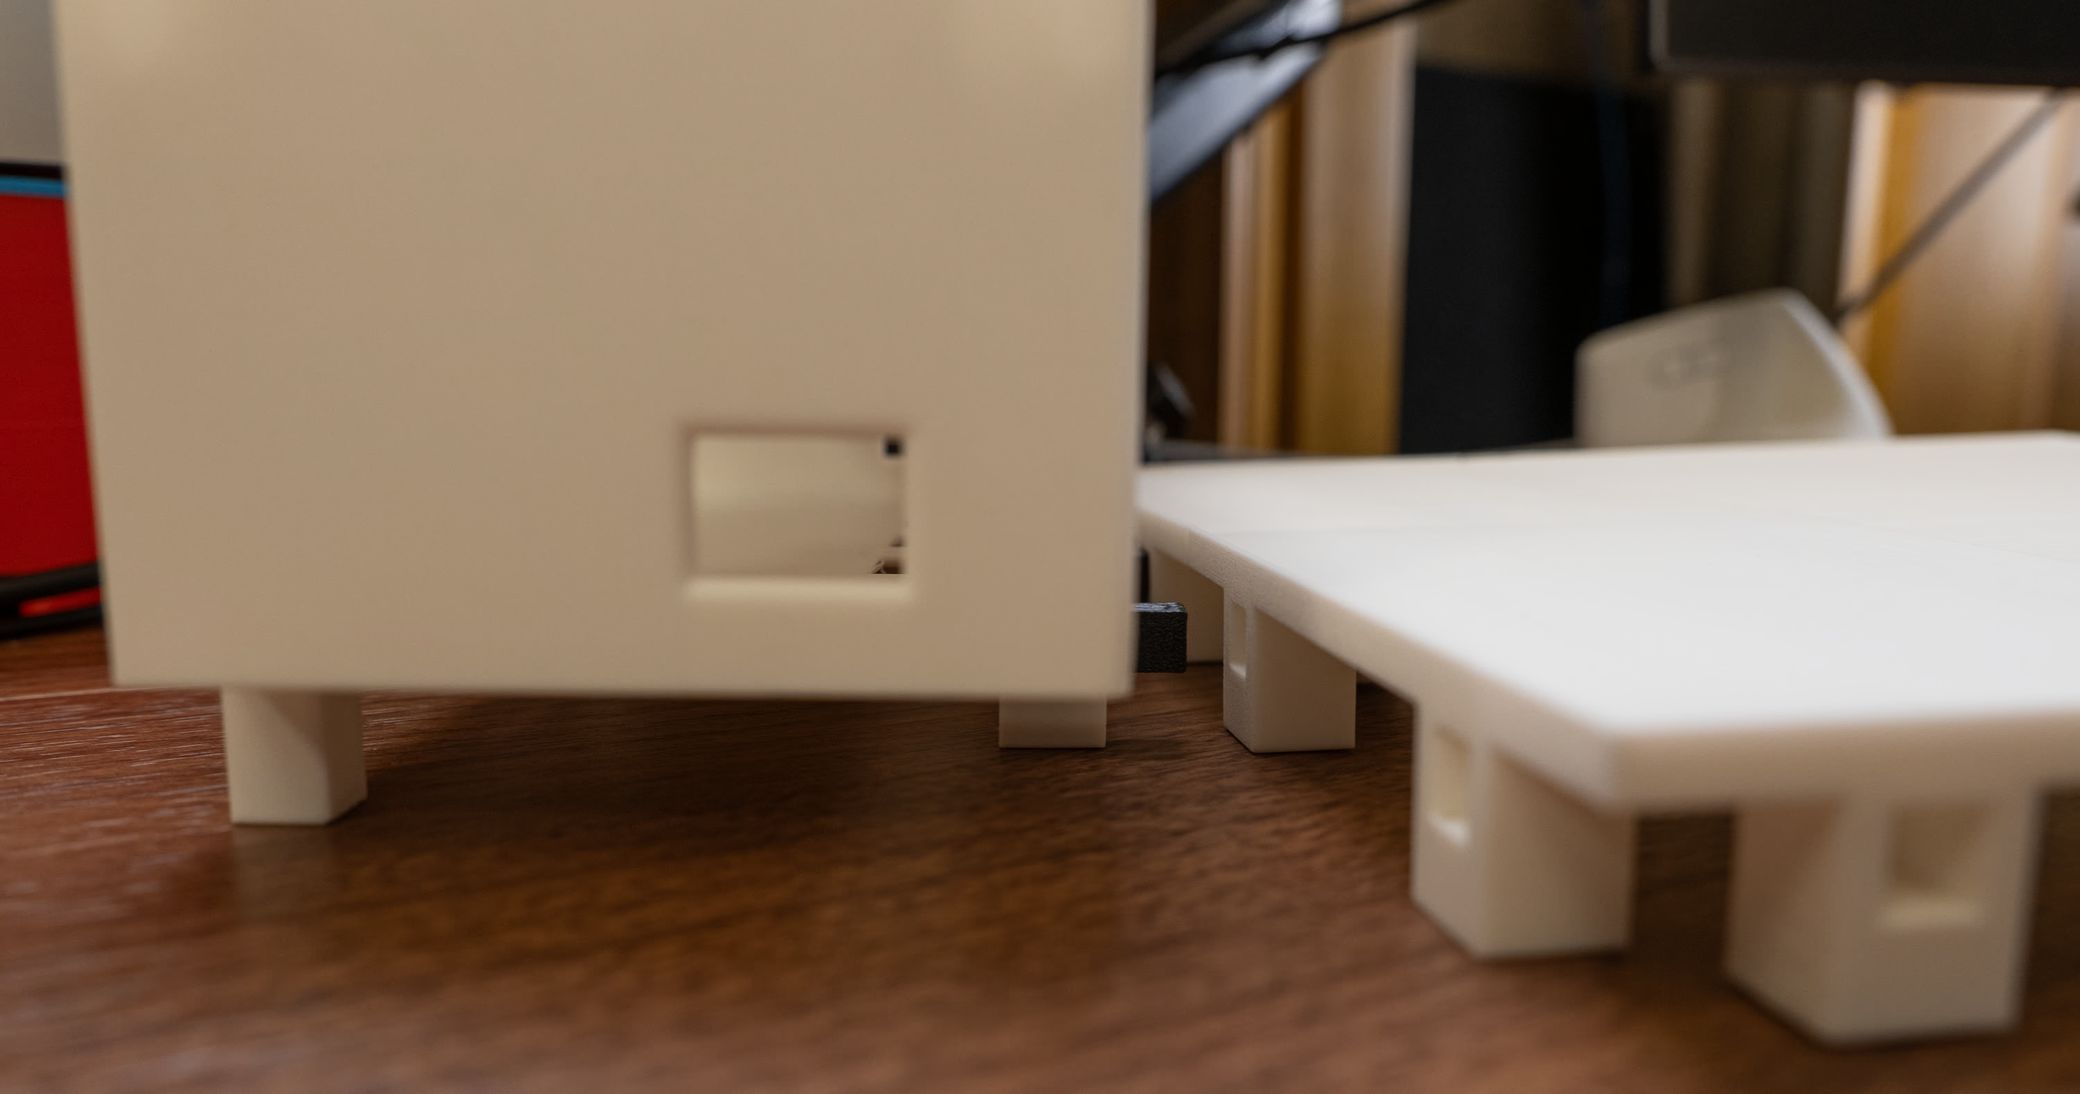
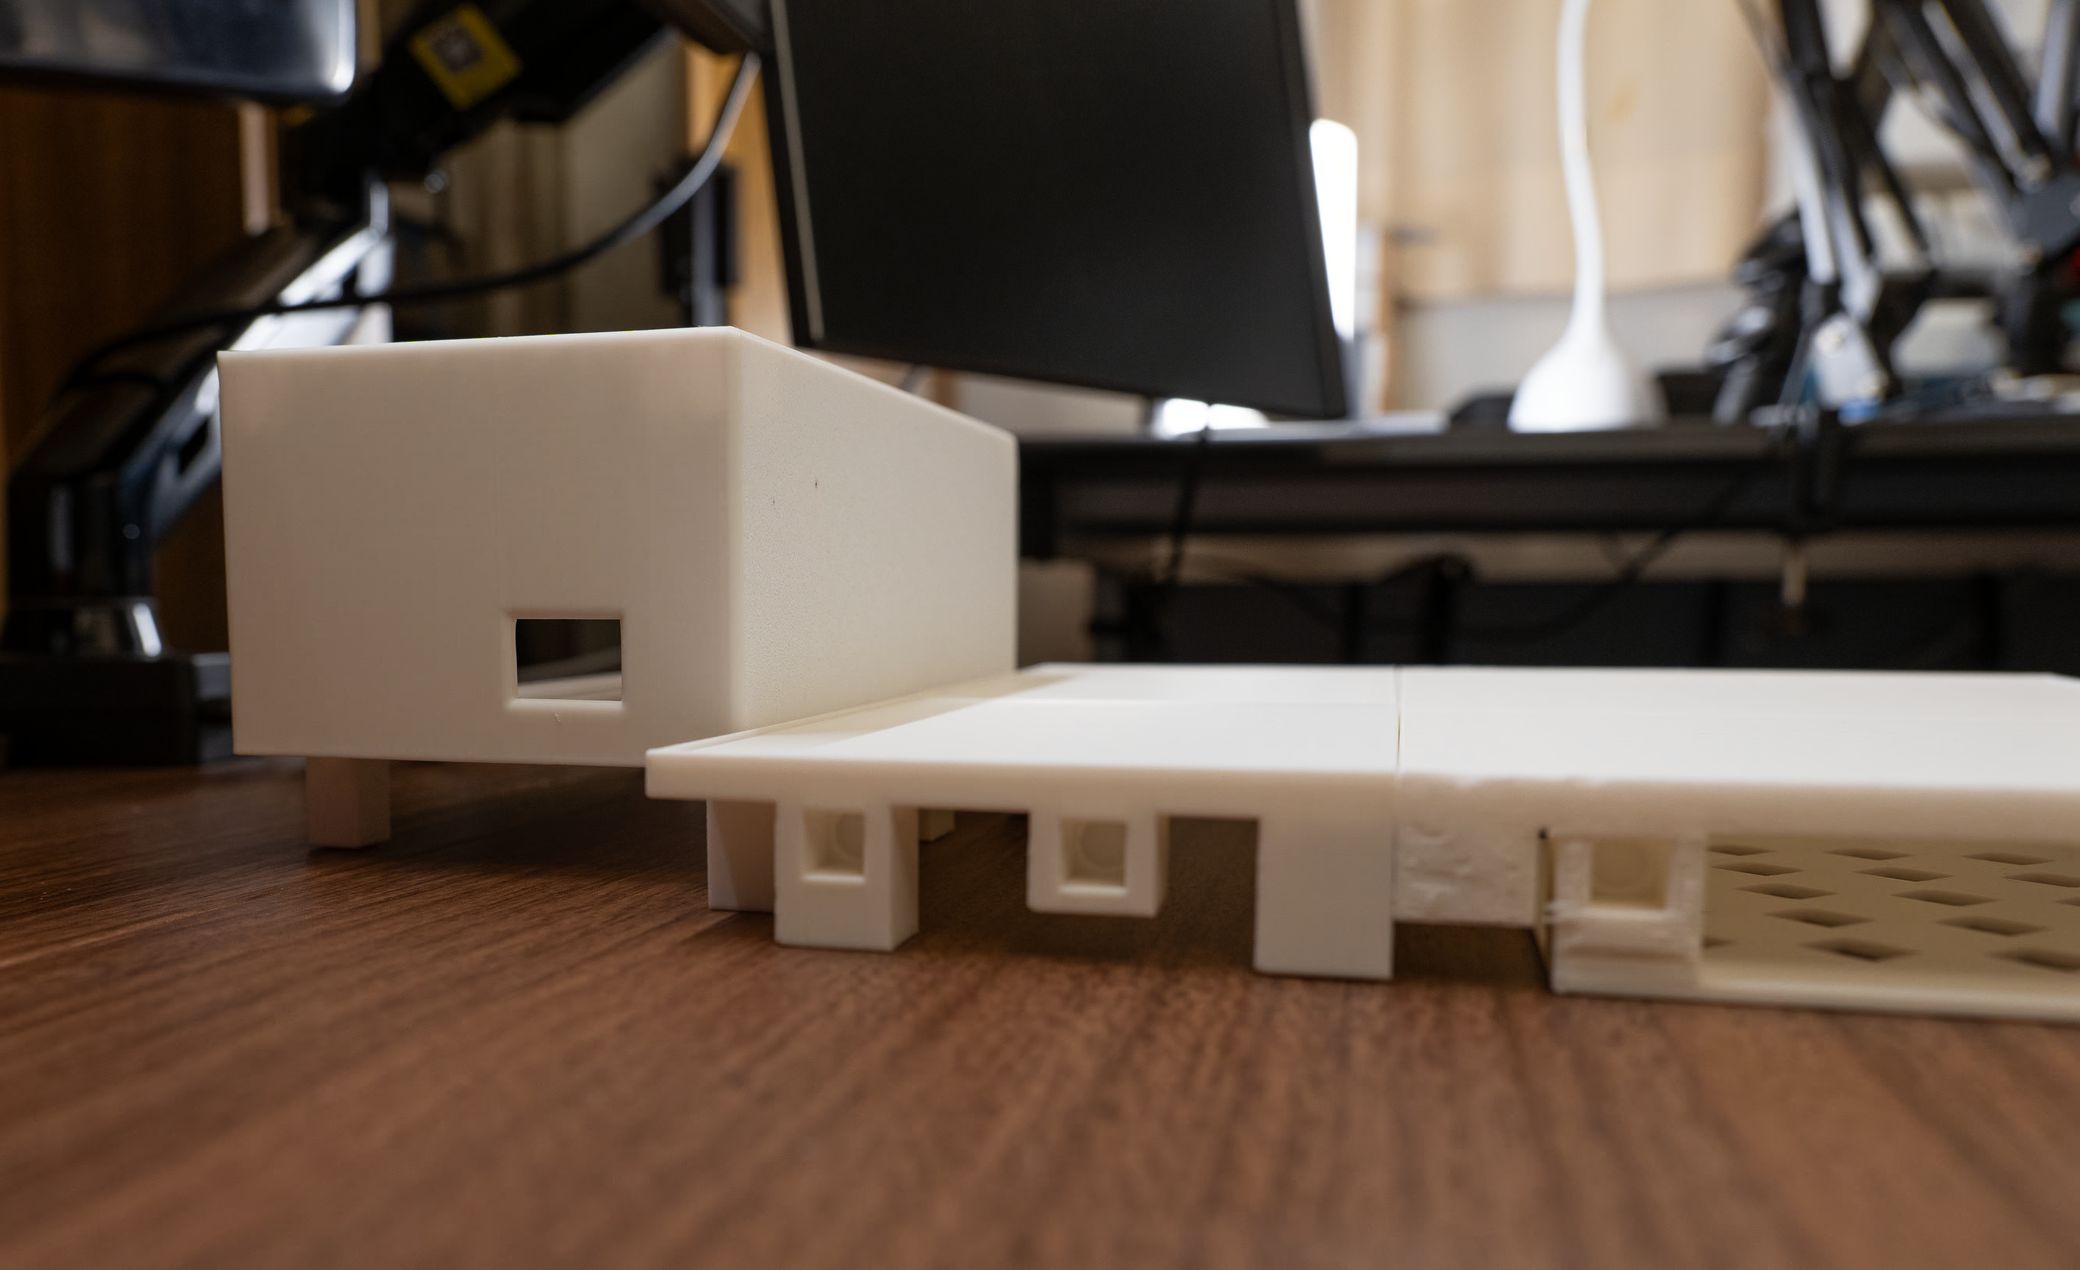
Now put a connector piece on either of the back surfaces.
Then slide it towards the front of the platform to connect it.
Now grab the cable management dock and put two connector pieces in.
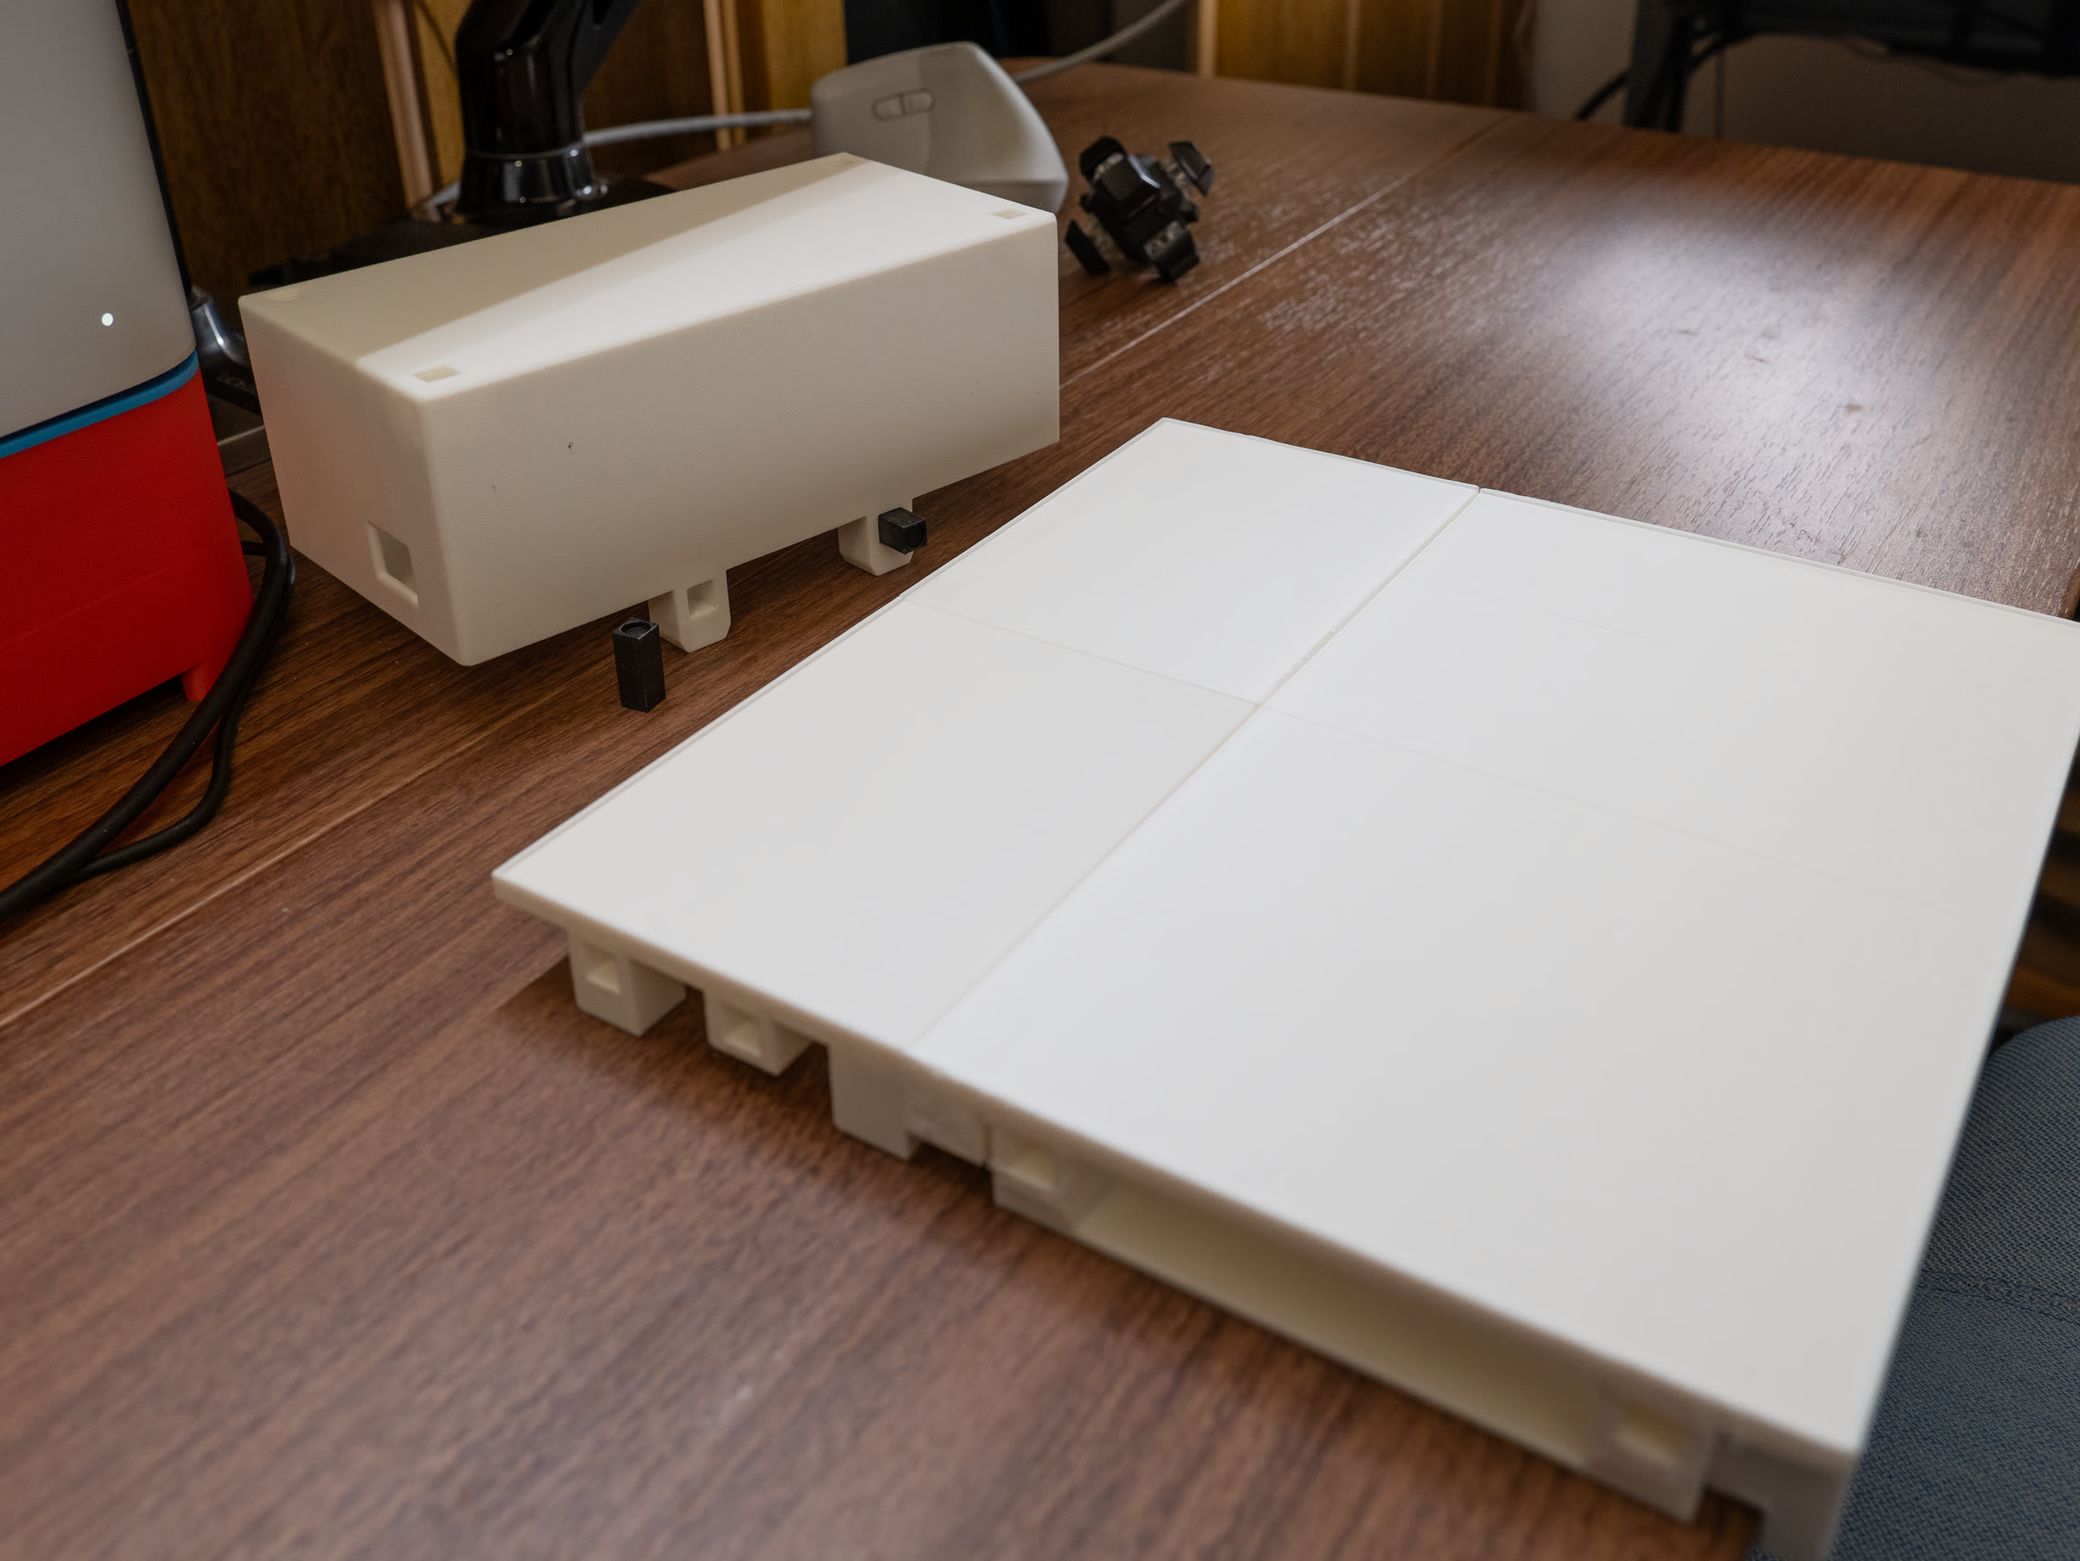
This box will allow you to route cables from your USB hub up underneath the platform into the box and then run whatever length of cable you need the rest of the way to things like your Moonlander keyboard, your mouse, or any other peripherals.
Now grab your left and right Moonlander Keyboard holders and slide them into place.
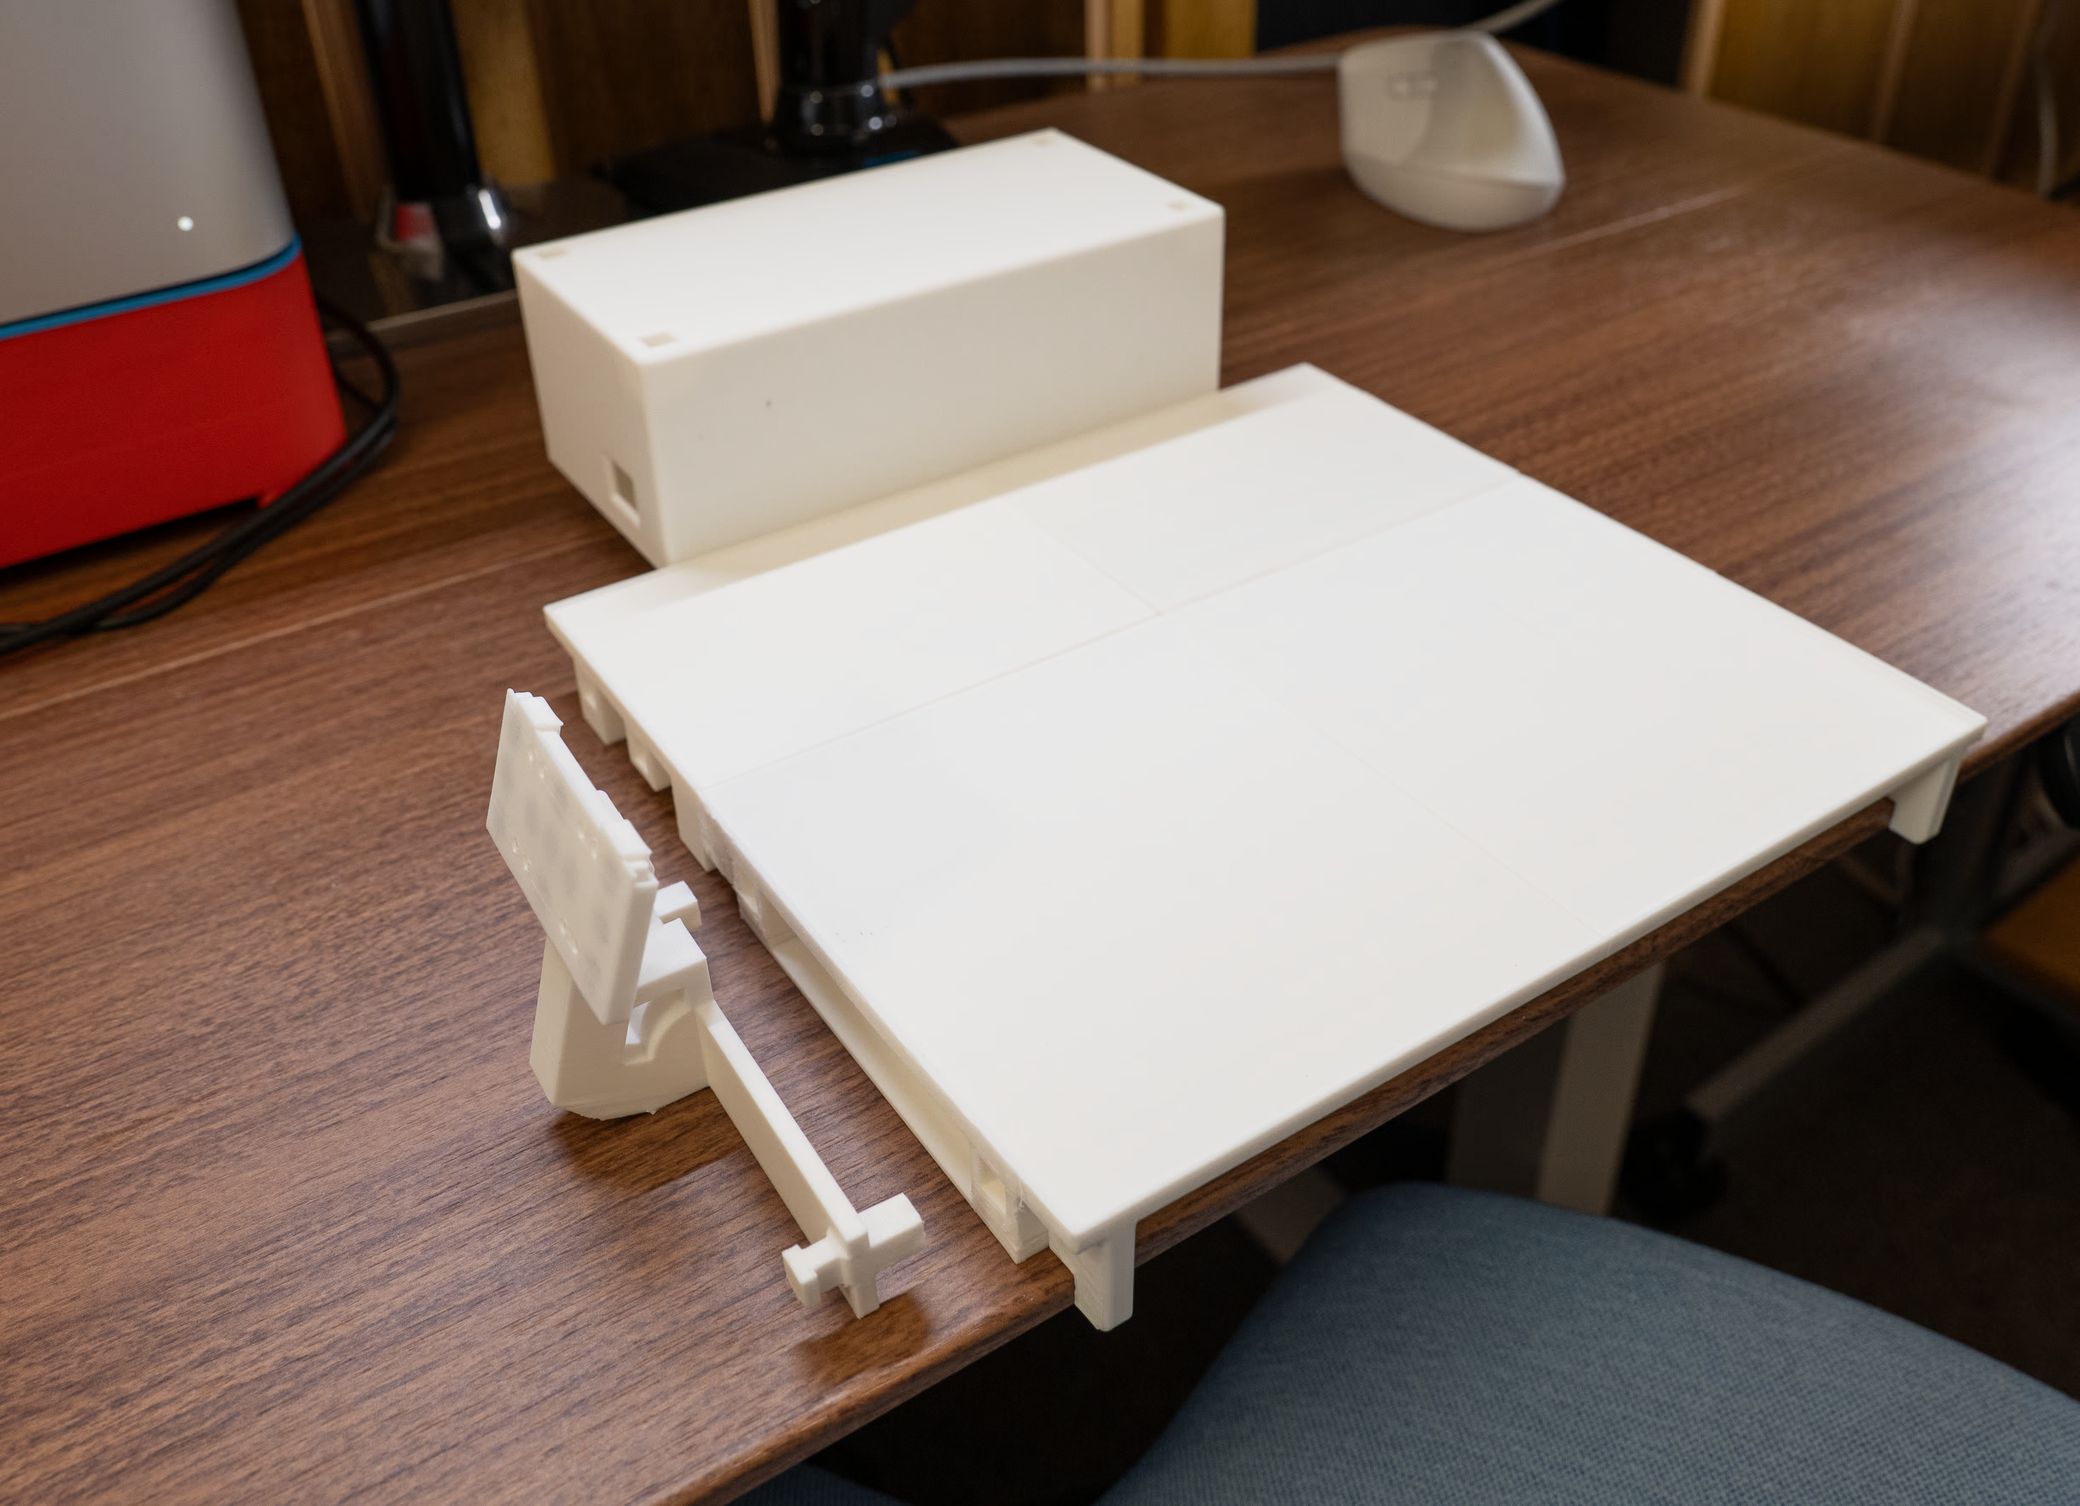
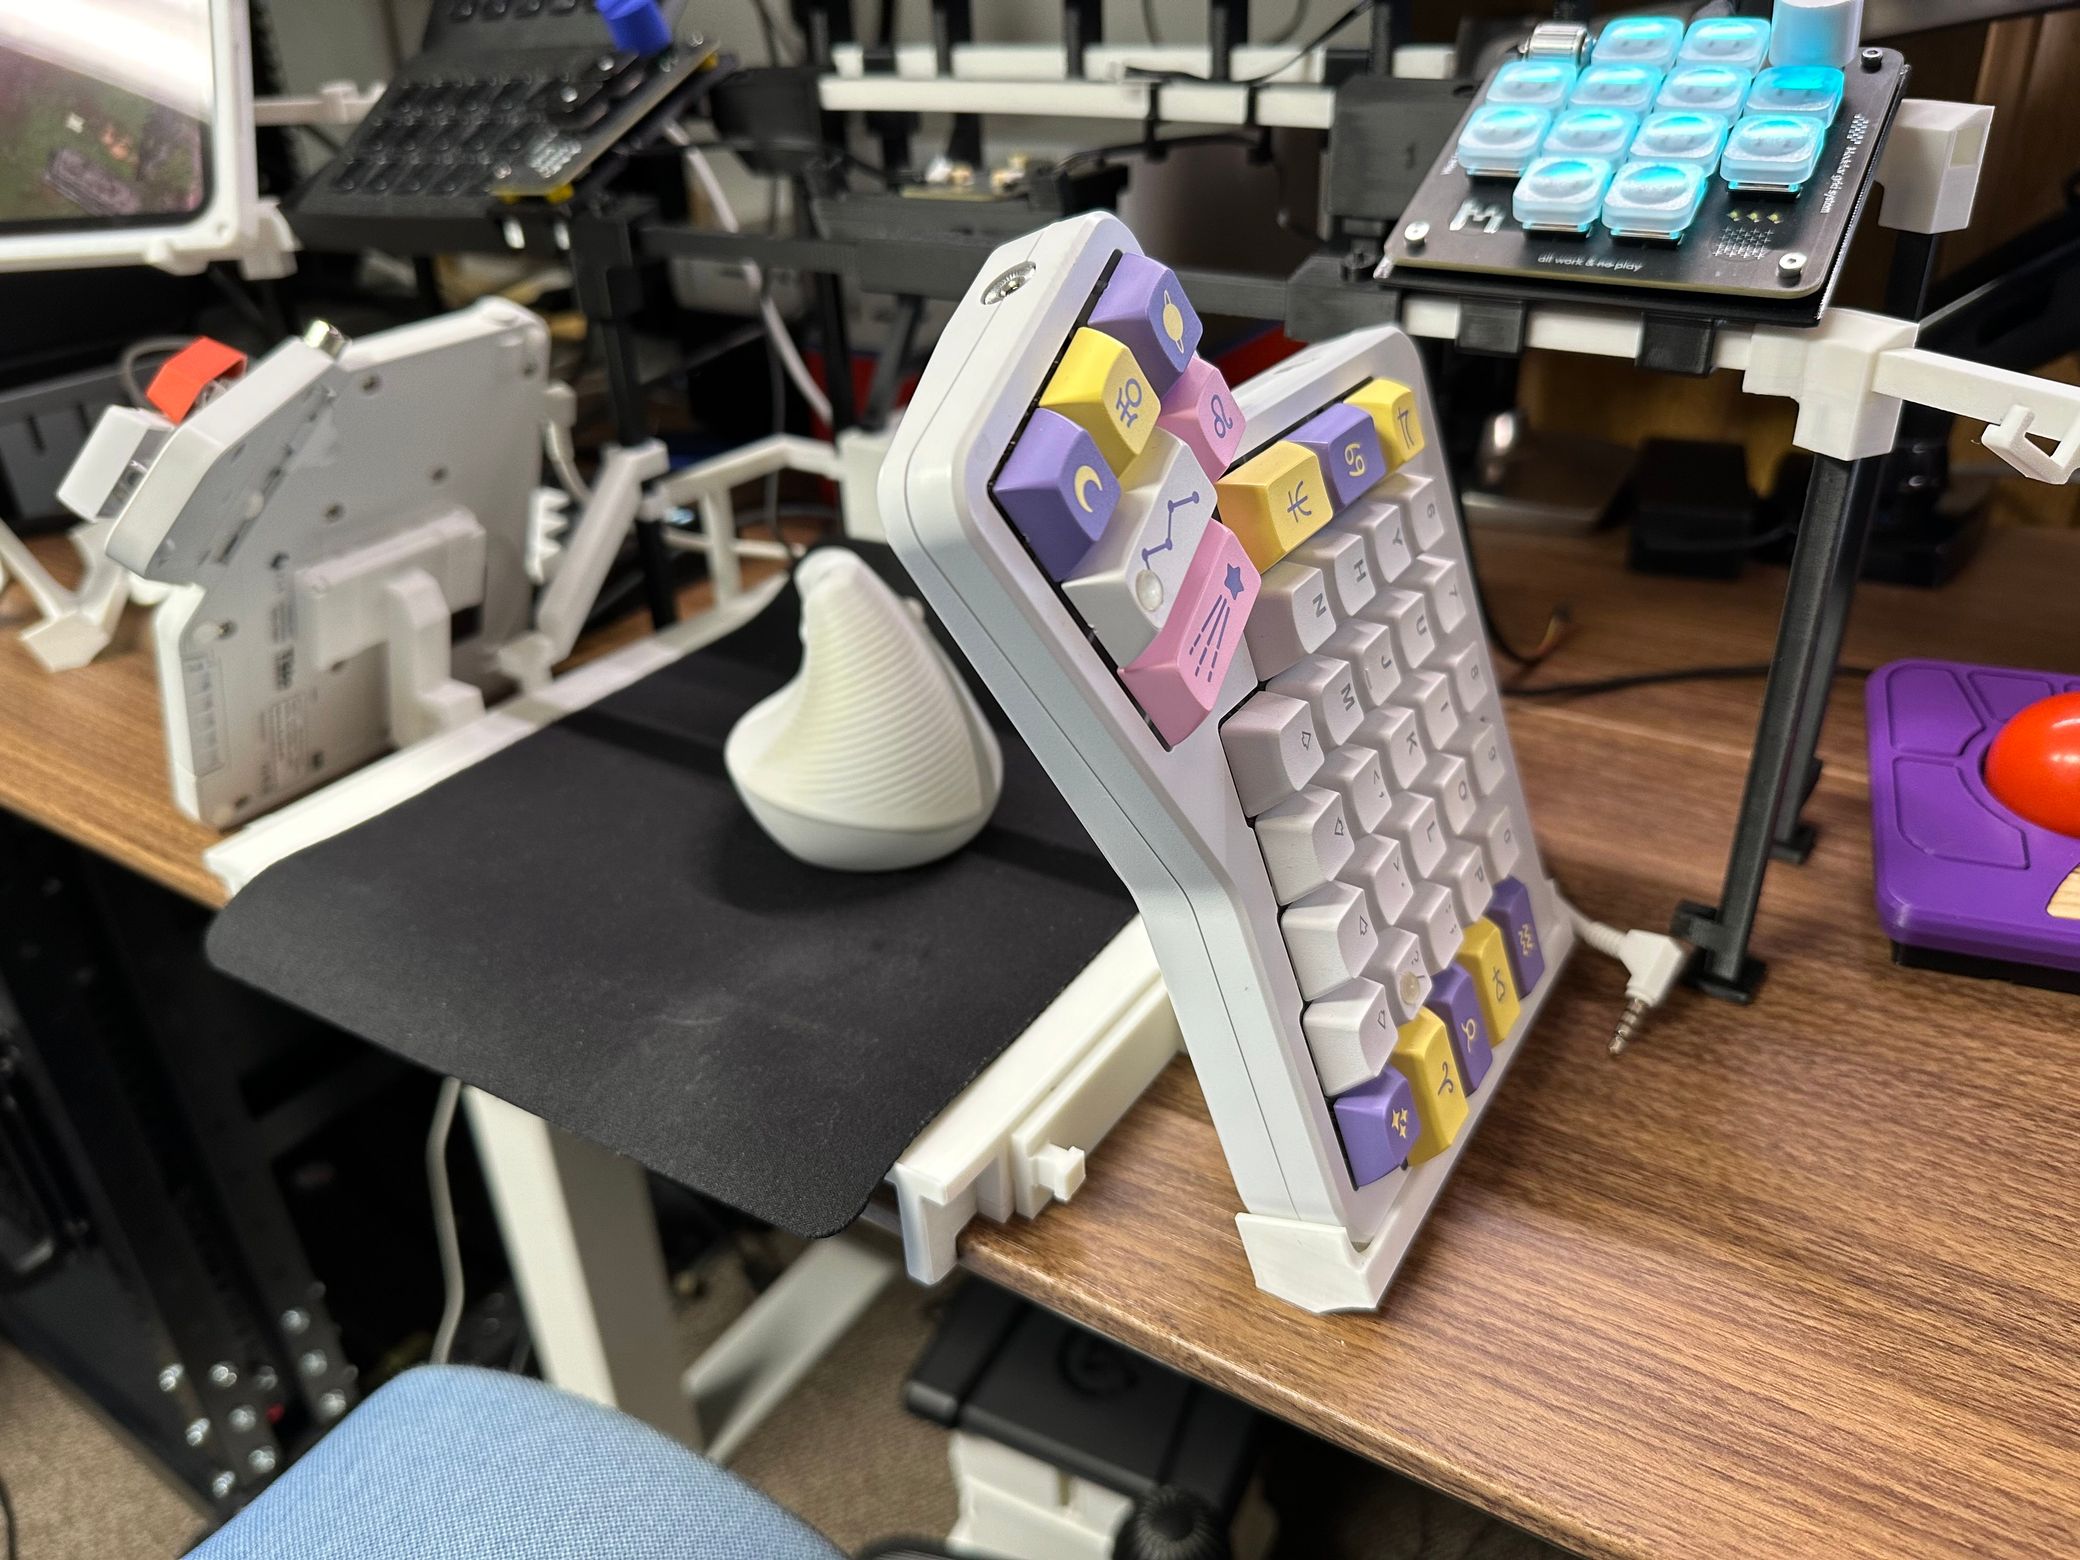
You can then attach your Moonlander halves! Congratulations, you now have completed putting together the Ultimate Keyboard and Mouse Platform!
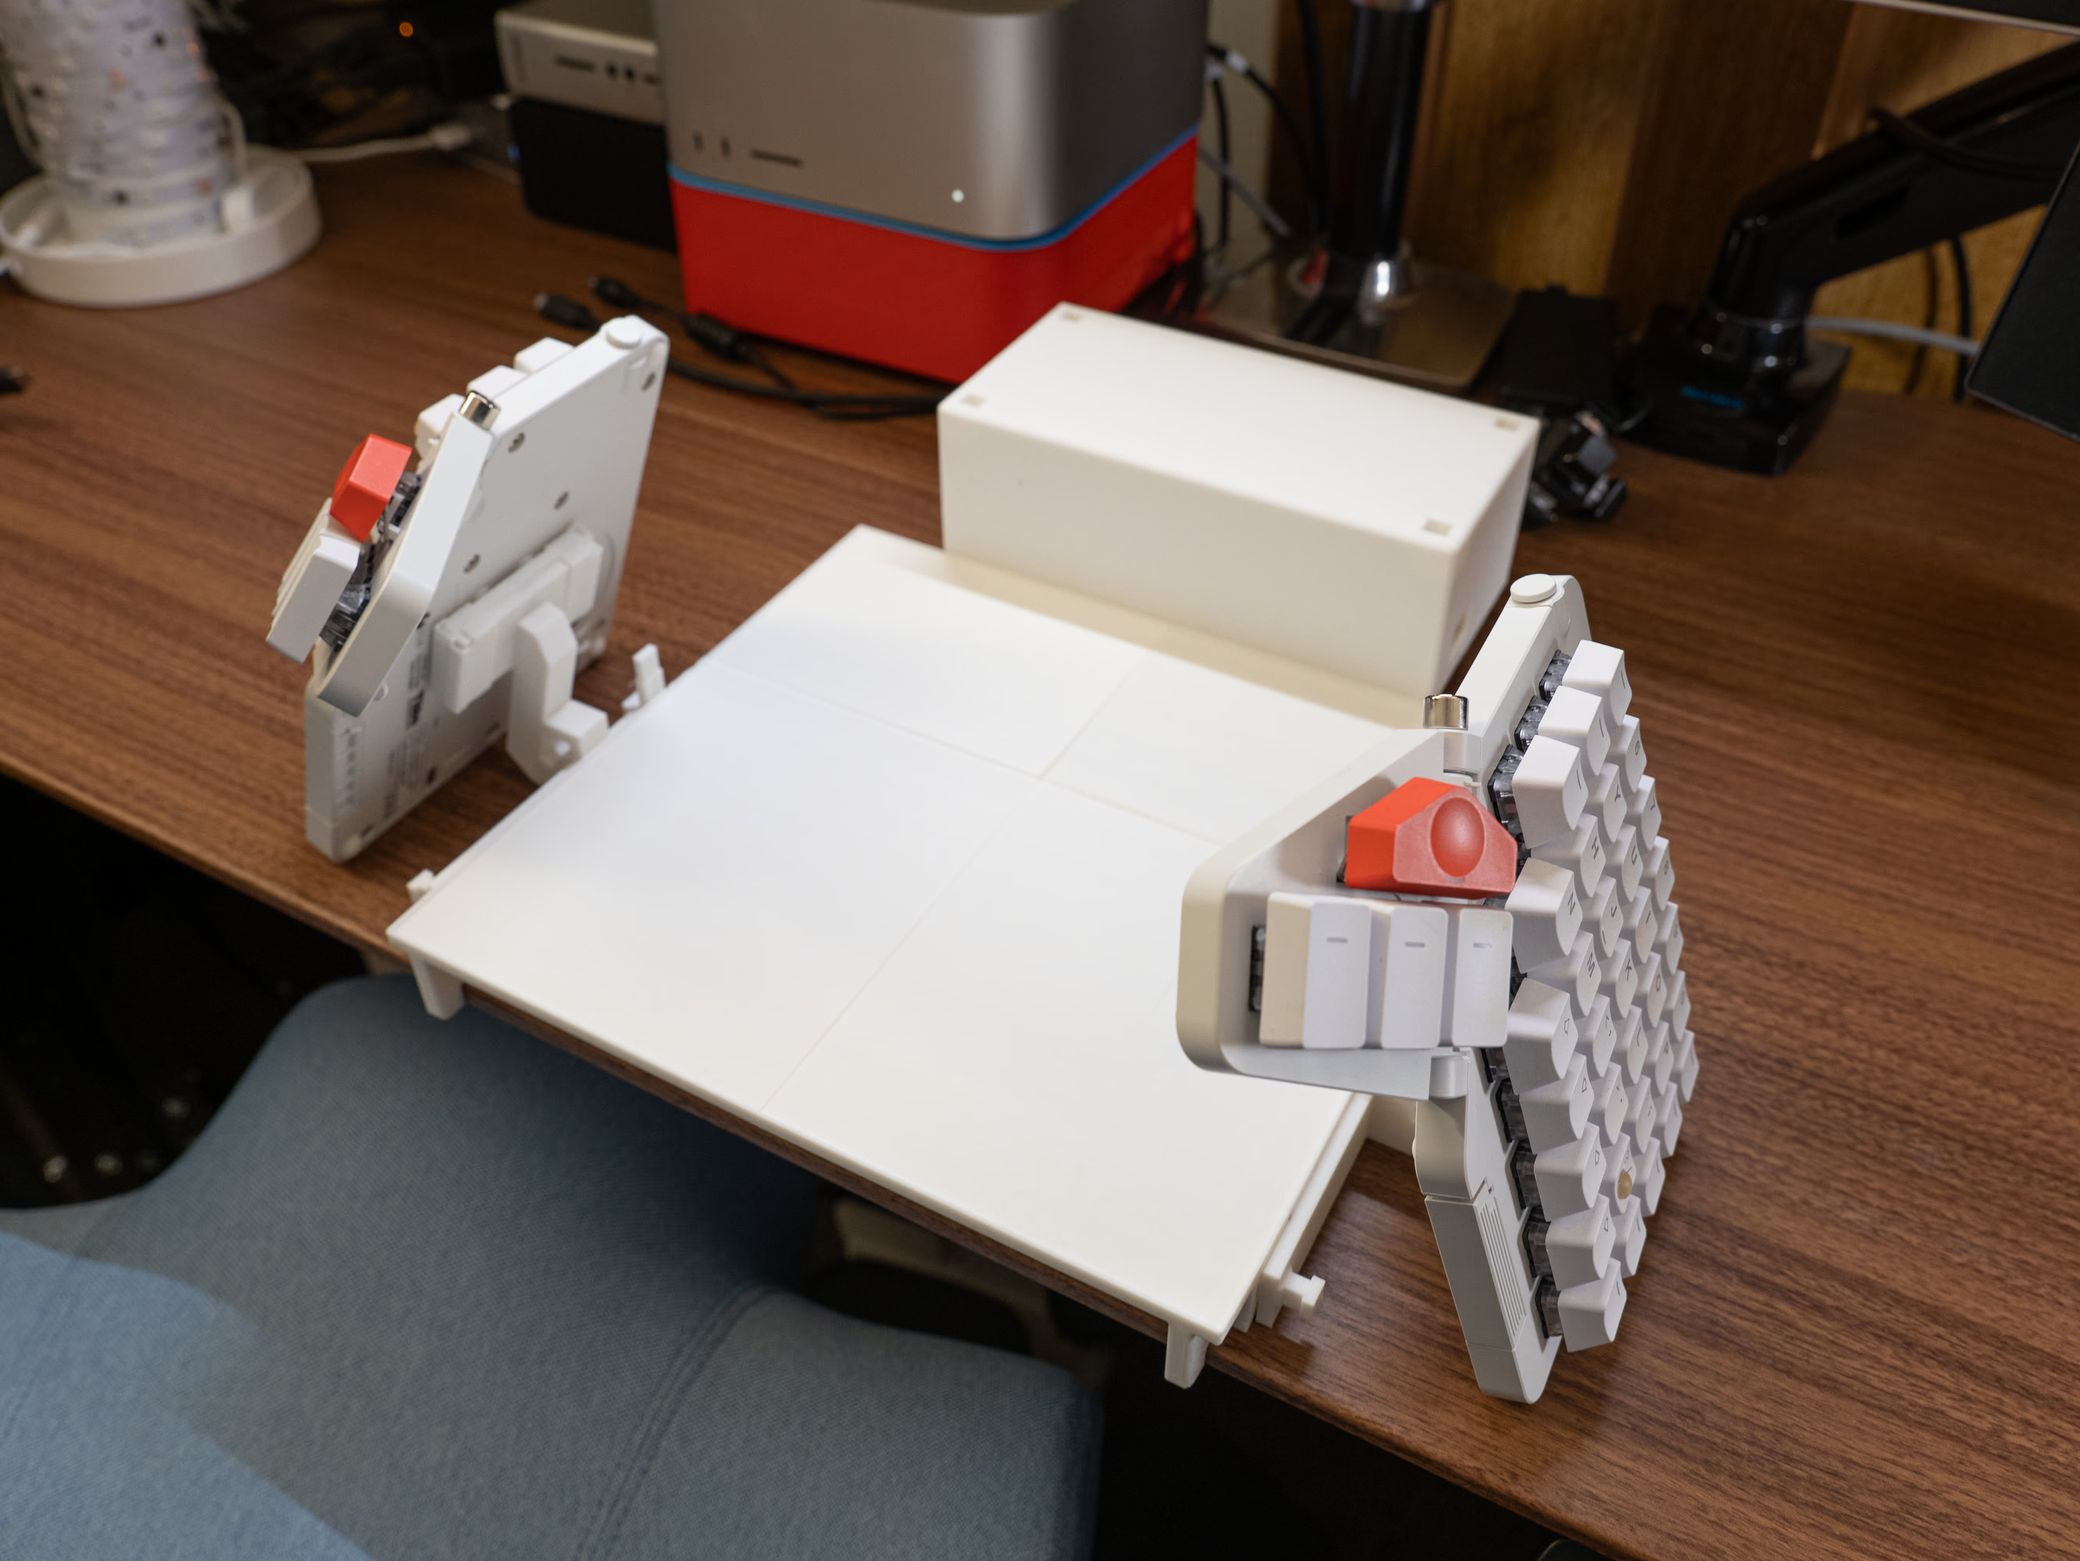
Add your mousepad and mouse.


Questions
I expect there will be questions and requests, so I encourage you to make those on the Thingiverse page.
By the way, if you liked this, you may also like an adapter I made that makes the ErgoDox EZ compatible with this mount. You can find that at its own Thingiverse page.
Happy tenting!